Another week, another blog post!
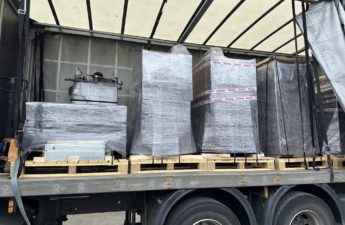
So, there’s probably going to be a trend of things in the next few blog posts, and one of them is going to be, well, you guessed it! Cleaning! The machines were all very dirty when the arrived and it’s going to take us quite some time to clean the outsides, let alone the insides, so please bear with us whilst we post about it; hopefully you’ll find the process as satisfying as we do!

Over the past week or so I’ve been conversing with a chap called Simon Van Winklen about working with us, and very kindly he’s volunteering some of his time to come and assist us with the restoration process. Simon is a retired Engineer who’s career started with real-time control systems, 8bit to 32bit controllers, GSM base stations and Ethernet switching, before finally ending up in Project management of large software systems. Hopefully we’re going to be able to put Simon’s skills to good use by helping us build modern interface devices to the system so we can load programs from modern computers and read data out of some of the subsystems (e.g. card readers, tape readers, and disk drives). That way the mechanical factor is removed when we want to run tests or indeed just want to save the wear on original consumables and components.
Simon’s first day was on Saturday, so he came over to Creslow Park in the morning and I showed him around the site and the system. Simon was keen to get stuck in so I suggested that perhaps he’d like to start doing some cleaning on the 29 card punch. After explaining the restoration principles (something I’m still working on, but have a good feel for) he set to.

After giving it a general wipe down, I showed Simon how to remove the top of the punch so he could get to the interior. About this time my father showed up and brought with him a semi-working Dyson he’d just retired for us to use on the project. The motor bearings in the Dyson are on their way out, but it still works for the time being.
Simon did a very thorough job on the outside of the 29, and it’s now looking a lot better!
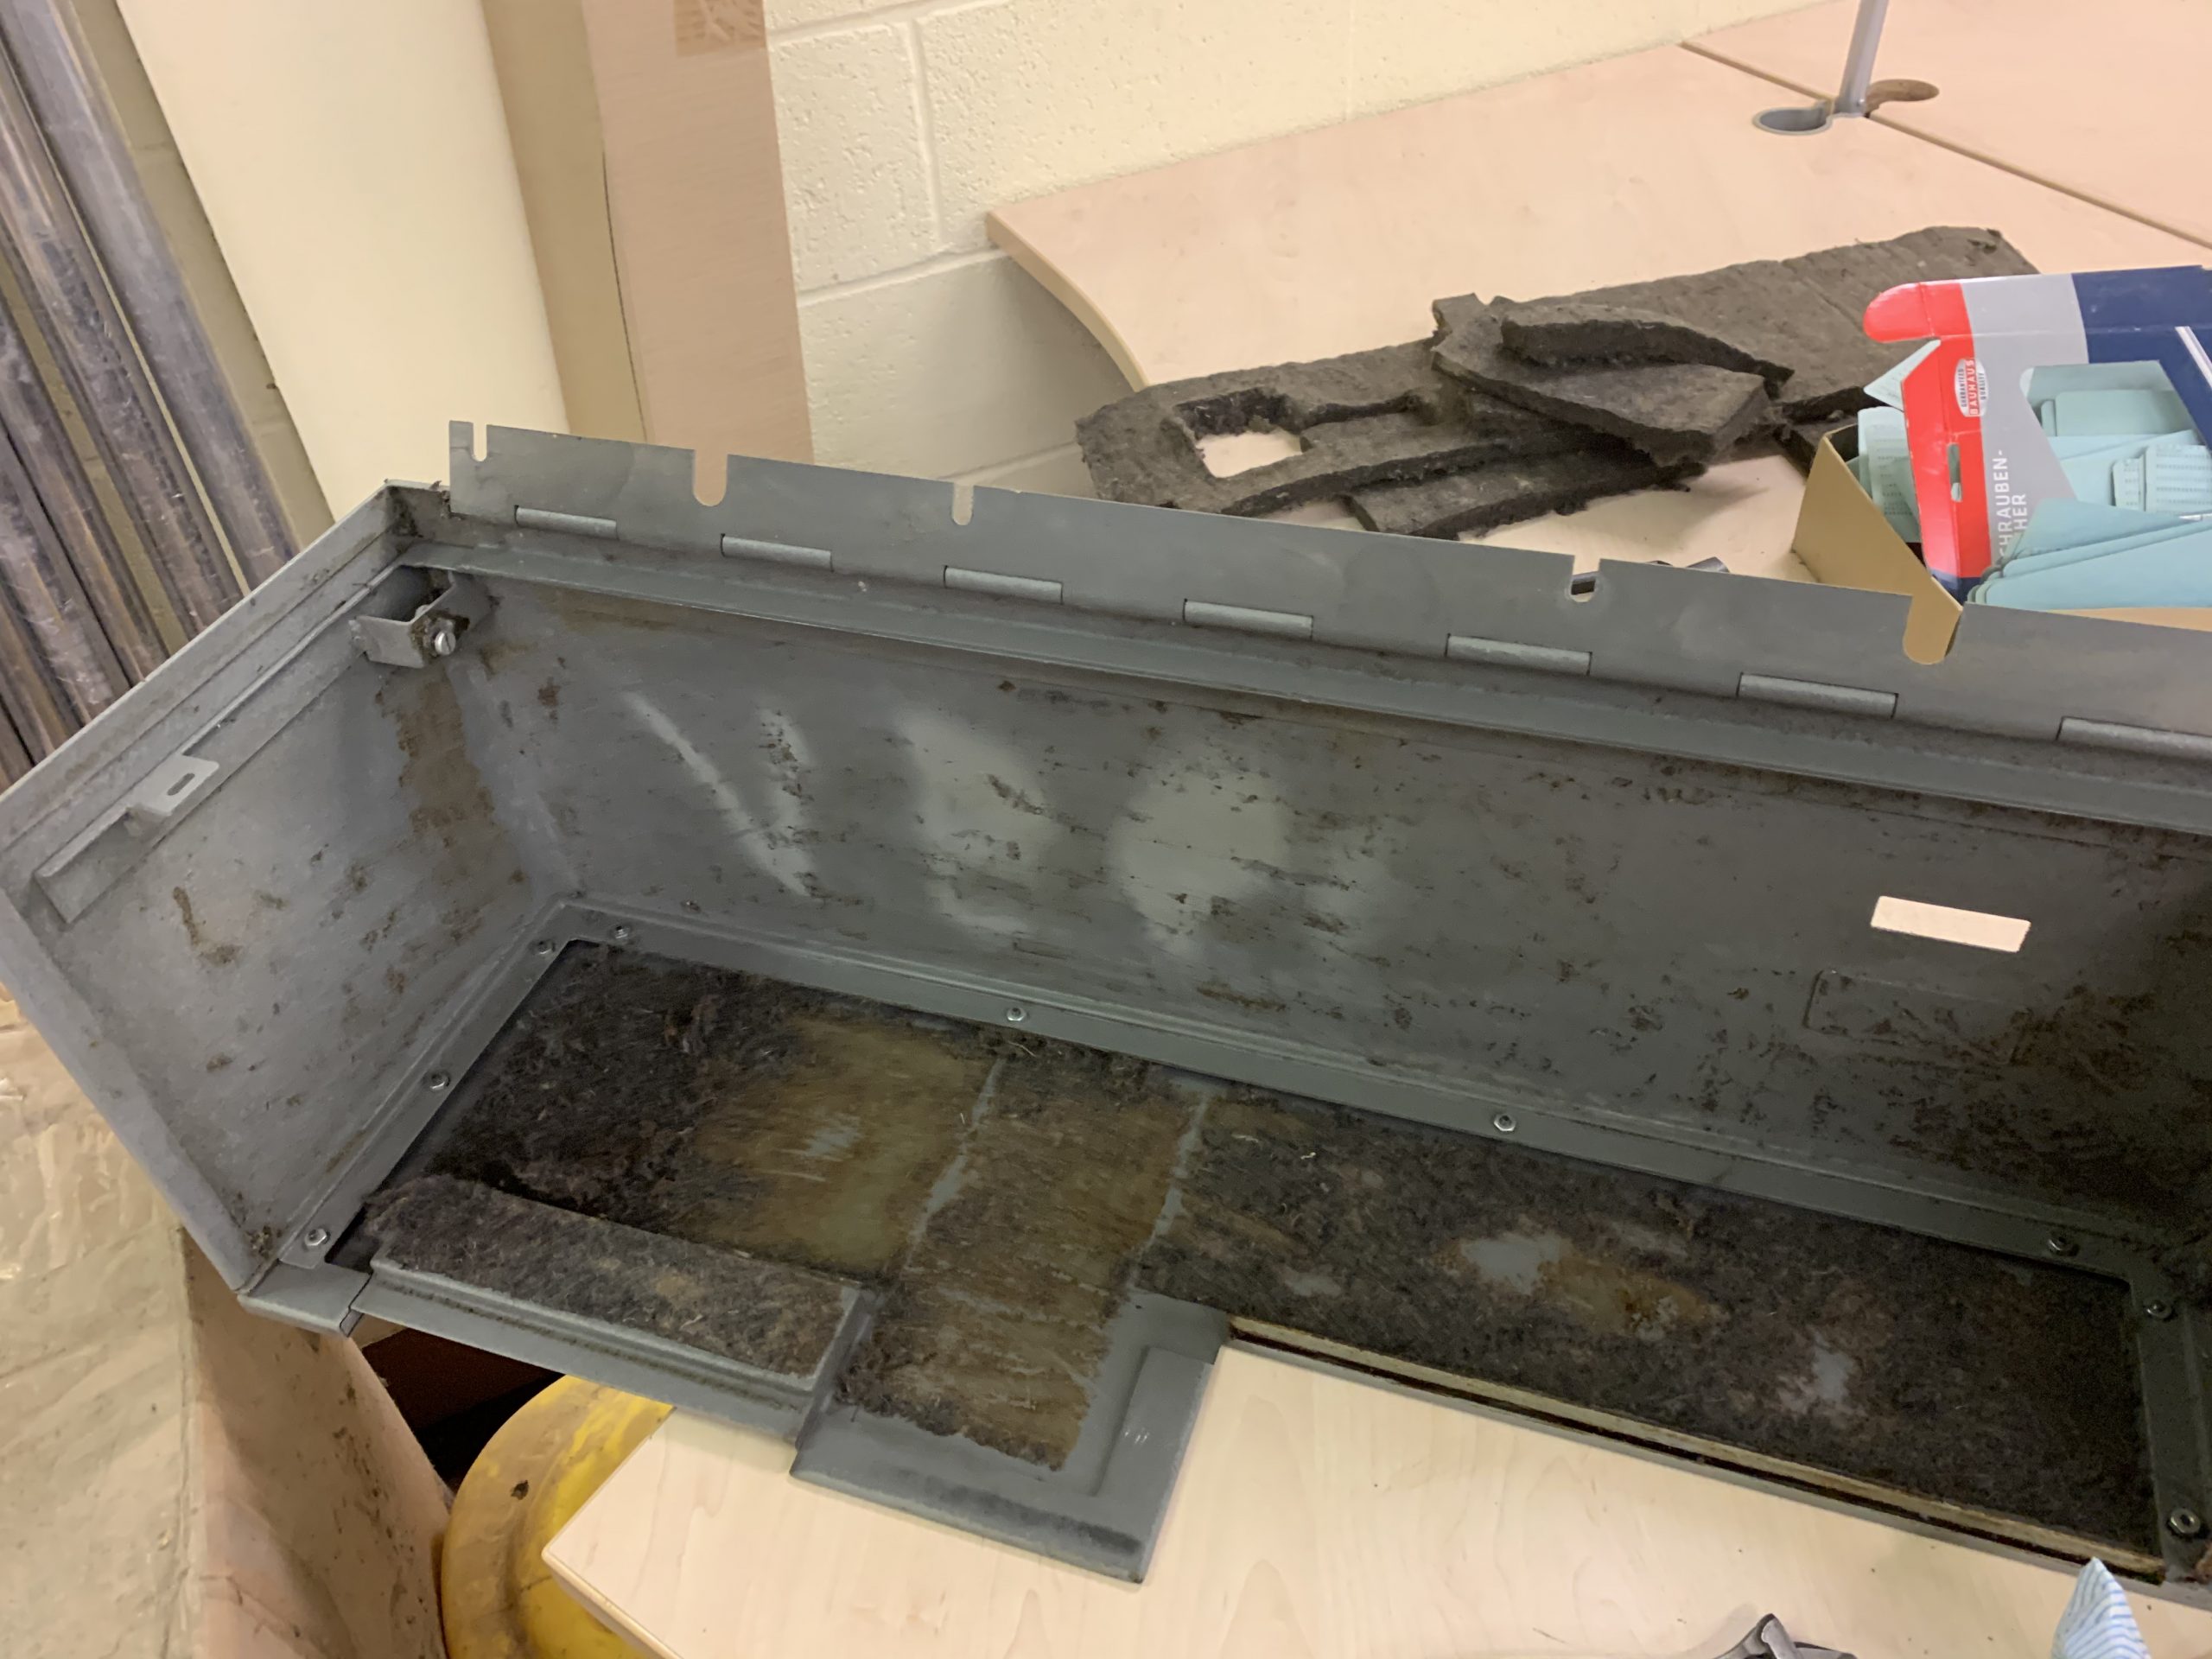
Whilst Simon was working on that, and my father had begun cleaning the 2203 system printer, I set about looking at the 2501 card reader. One thing a lot of people reading might not be aware of is the danger of old acoustic foam. Machines such as this generally use a combination of classic fibre acoustic deadening and modern plastic-based acoustic foam; both of these are generally pretty bad news. They both degrade, fall apart, get places they shouldn’t be, and then get rather sticky and difficult to remove.
Once I’d opened up the top of the 2501, it became immediately clear that the foam in the top was in pretty bad shape. The fibres were coming loose and would likely interrupt the operation of the machine.

Over the last few years of dealing with such things, I’ve come accustomed to removing this stuff so I set about using the best method I’ve come up with – pipe freeze spray. You freeze the foam and then scrape it off. It keeps most of the fibres stuck together and rigid rather than flexible and sticky. This works better with the synthetic stuff, but still did a reasonable job here:

Unfortunately, the pipe freeze spray is rather expensive at around £25/can, but it saves more than its value in time!
Following the removal of most of the fibres, I set about removing the sticky residue with Evo-Stick adhesive cleaner:
This seemed to work reasonably well, so I removed the top section of the unit and continued to remove the residue:
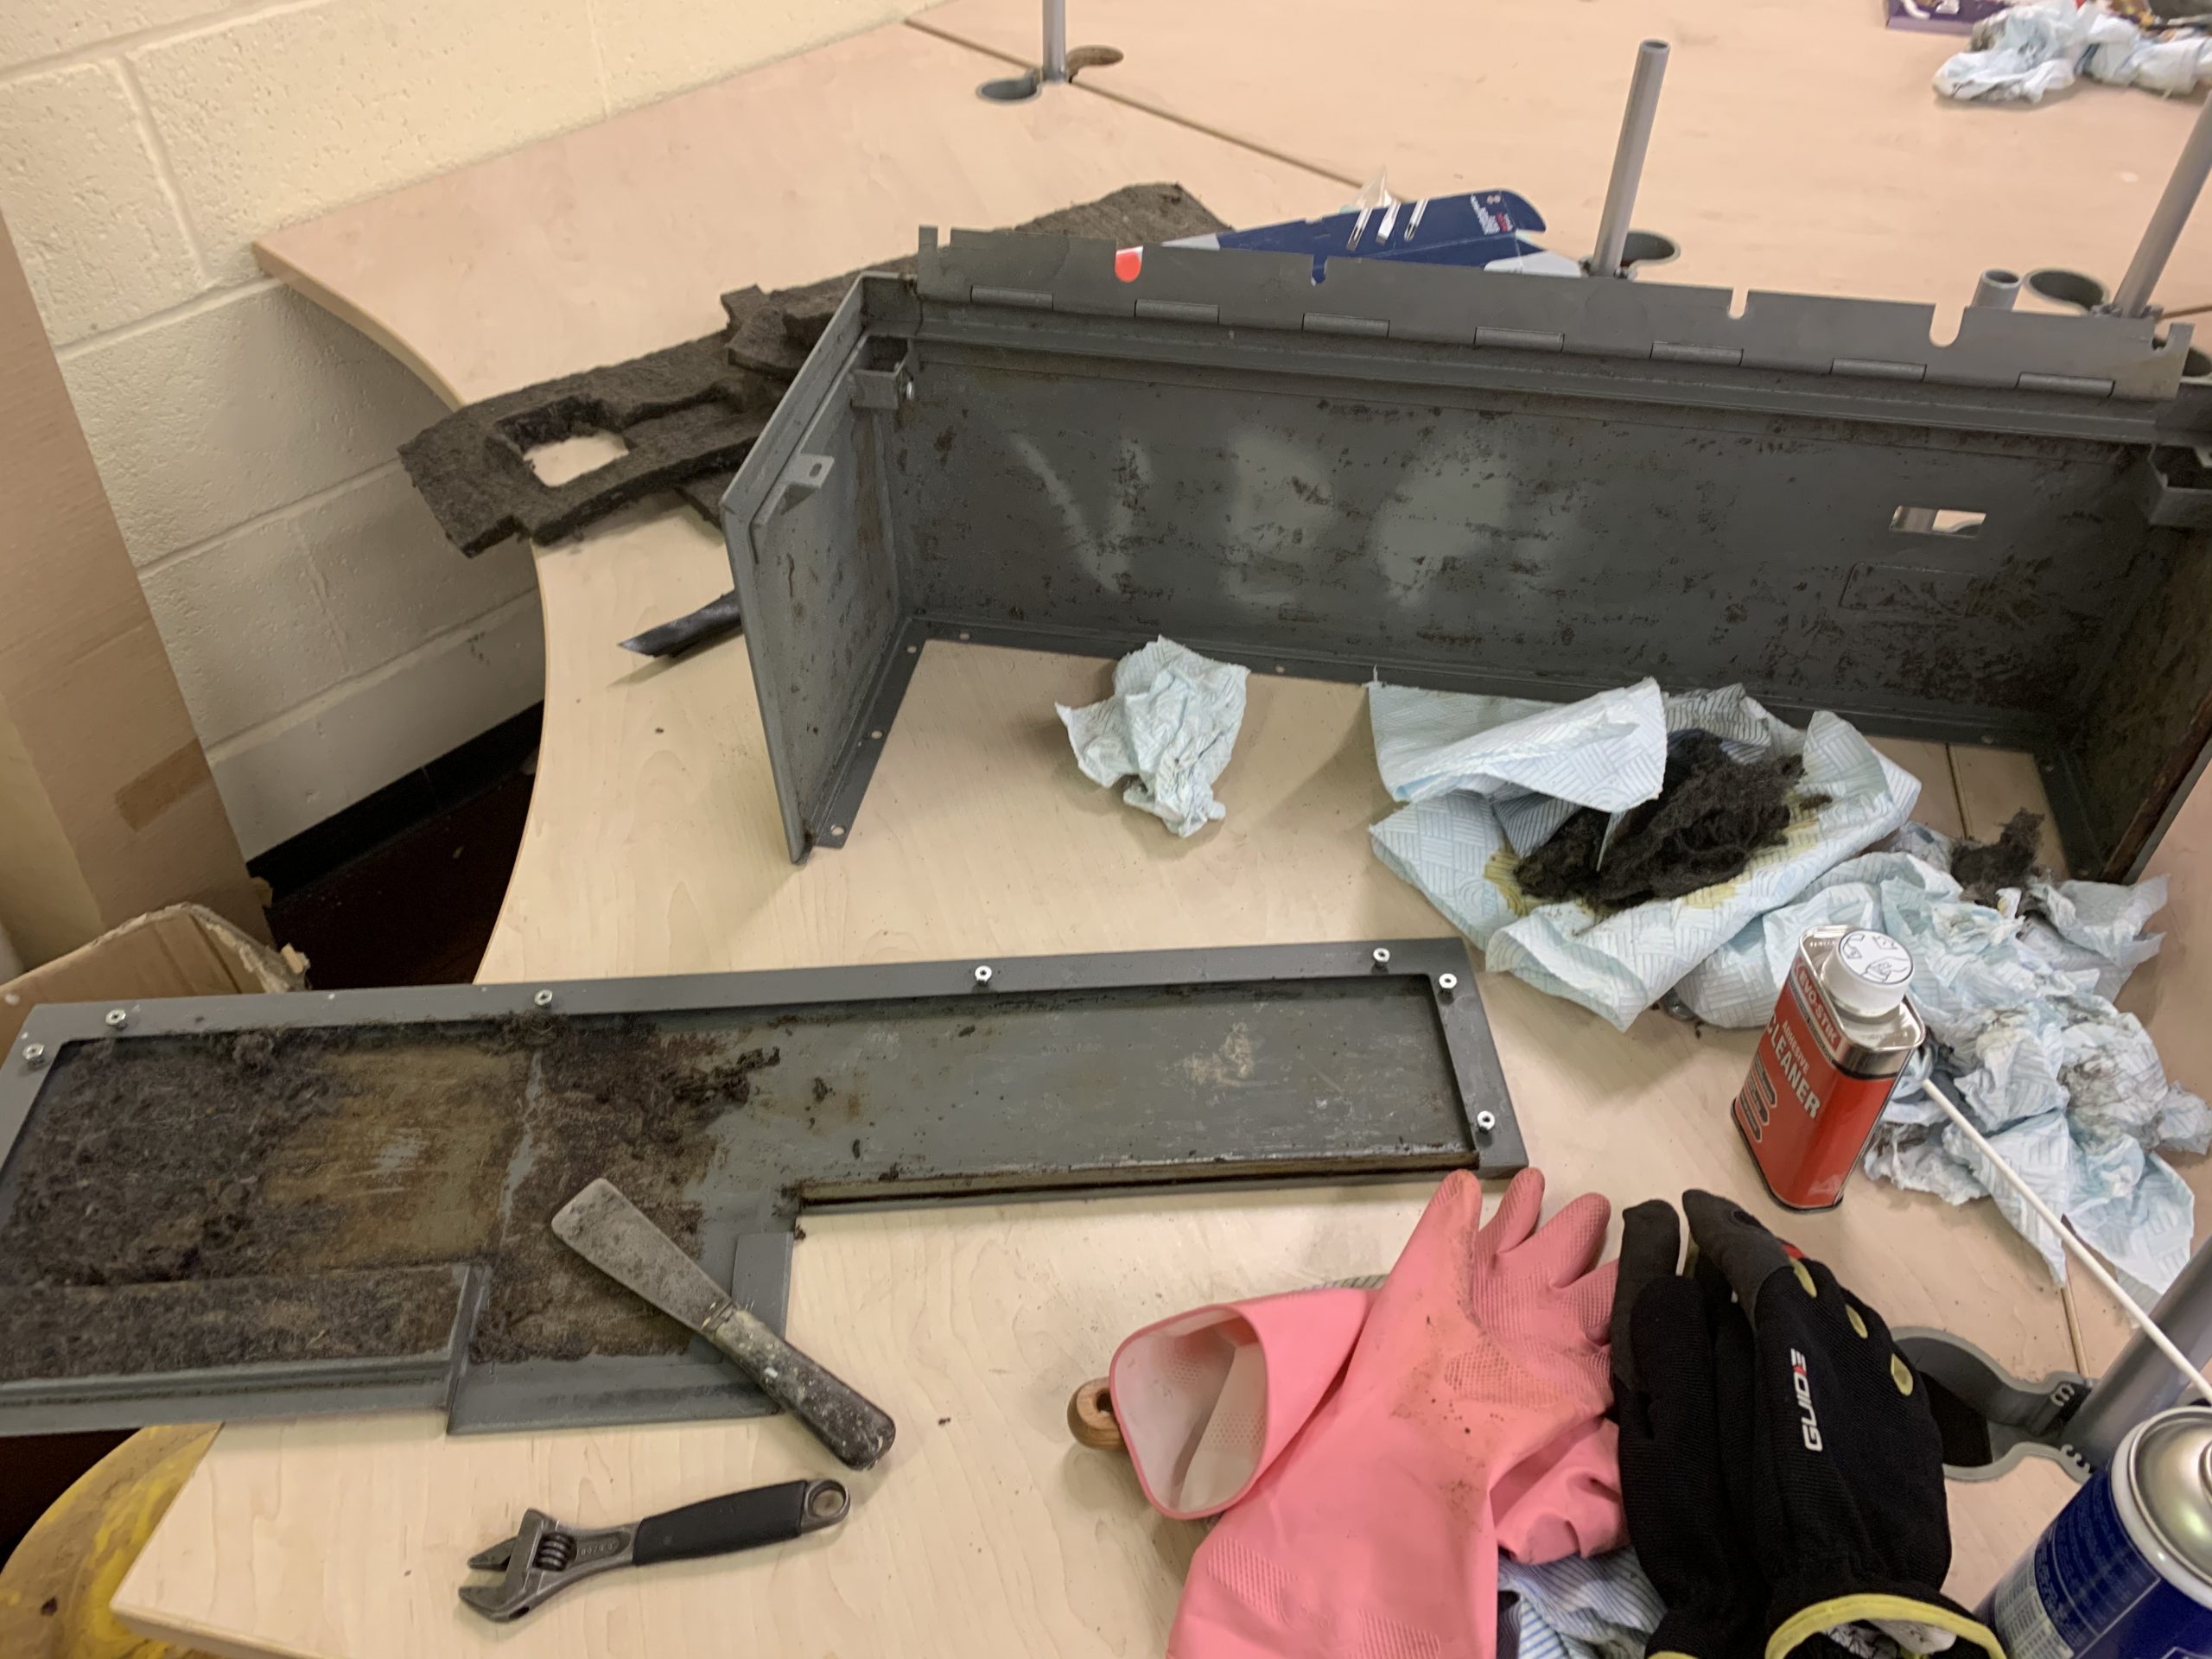
Soon enough, it was all done and looking reasonably clean, there were a few spots of rust that need treating but nothing major:
With that done, and with the foam pieces intact thanks to the freeze spray removal method, I’m now able to produce a template and cut some new foam. The new foam will be Class 0 acoustic foam which is fire resistant, fibrous, and does not erode or migrate in air movement (up to 6,000 ft/min, 2,800Mt/min). This foam will be replaced as part of a component refresh programme every 10-15 years subject to inspection.
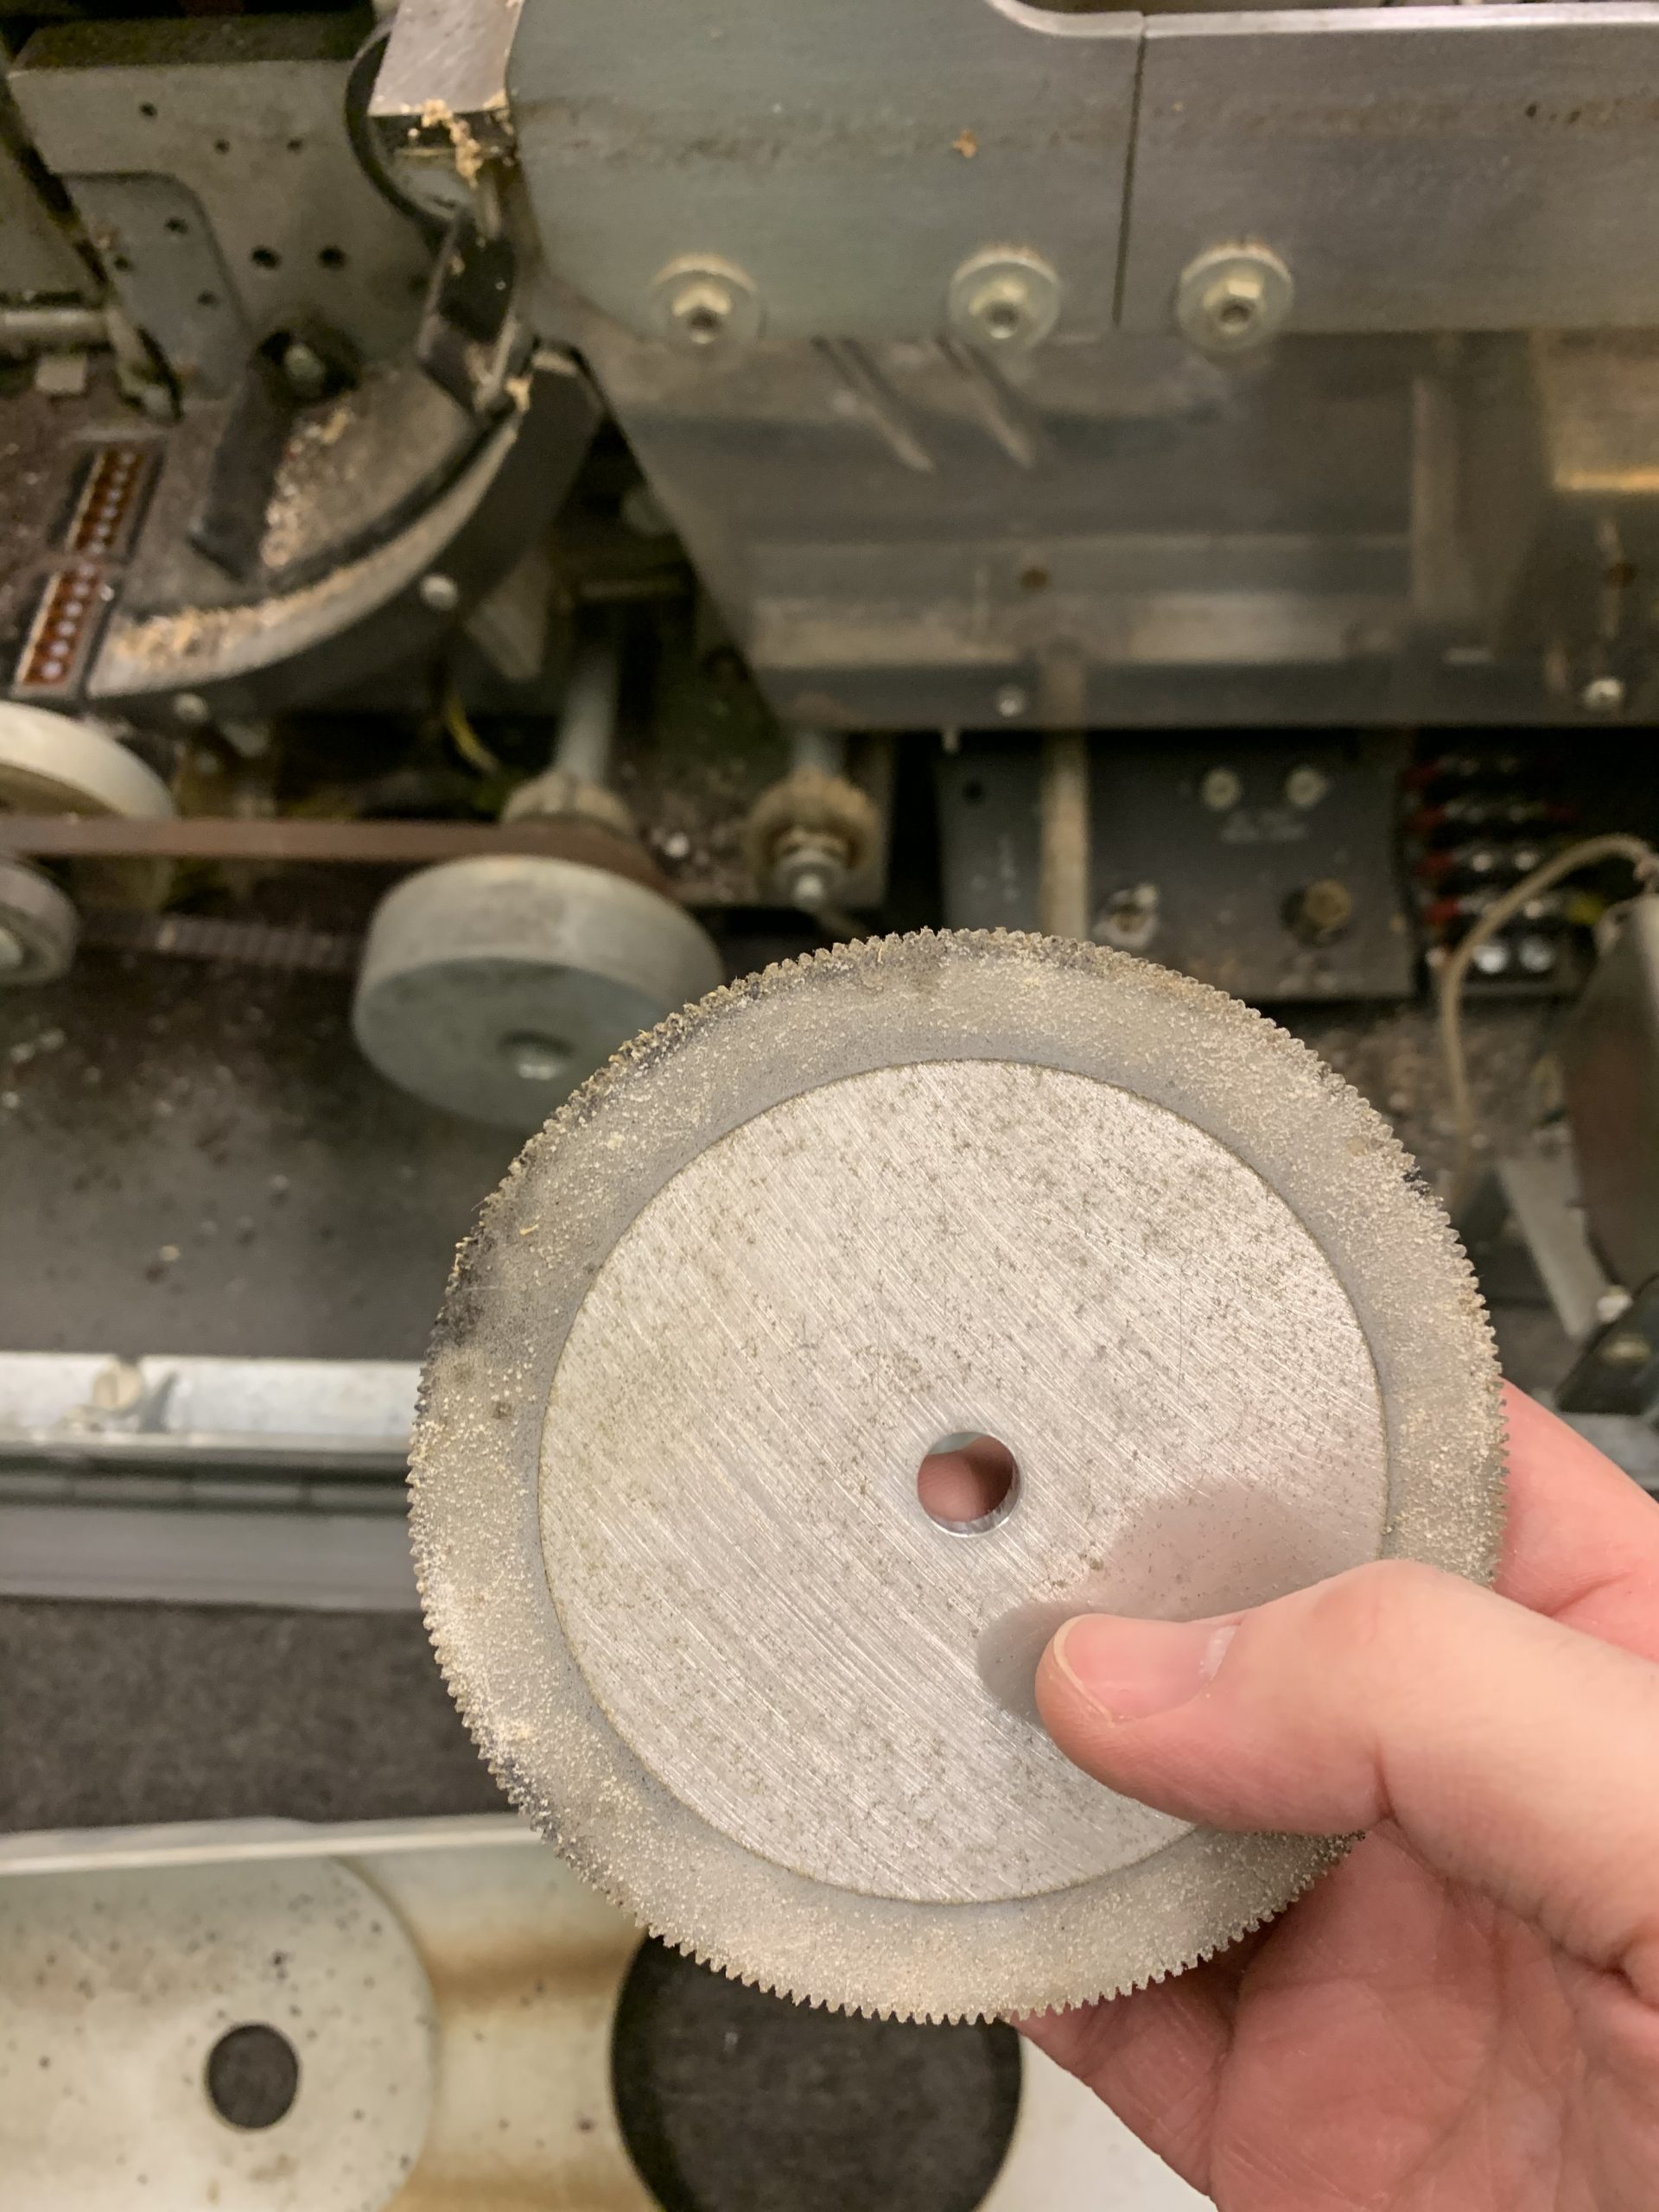
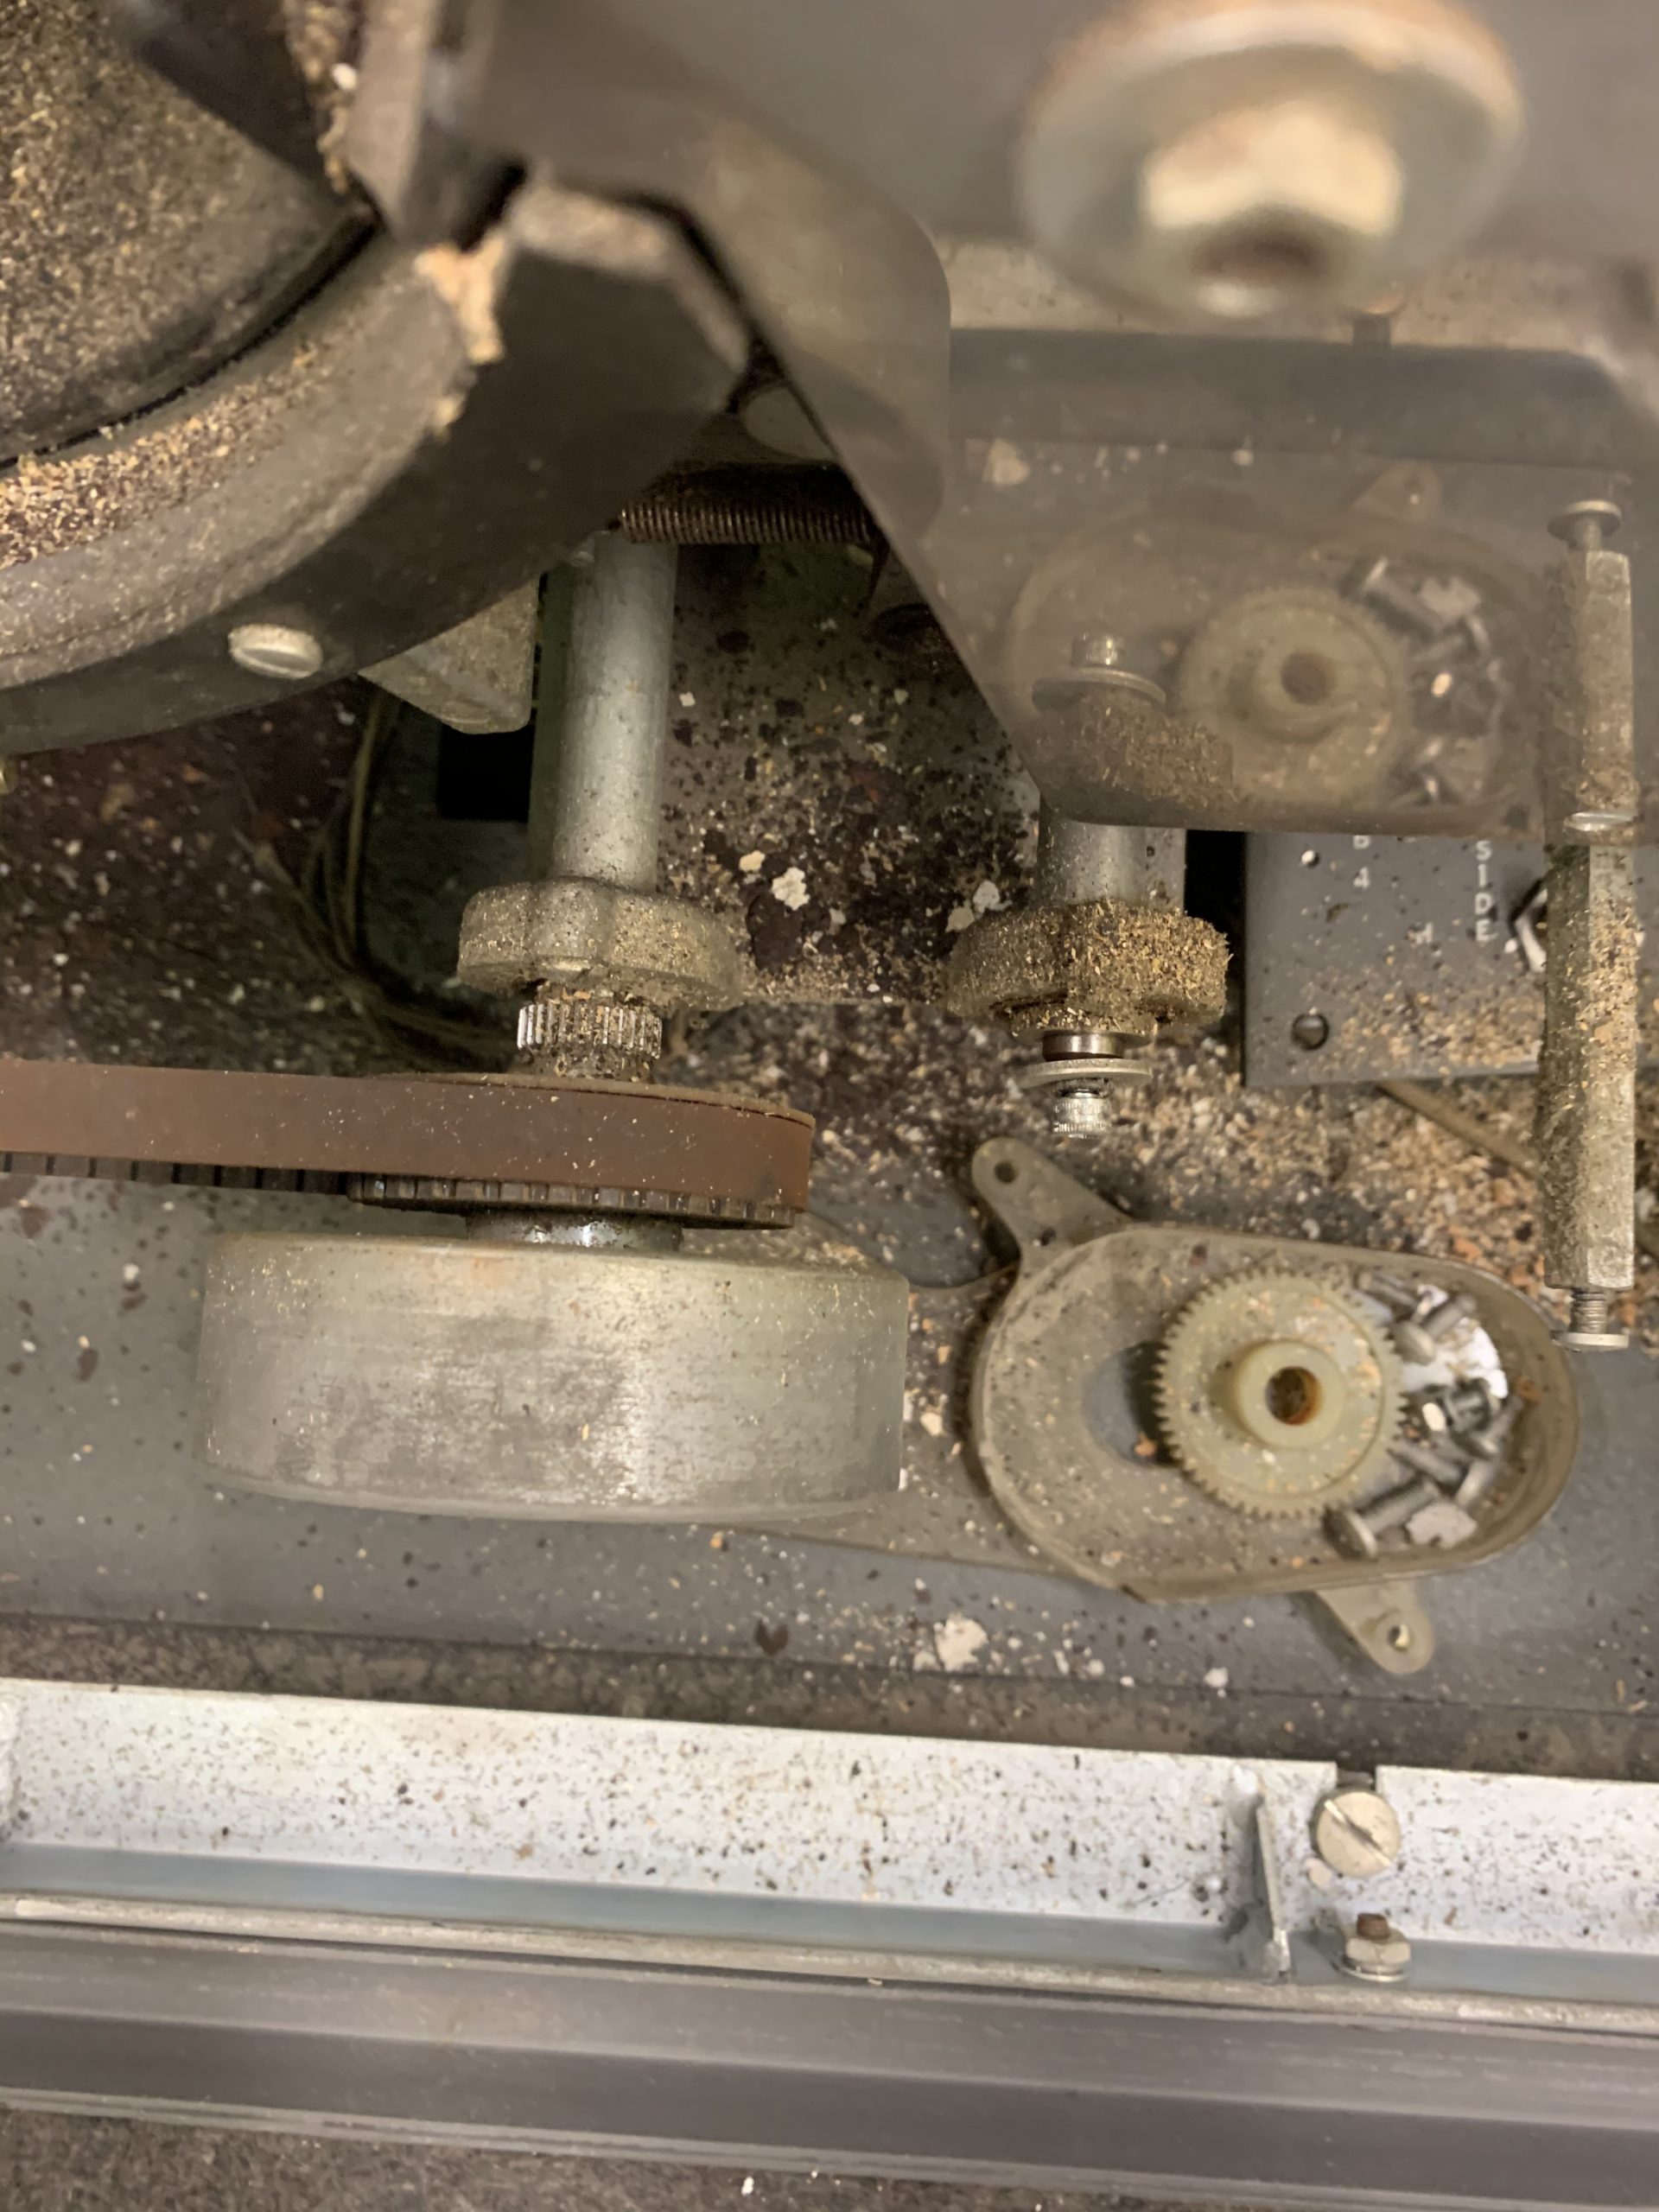
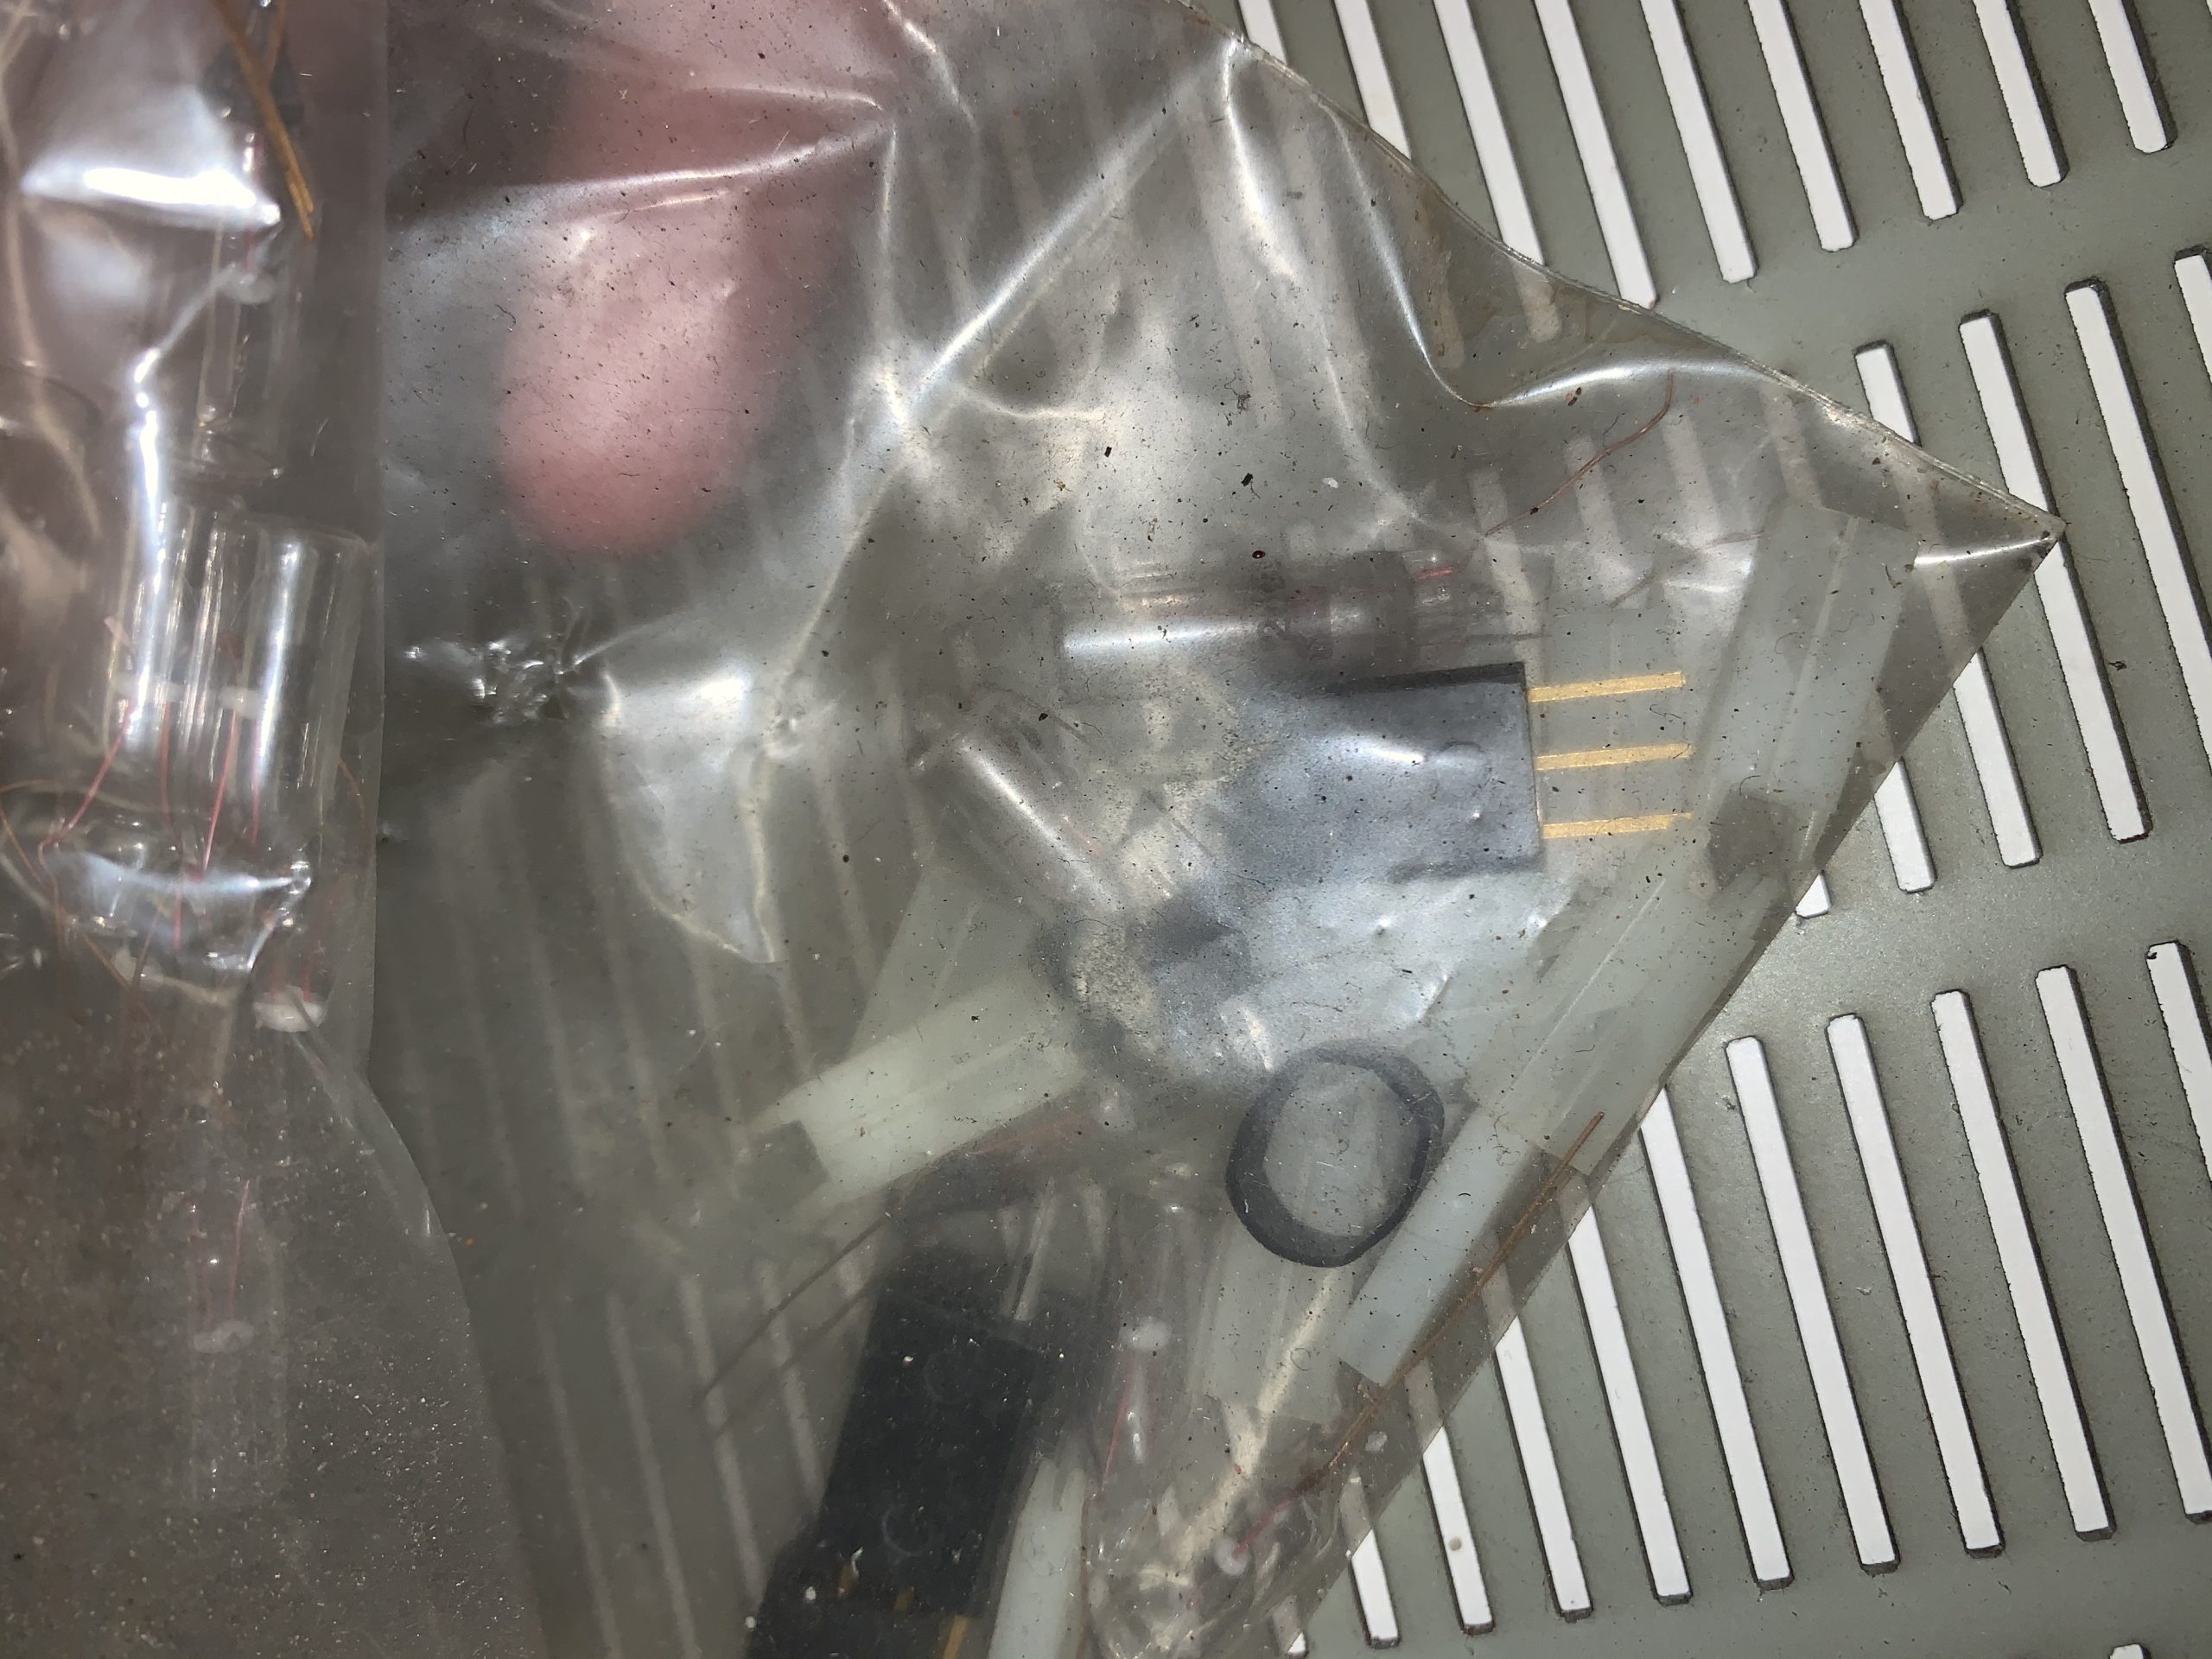
After cleaning up the top section, I turned my attention to the internals and the mechanics. The first thing I noticed on the red reader (the one that has all of its parts and appears to be in the best condition of the two) was that it had a number of perished rubber/plastic components in the back, including a feed wheel and a gear. Luckily, having checked the other 2501, it has both of these parts intact (but not very many others!); this, of course, means I have a reference to re-produce both, and as far as the gear goes we’re hoping to work with laser scanning and 3d printing company who have provisionally agreed to scan the gear for us and 3d print a number of copies in various resins and plastics. As far as the feed wheel goes, this is simply a metal wheel with a rubber outer which I can re-produce on my lathe, so that’s one to add to the to-do list.
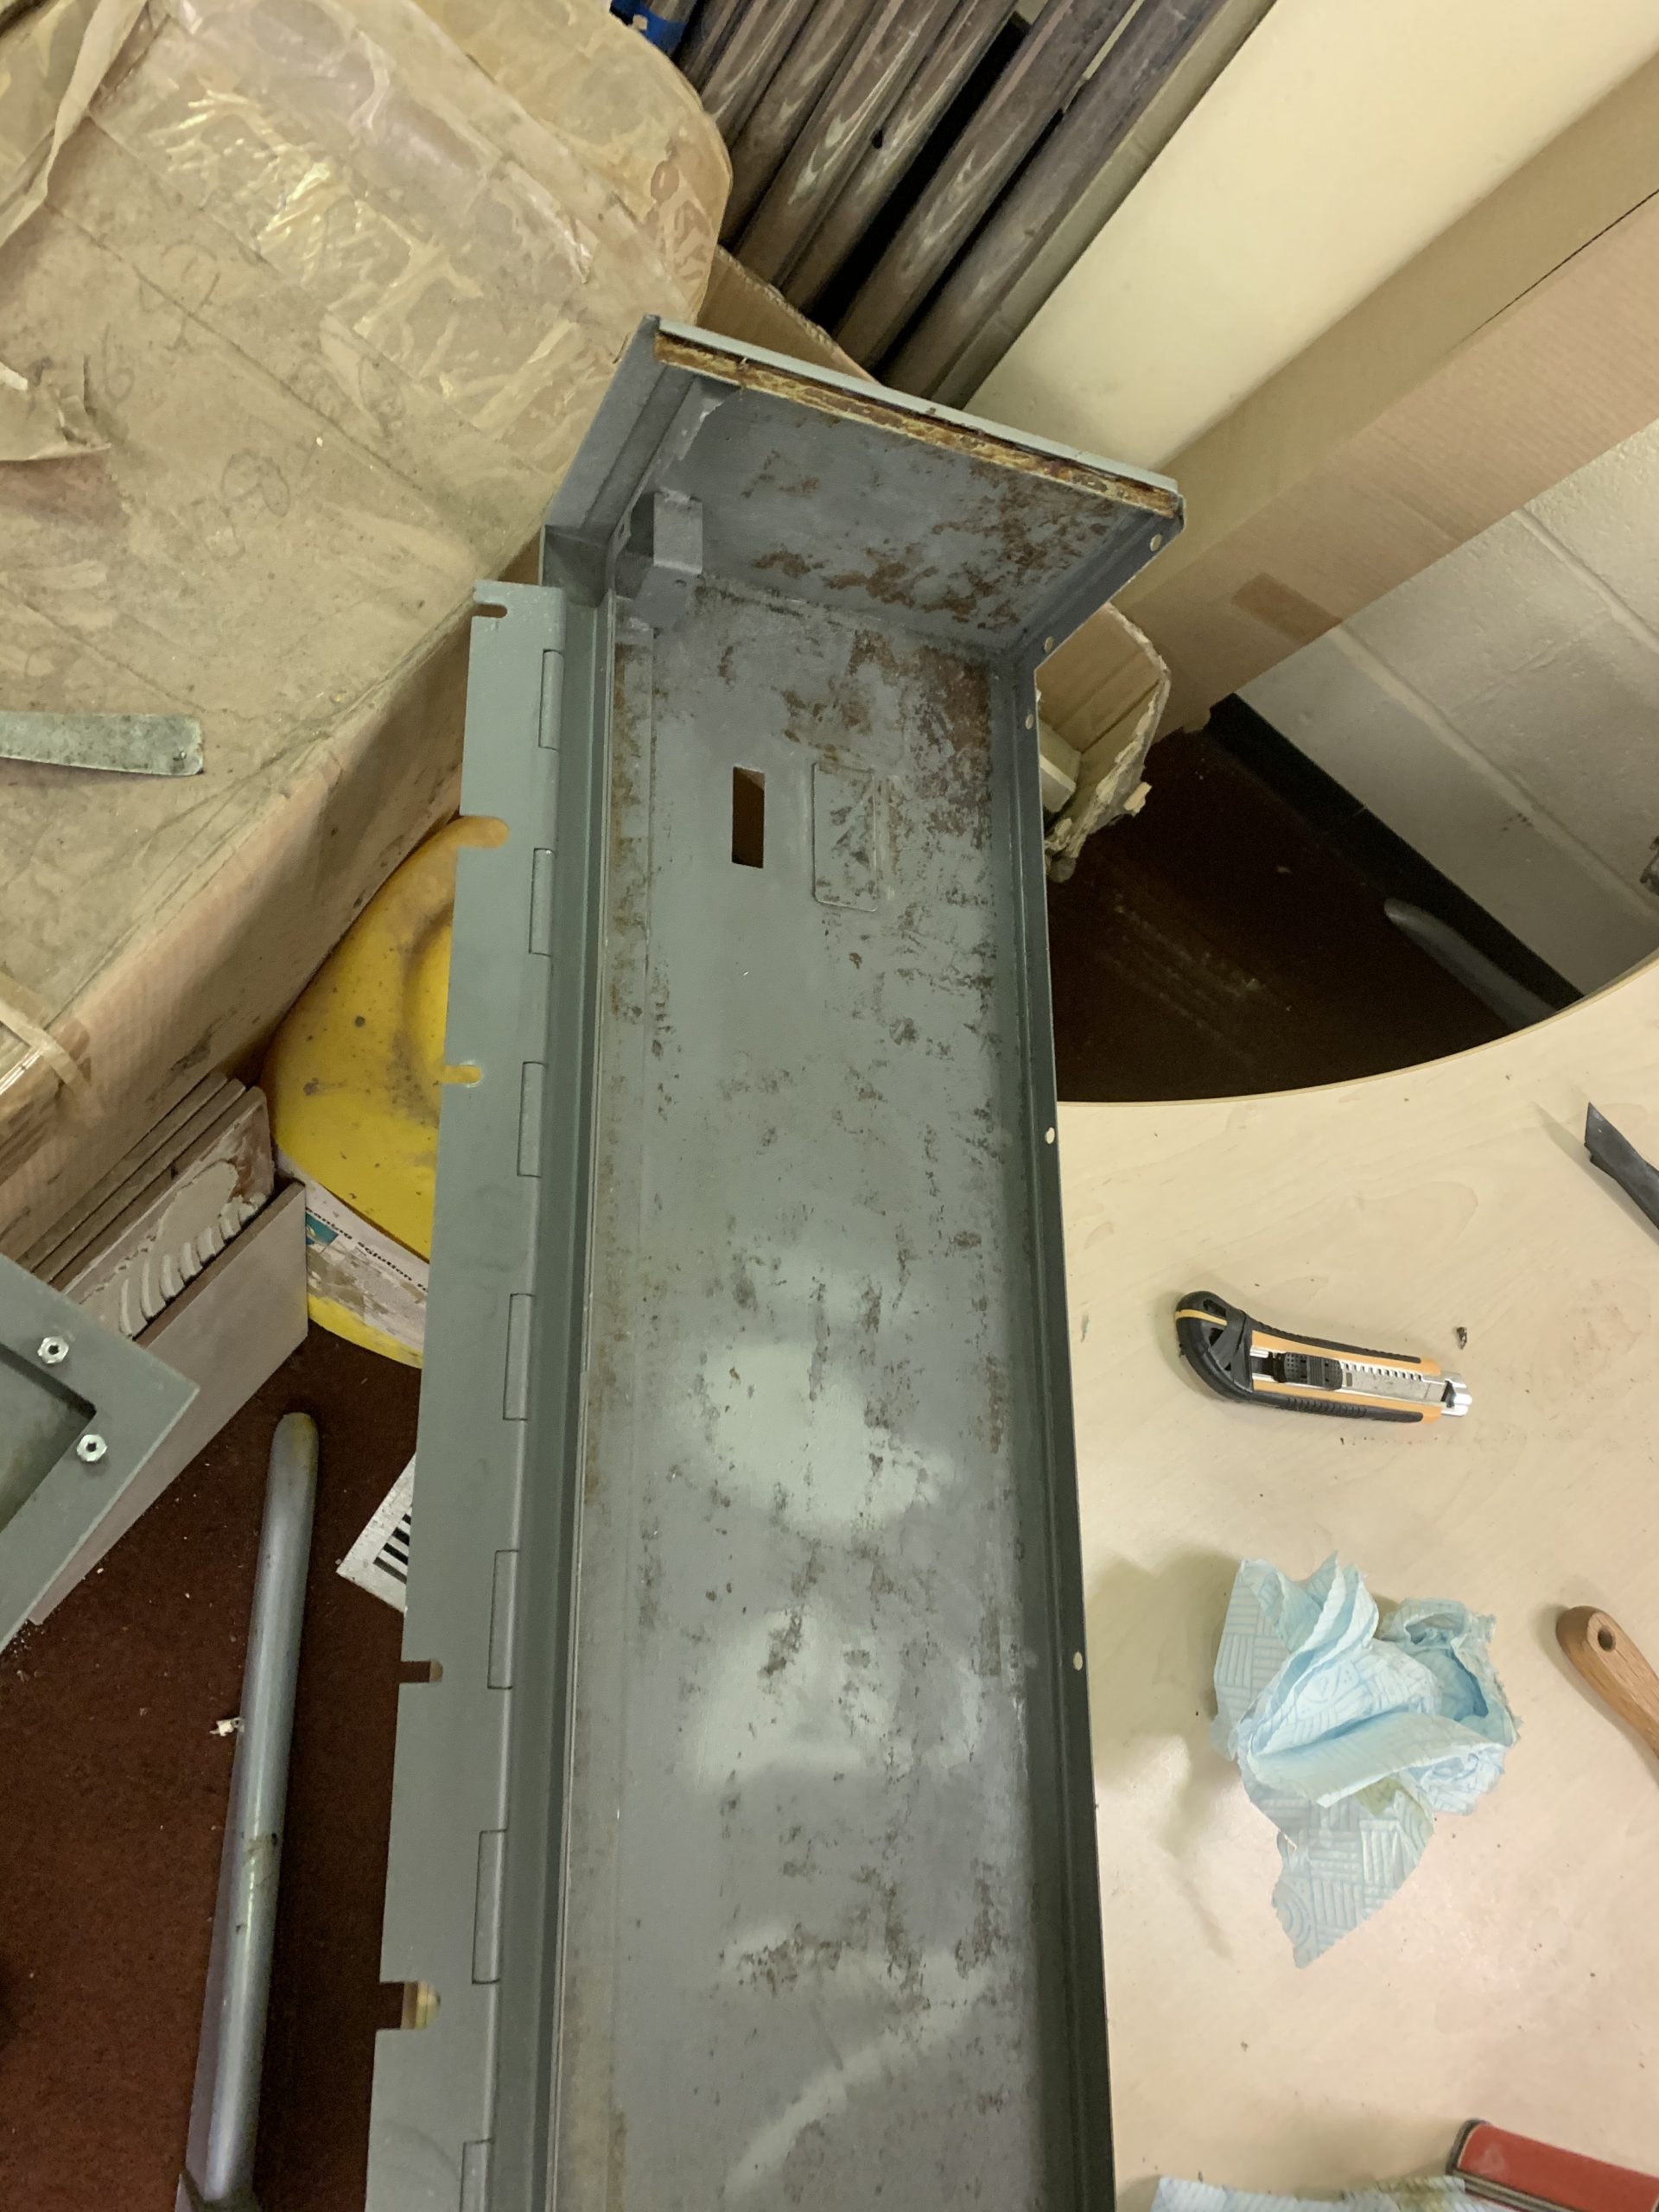
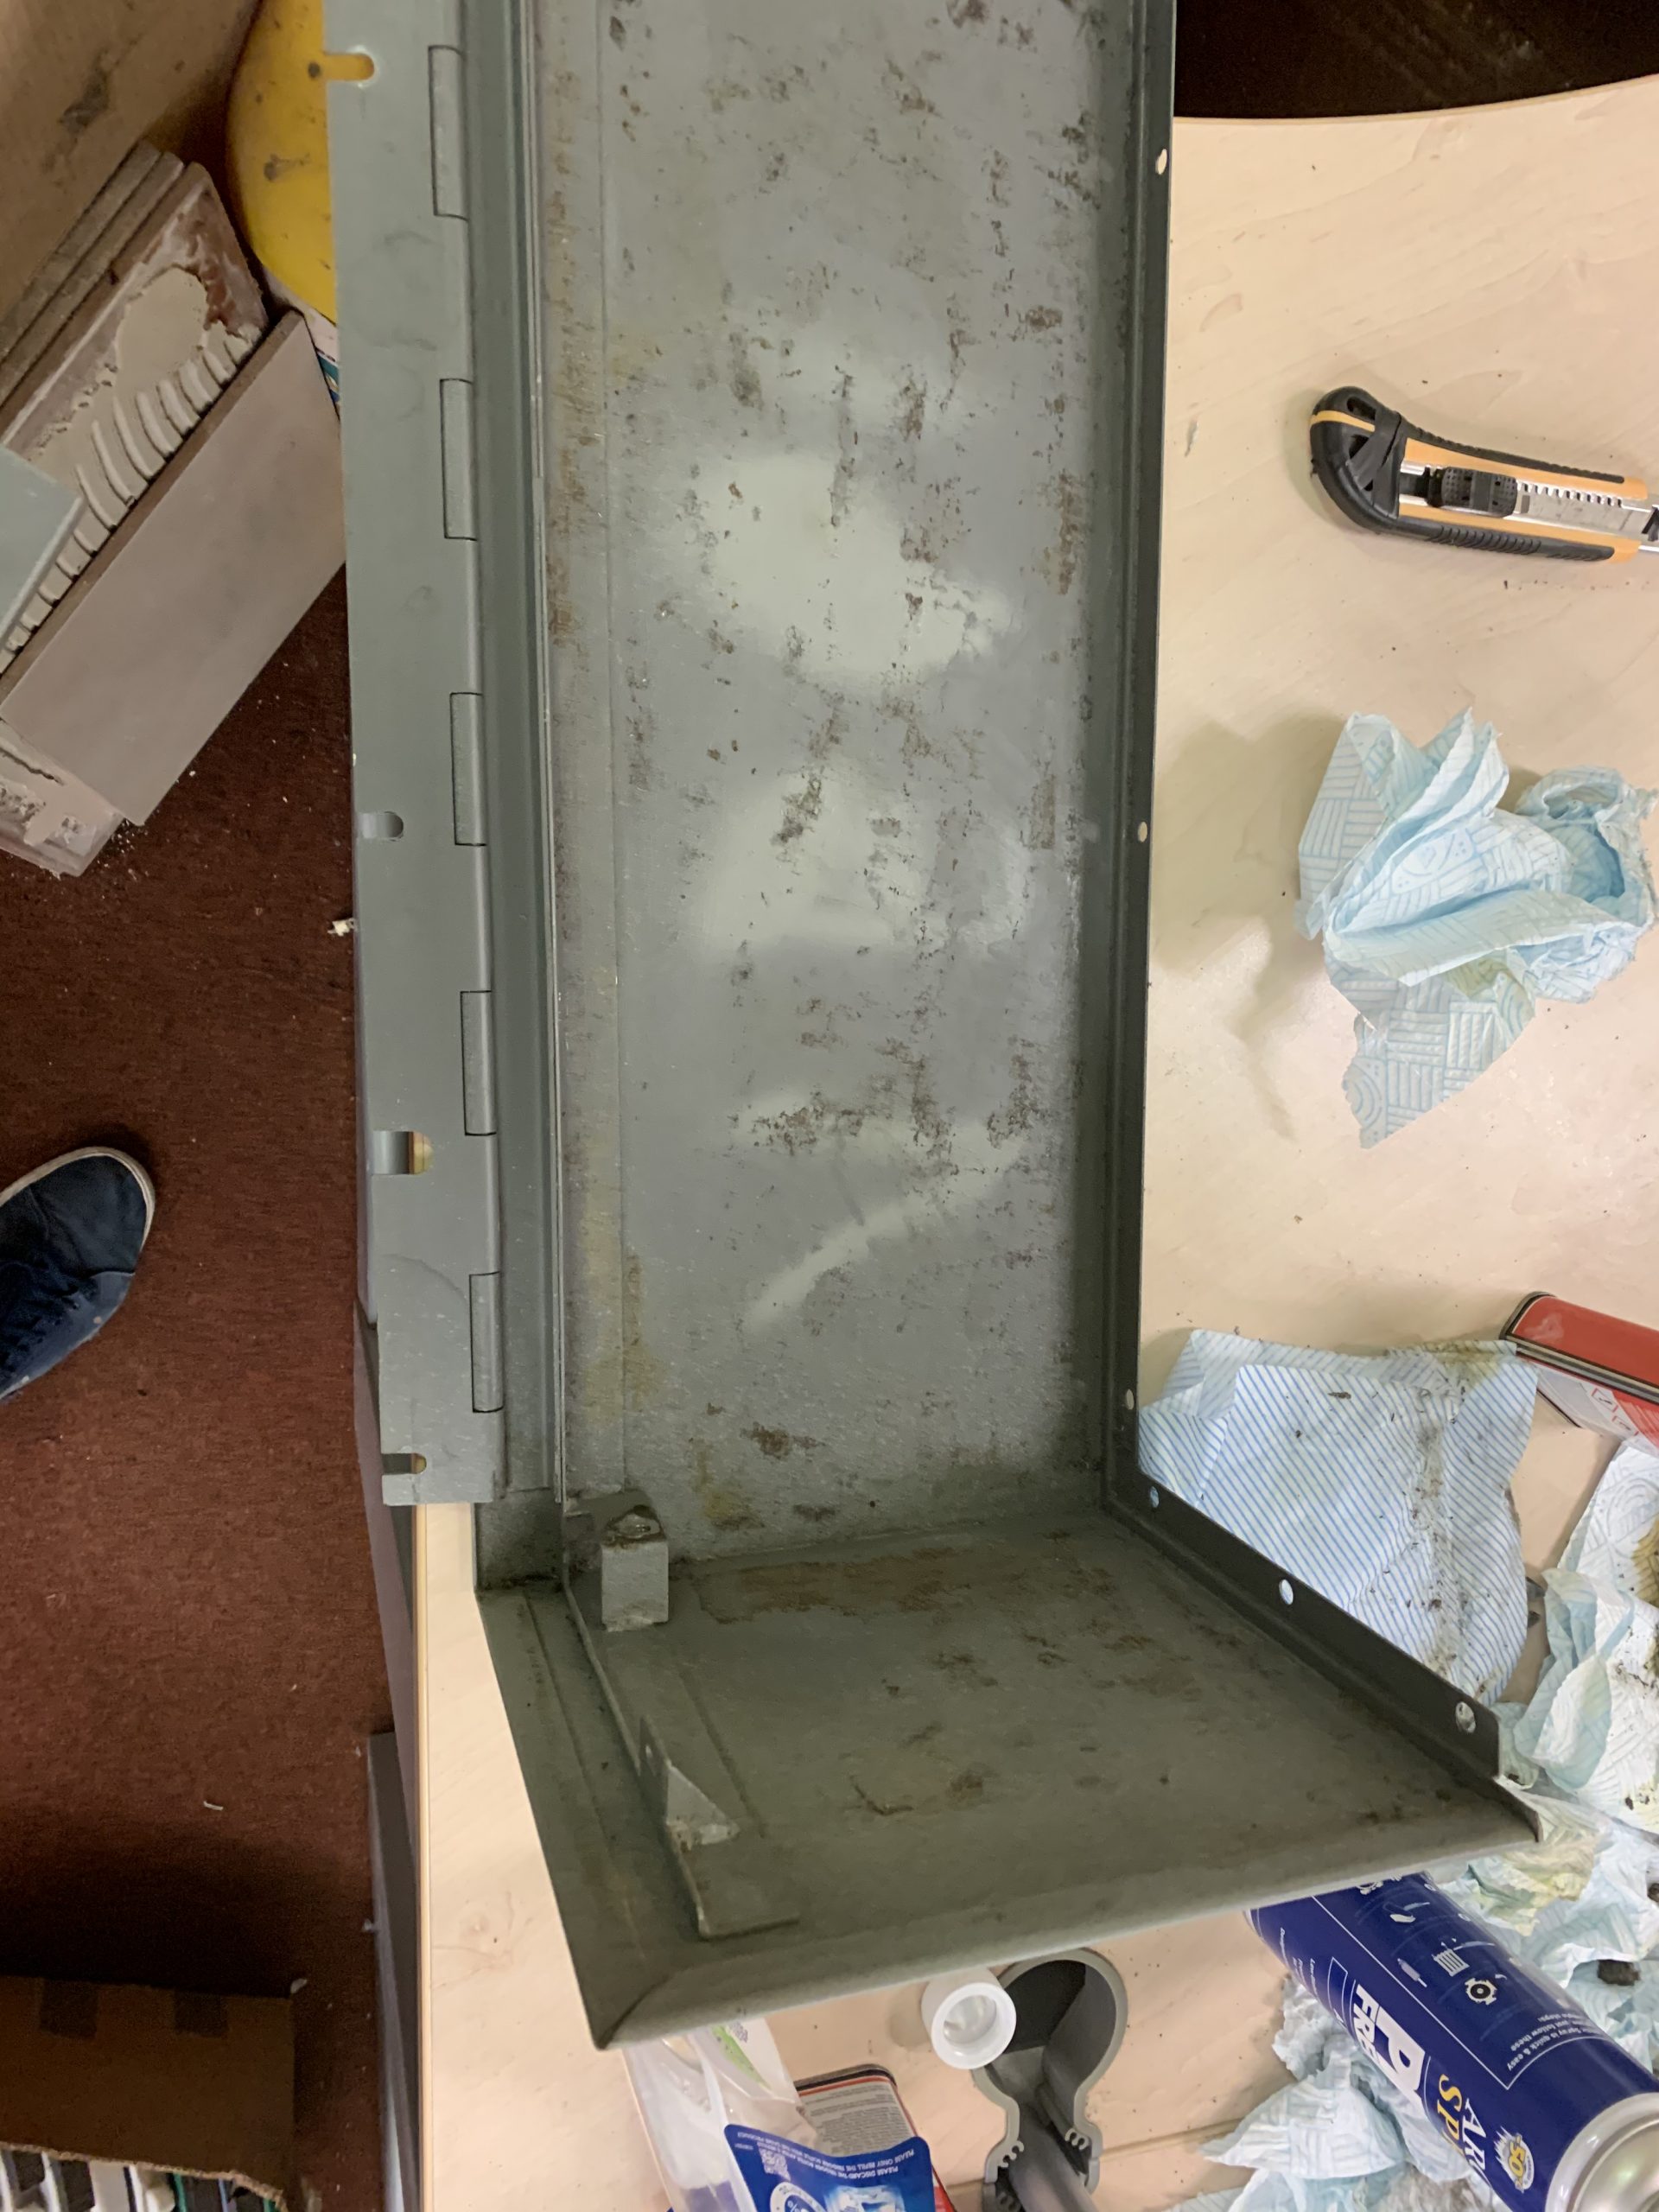
I thought I should probably give the inside lower part of the cabinet a bit of a clean next, so I did that as well:
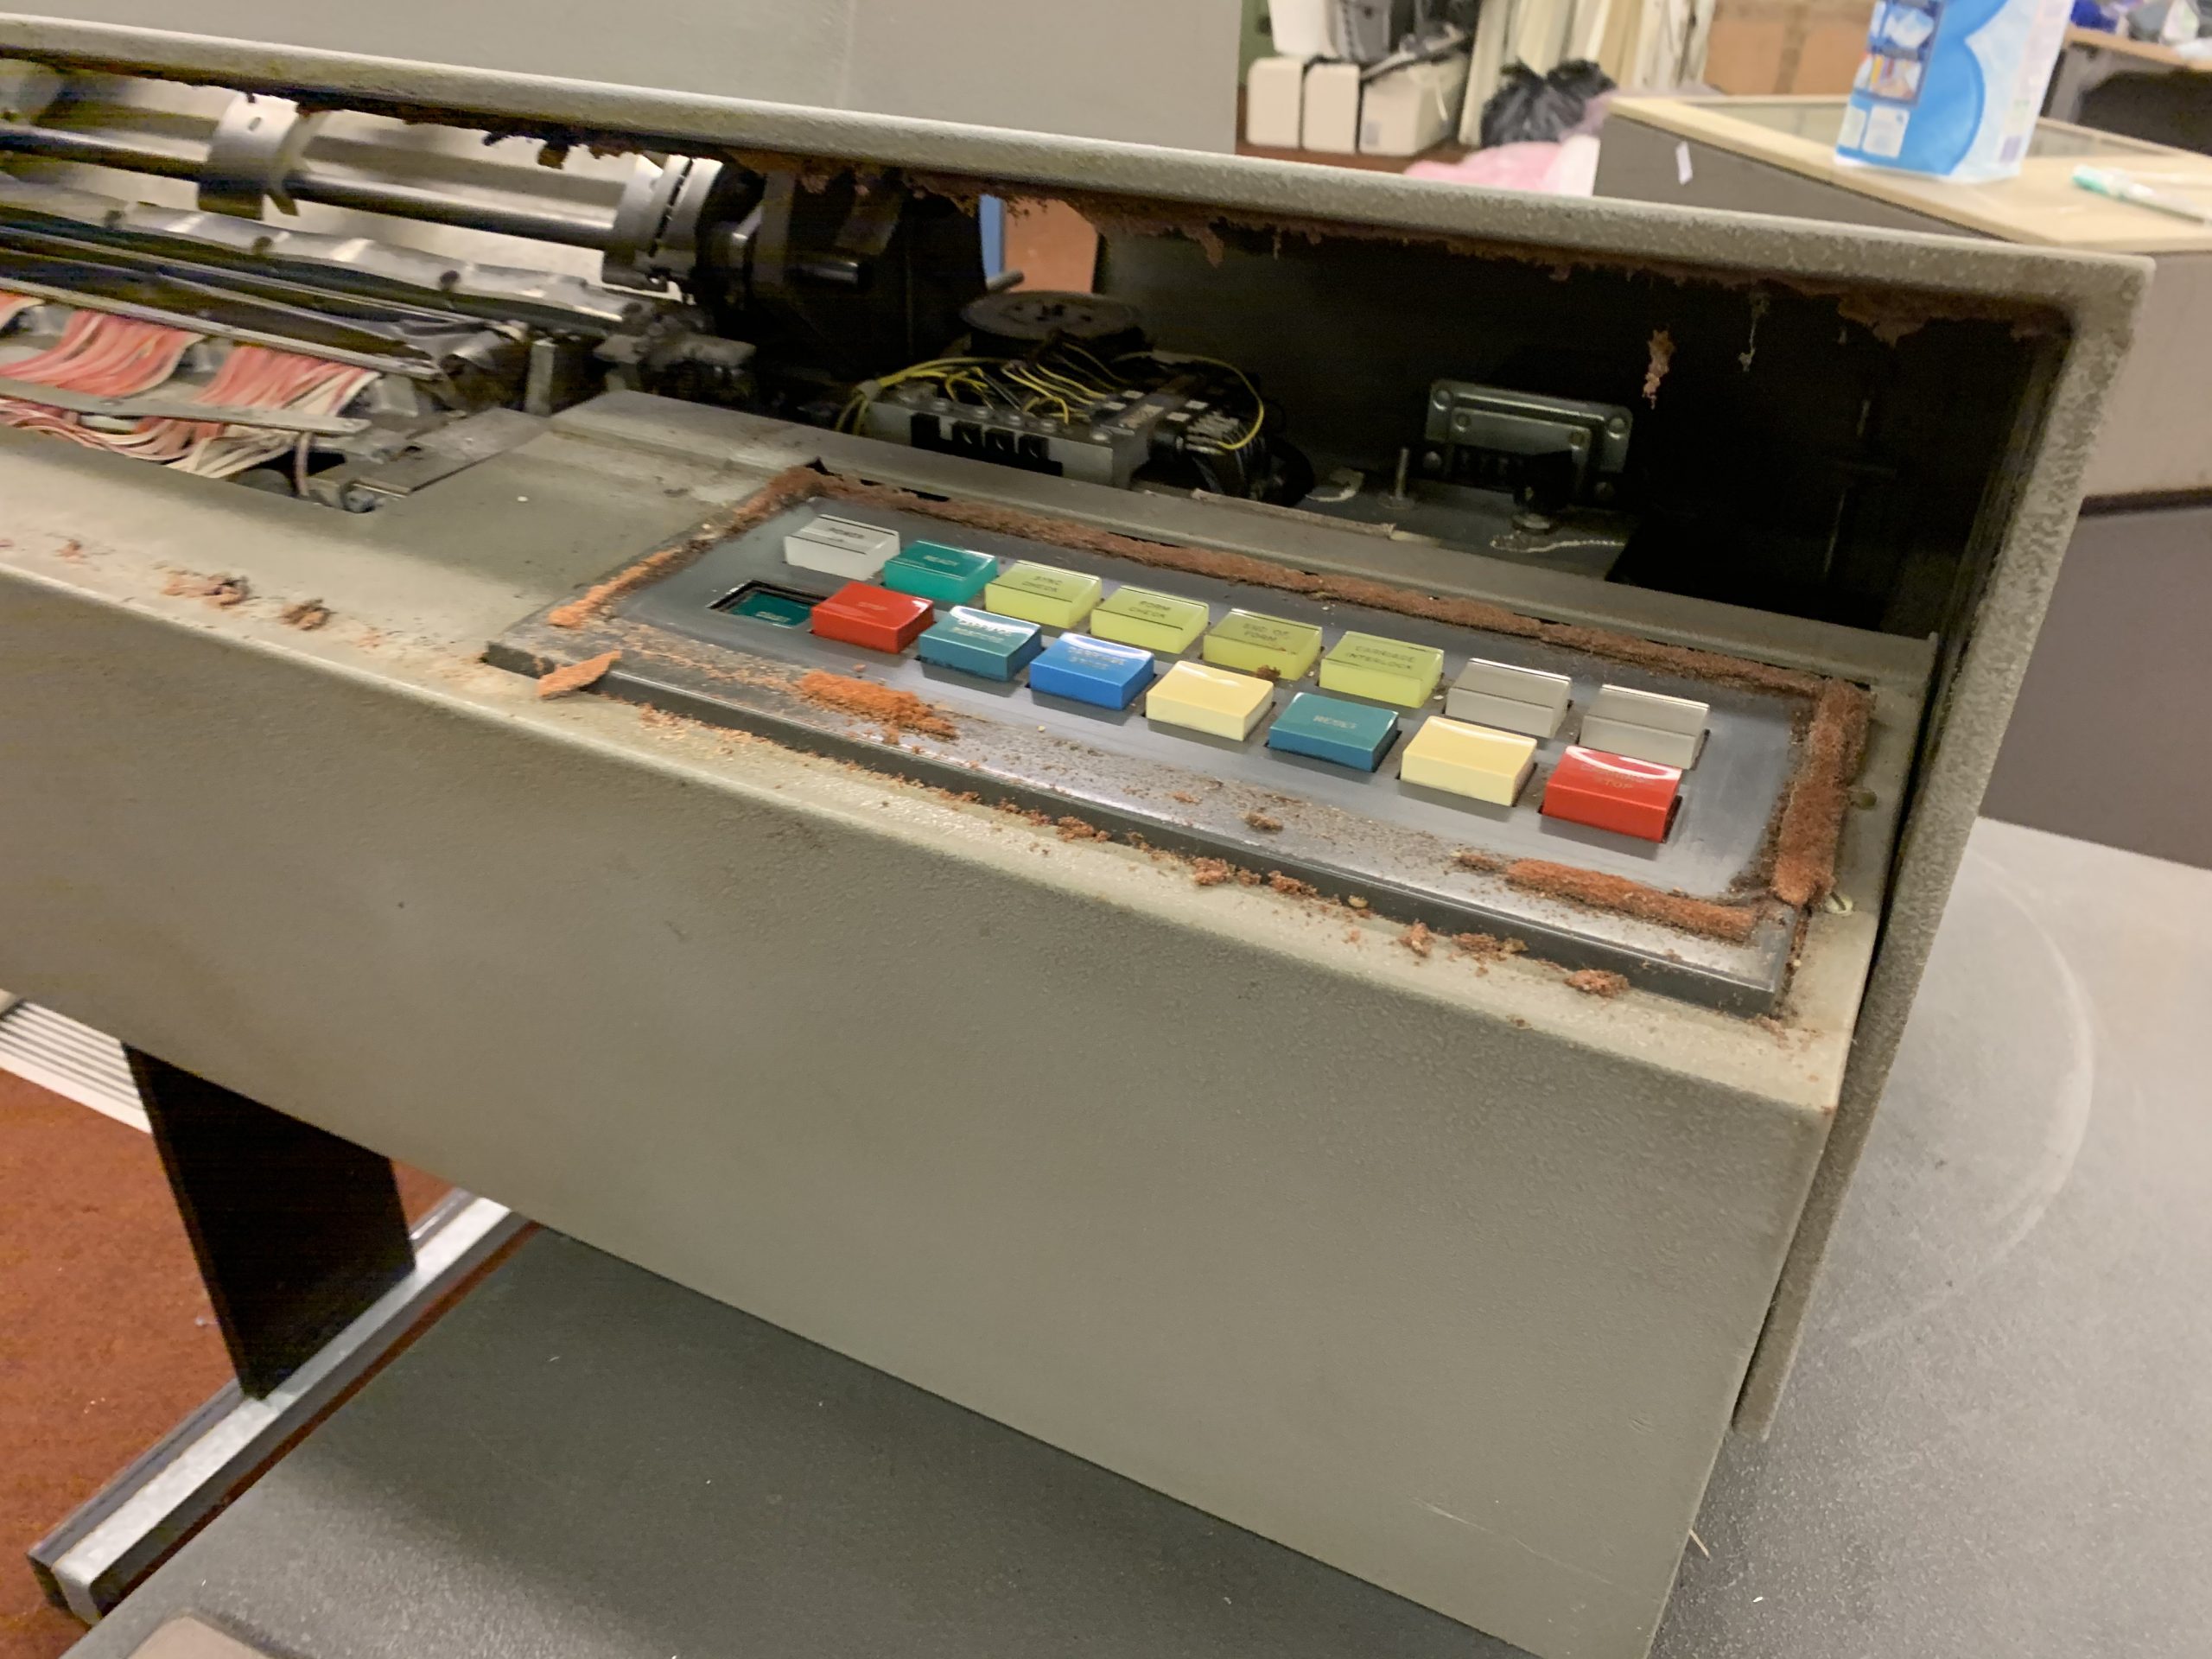
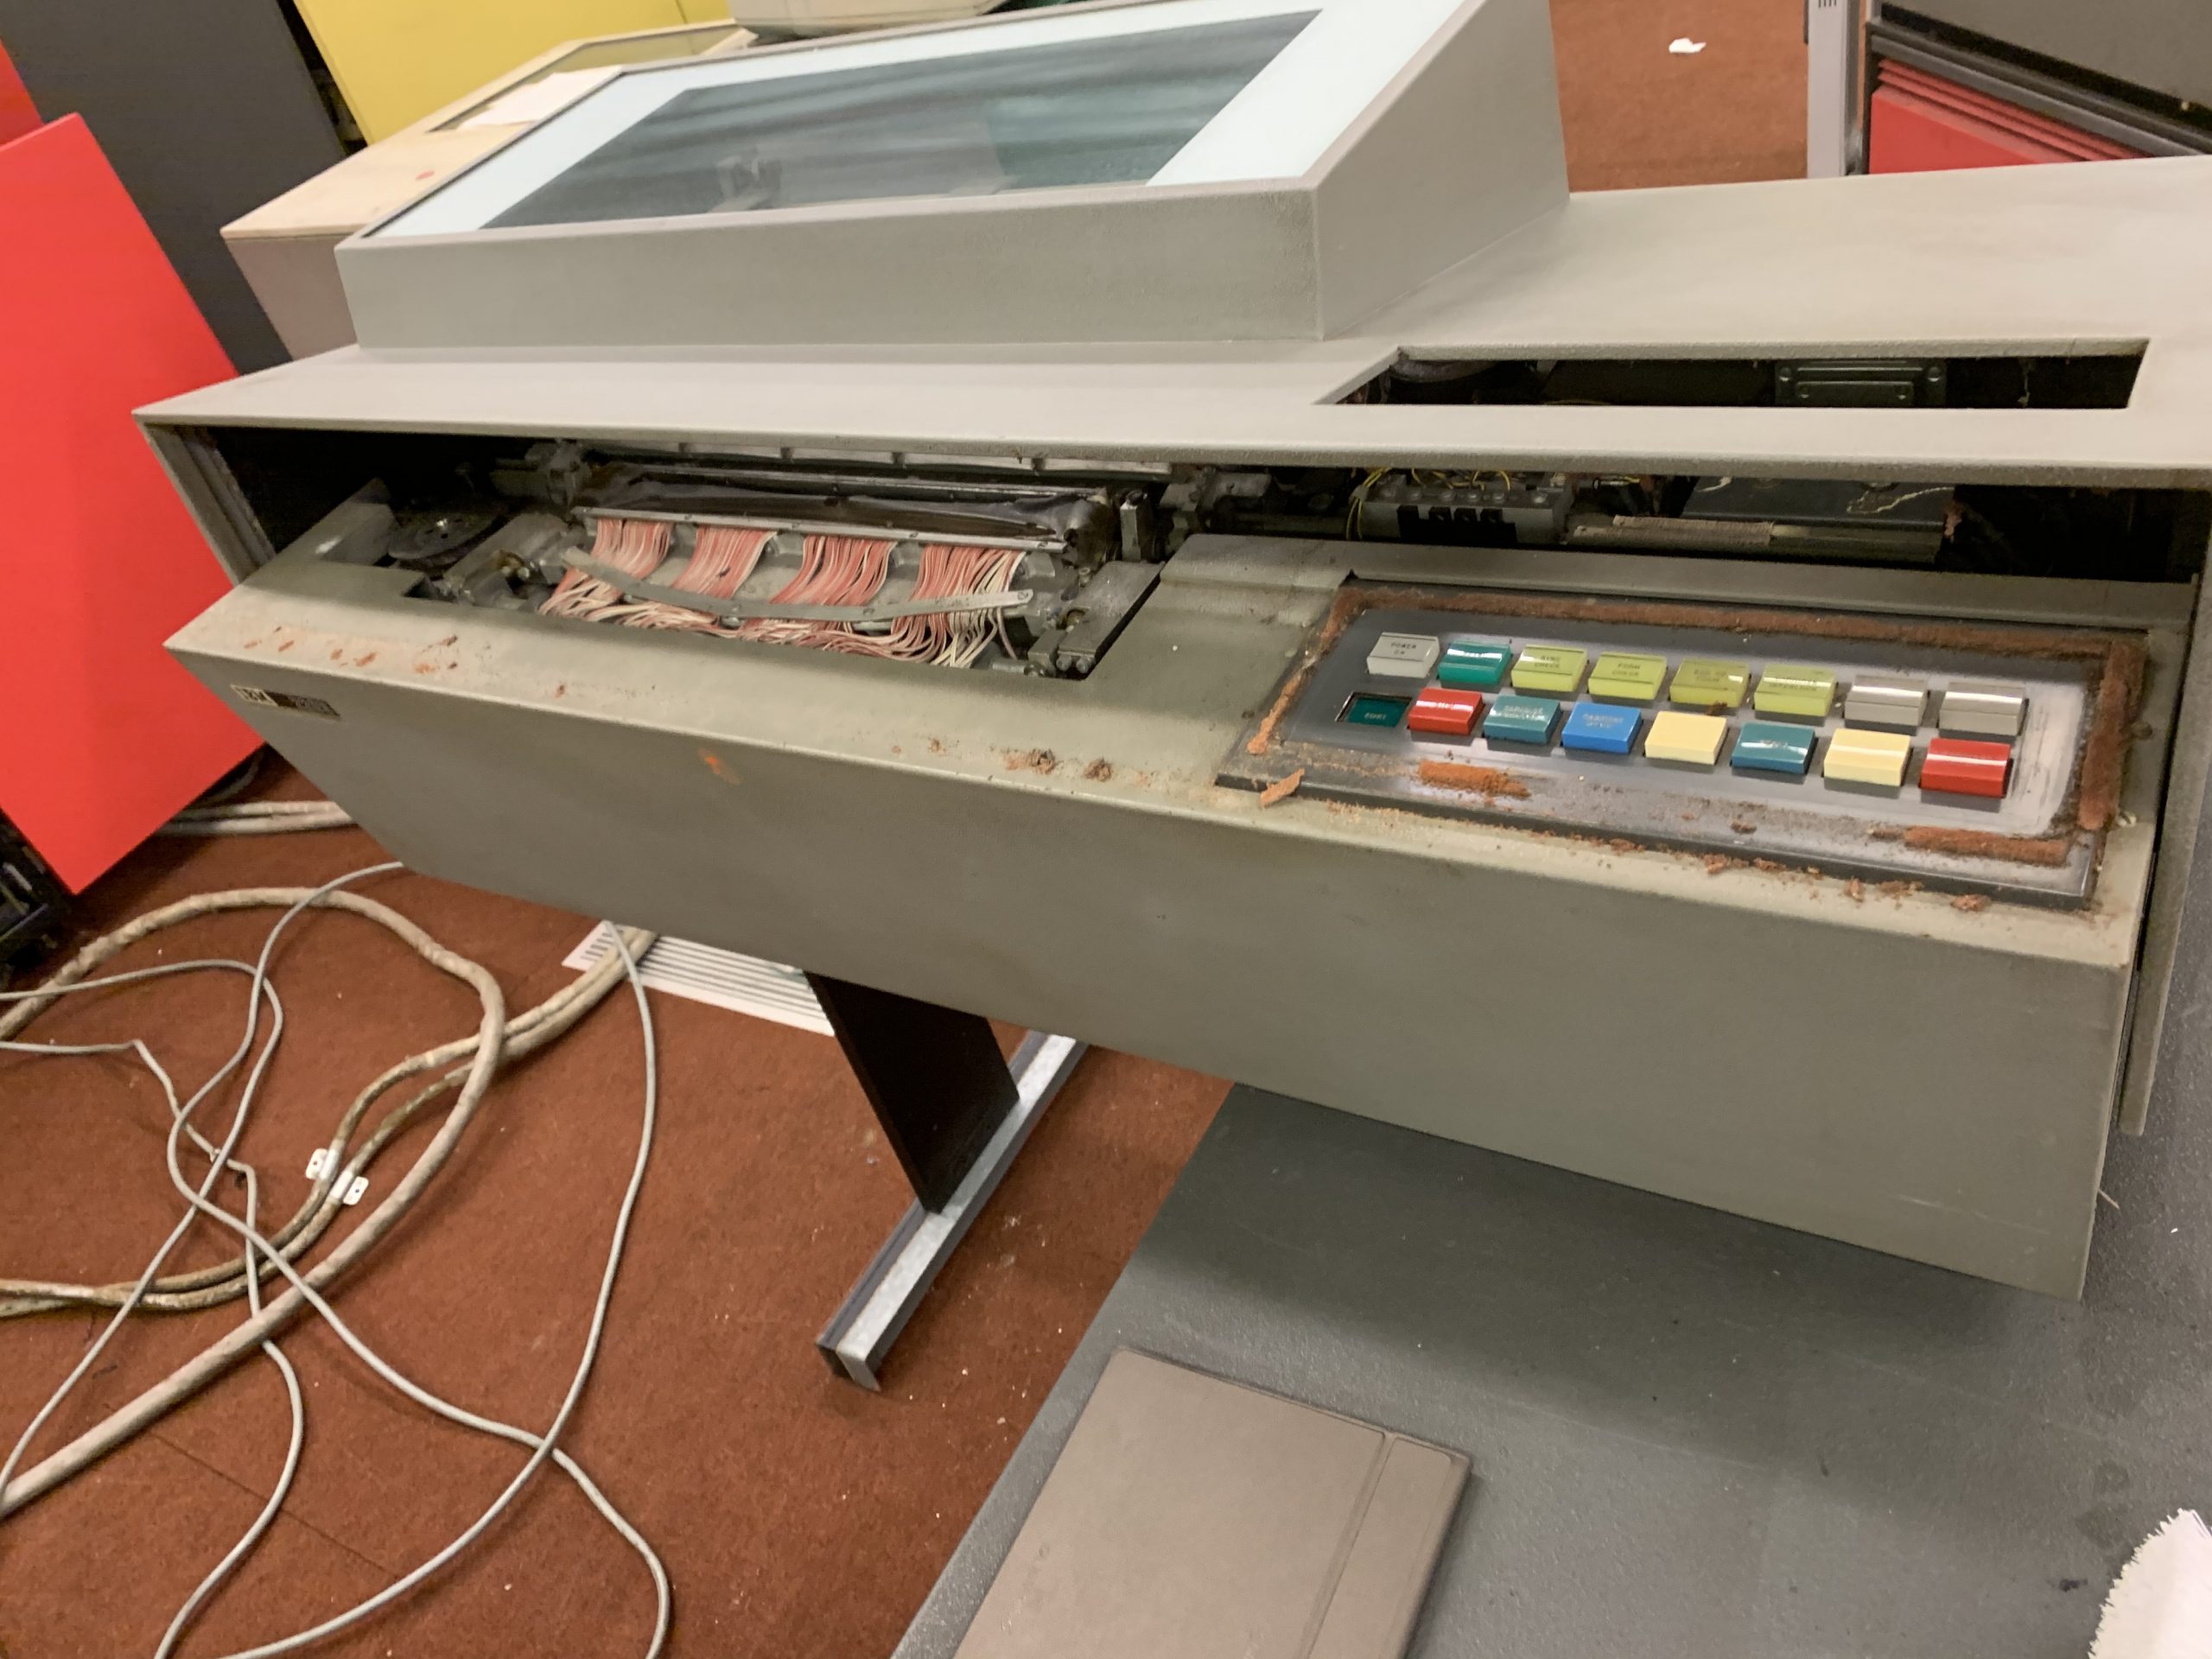
After all that was done, I decided to take a look at the 360 processor control panel. Whilst our control panel isn’t as grand as some IBM 360 panels, it does still have a number of blinkenlights! These lights are driven by bulbs which, of course, are IBM specific; and these days are about as common as hens’ teeth. I imagine we’re going to have to build a custom PCB with LED’s eventually, but having removed the back of the control panel for about the 4th time myself to show my father, he immediately noticed 2 spare packs of bulbs resting inside it!
A very rare find indeed, and one that may just keep us going on the real bulbs for at least a little while longer.
After a few hours working in the building, one tends to feel rather cold as it’s not a very warm space; perfect for a data centre but not so for humans! this has been limiting the number of hours we can work in one stint in the building, so when I got home on Saturday night I started looking for heaters. Now, I’ve got a paraffin heater that I use to heat my car workshops when I’m tinkering in the winter, but A) this is very expensive to run, and B) it produces a lot of fumes and moisture, and as such, I thought I’d look for some large electric heaters. I found a chap locally who was selling some second hand Clarke devil 6015 15kW 3-phase fan heaters for a very reasonable price, so I went over on the Sunday morning and bought 4 of them. Hopefully these will take the edge off of the cold, despite the horrendous cost of running….
On Sunday Simon was busy with other things, but Peter Vaughan was going to be joining us in the afternoon after taking care of some other jobs. My father (David) had kindly agreed to come and lend a hand again by continuing to clean the 2203 system printer. Remember that acoustic foam I was talking about earlier? This is what it looks like when it’s VERY degraded:
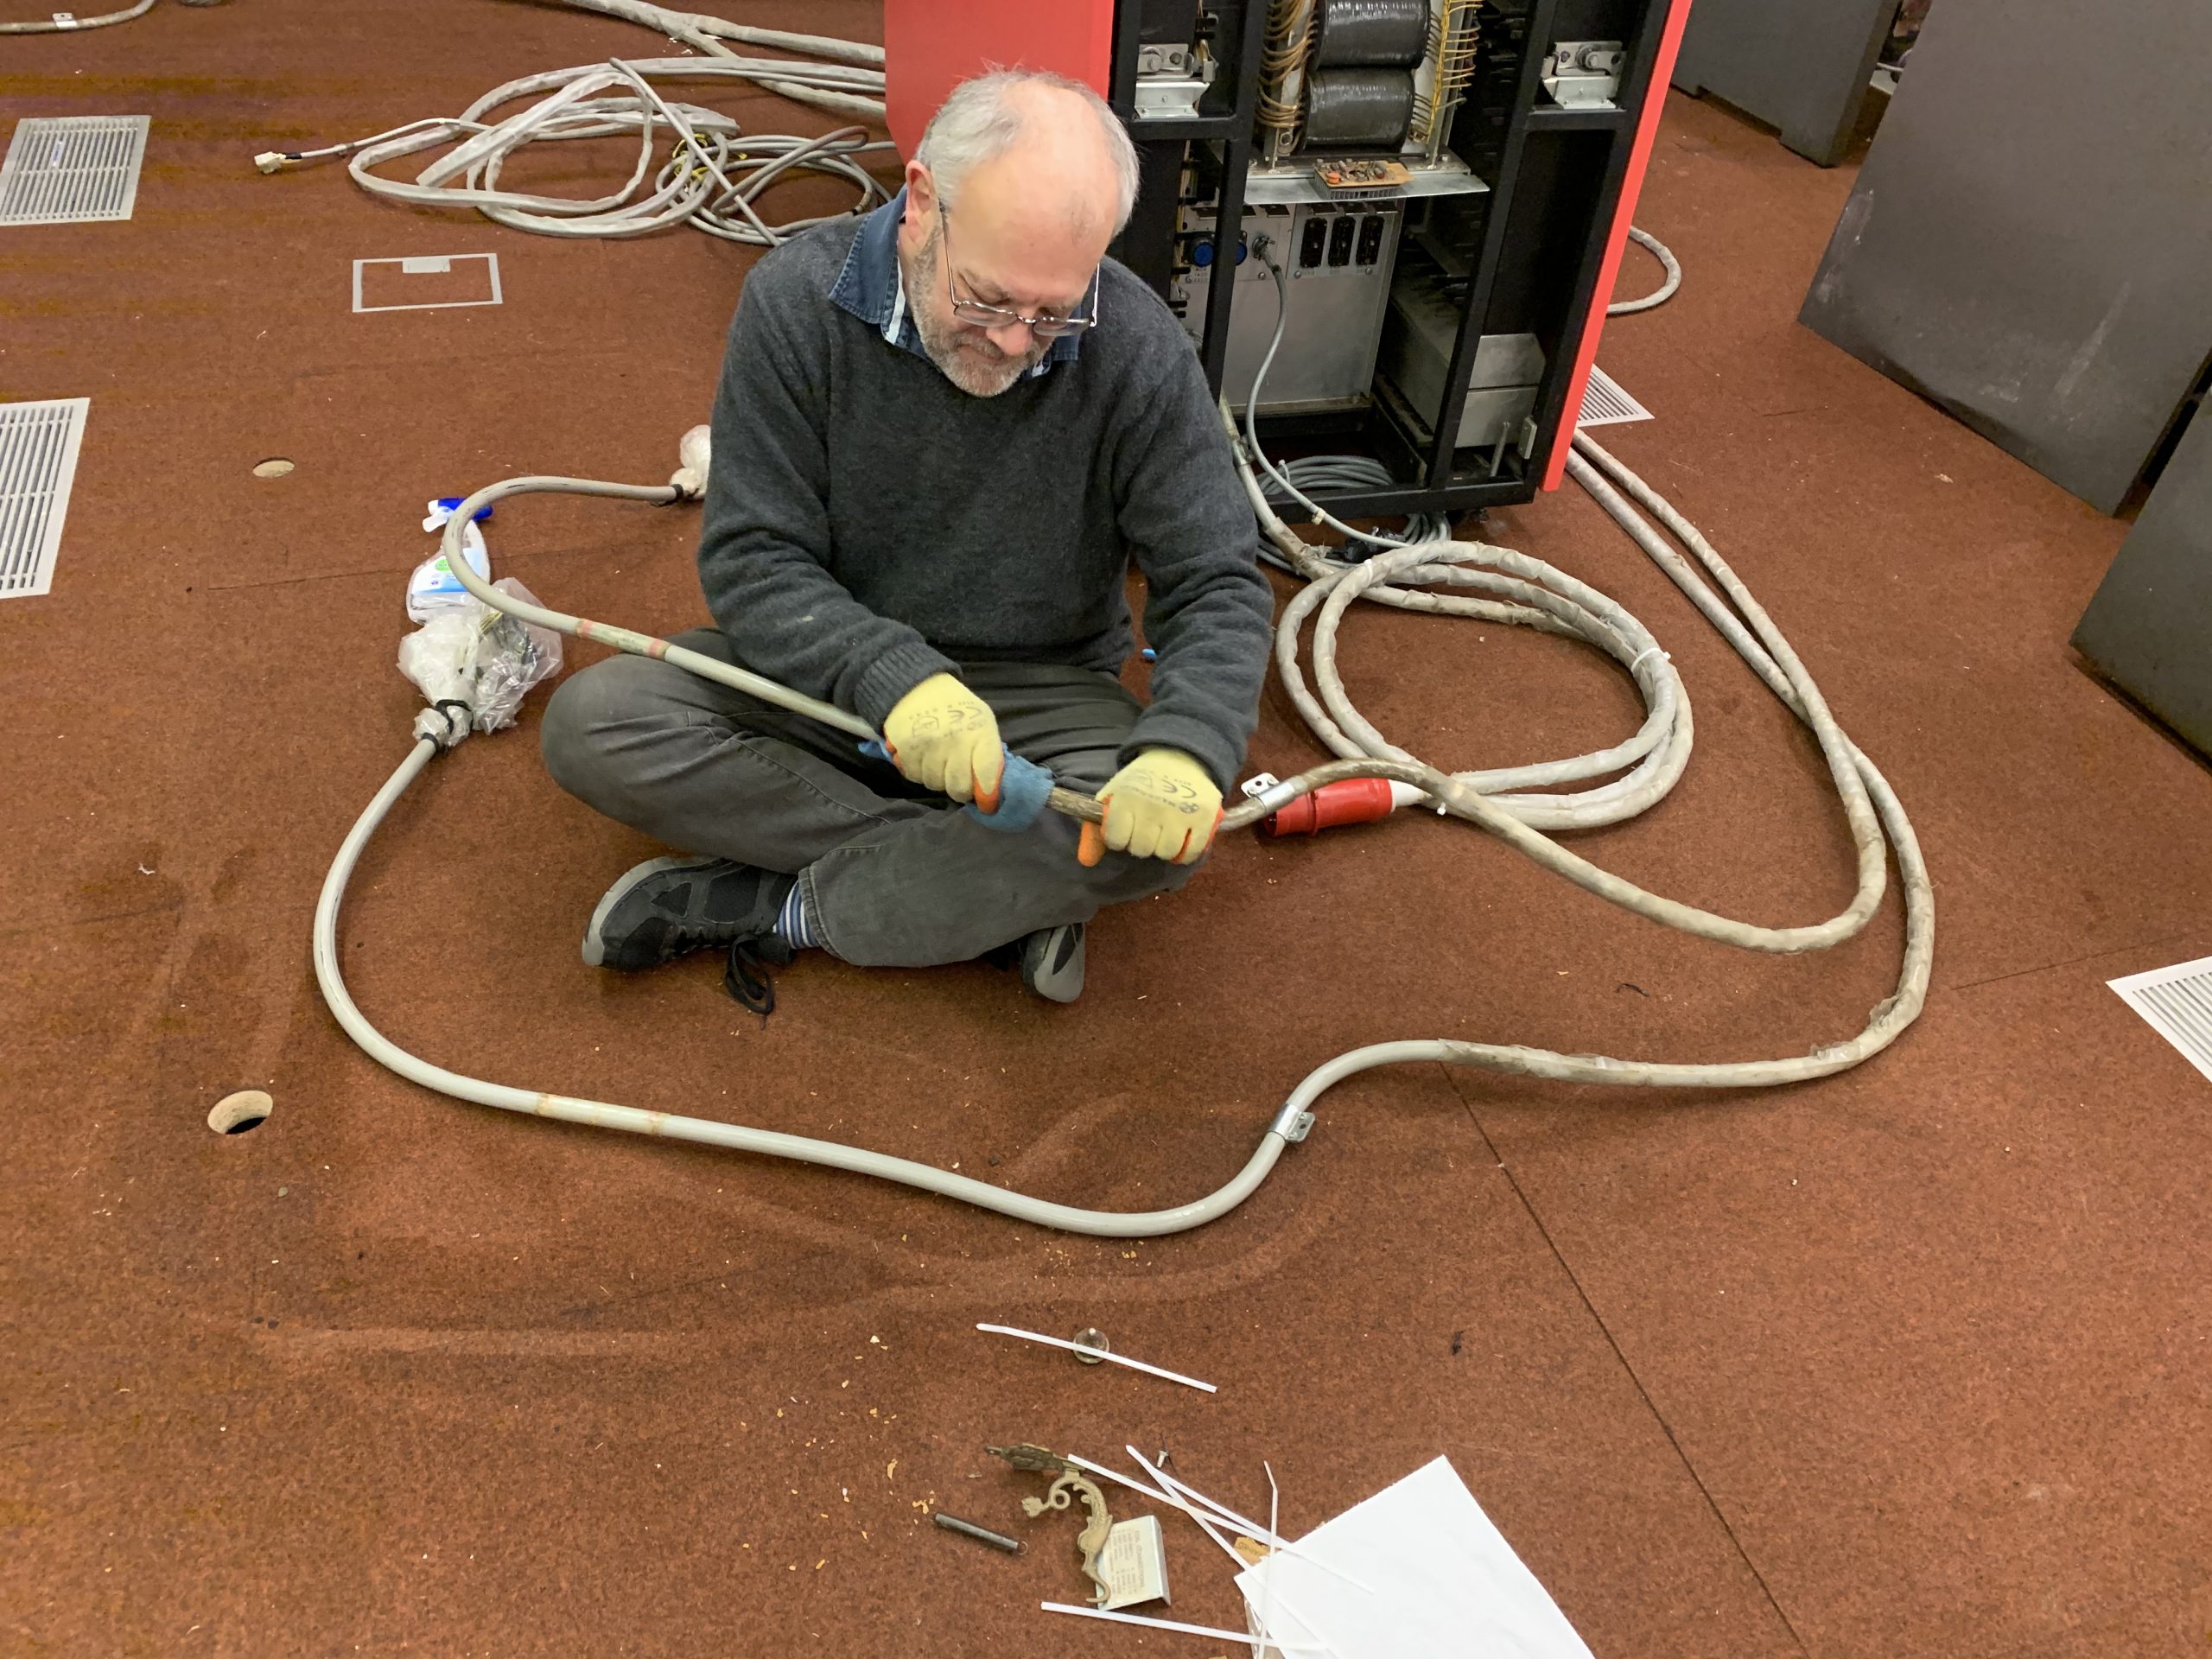
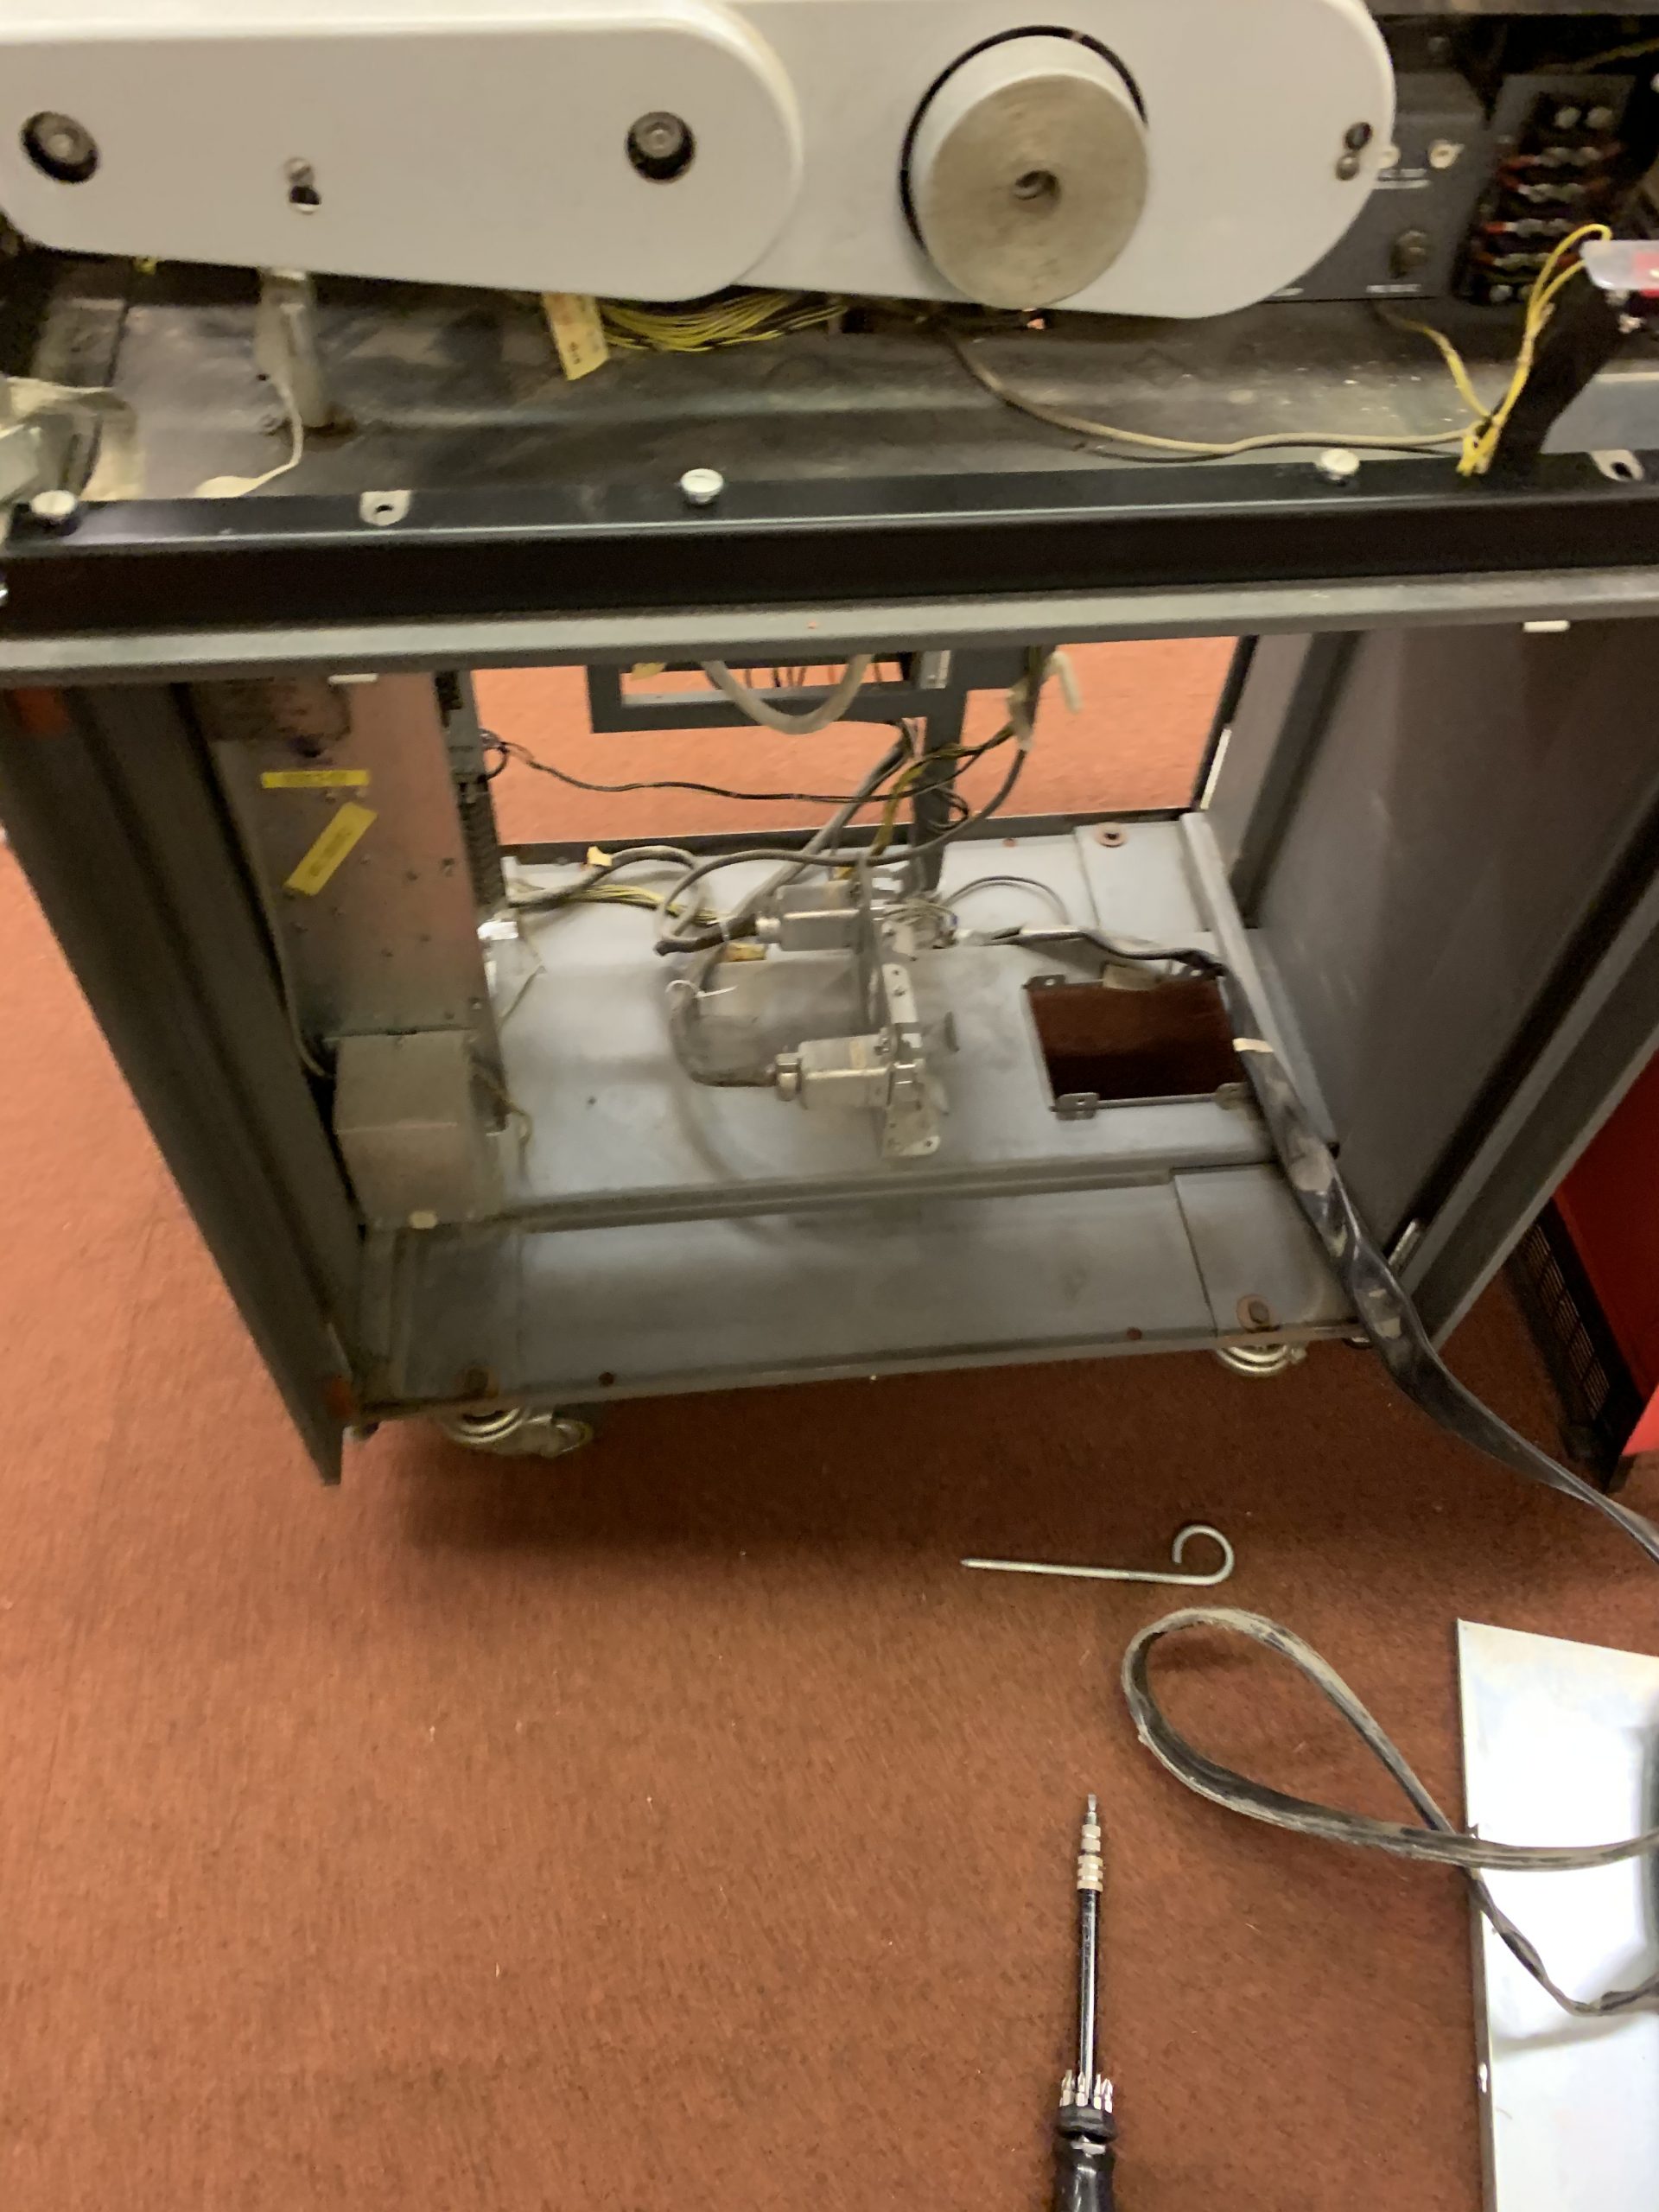
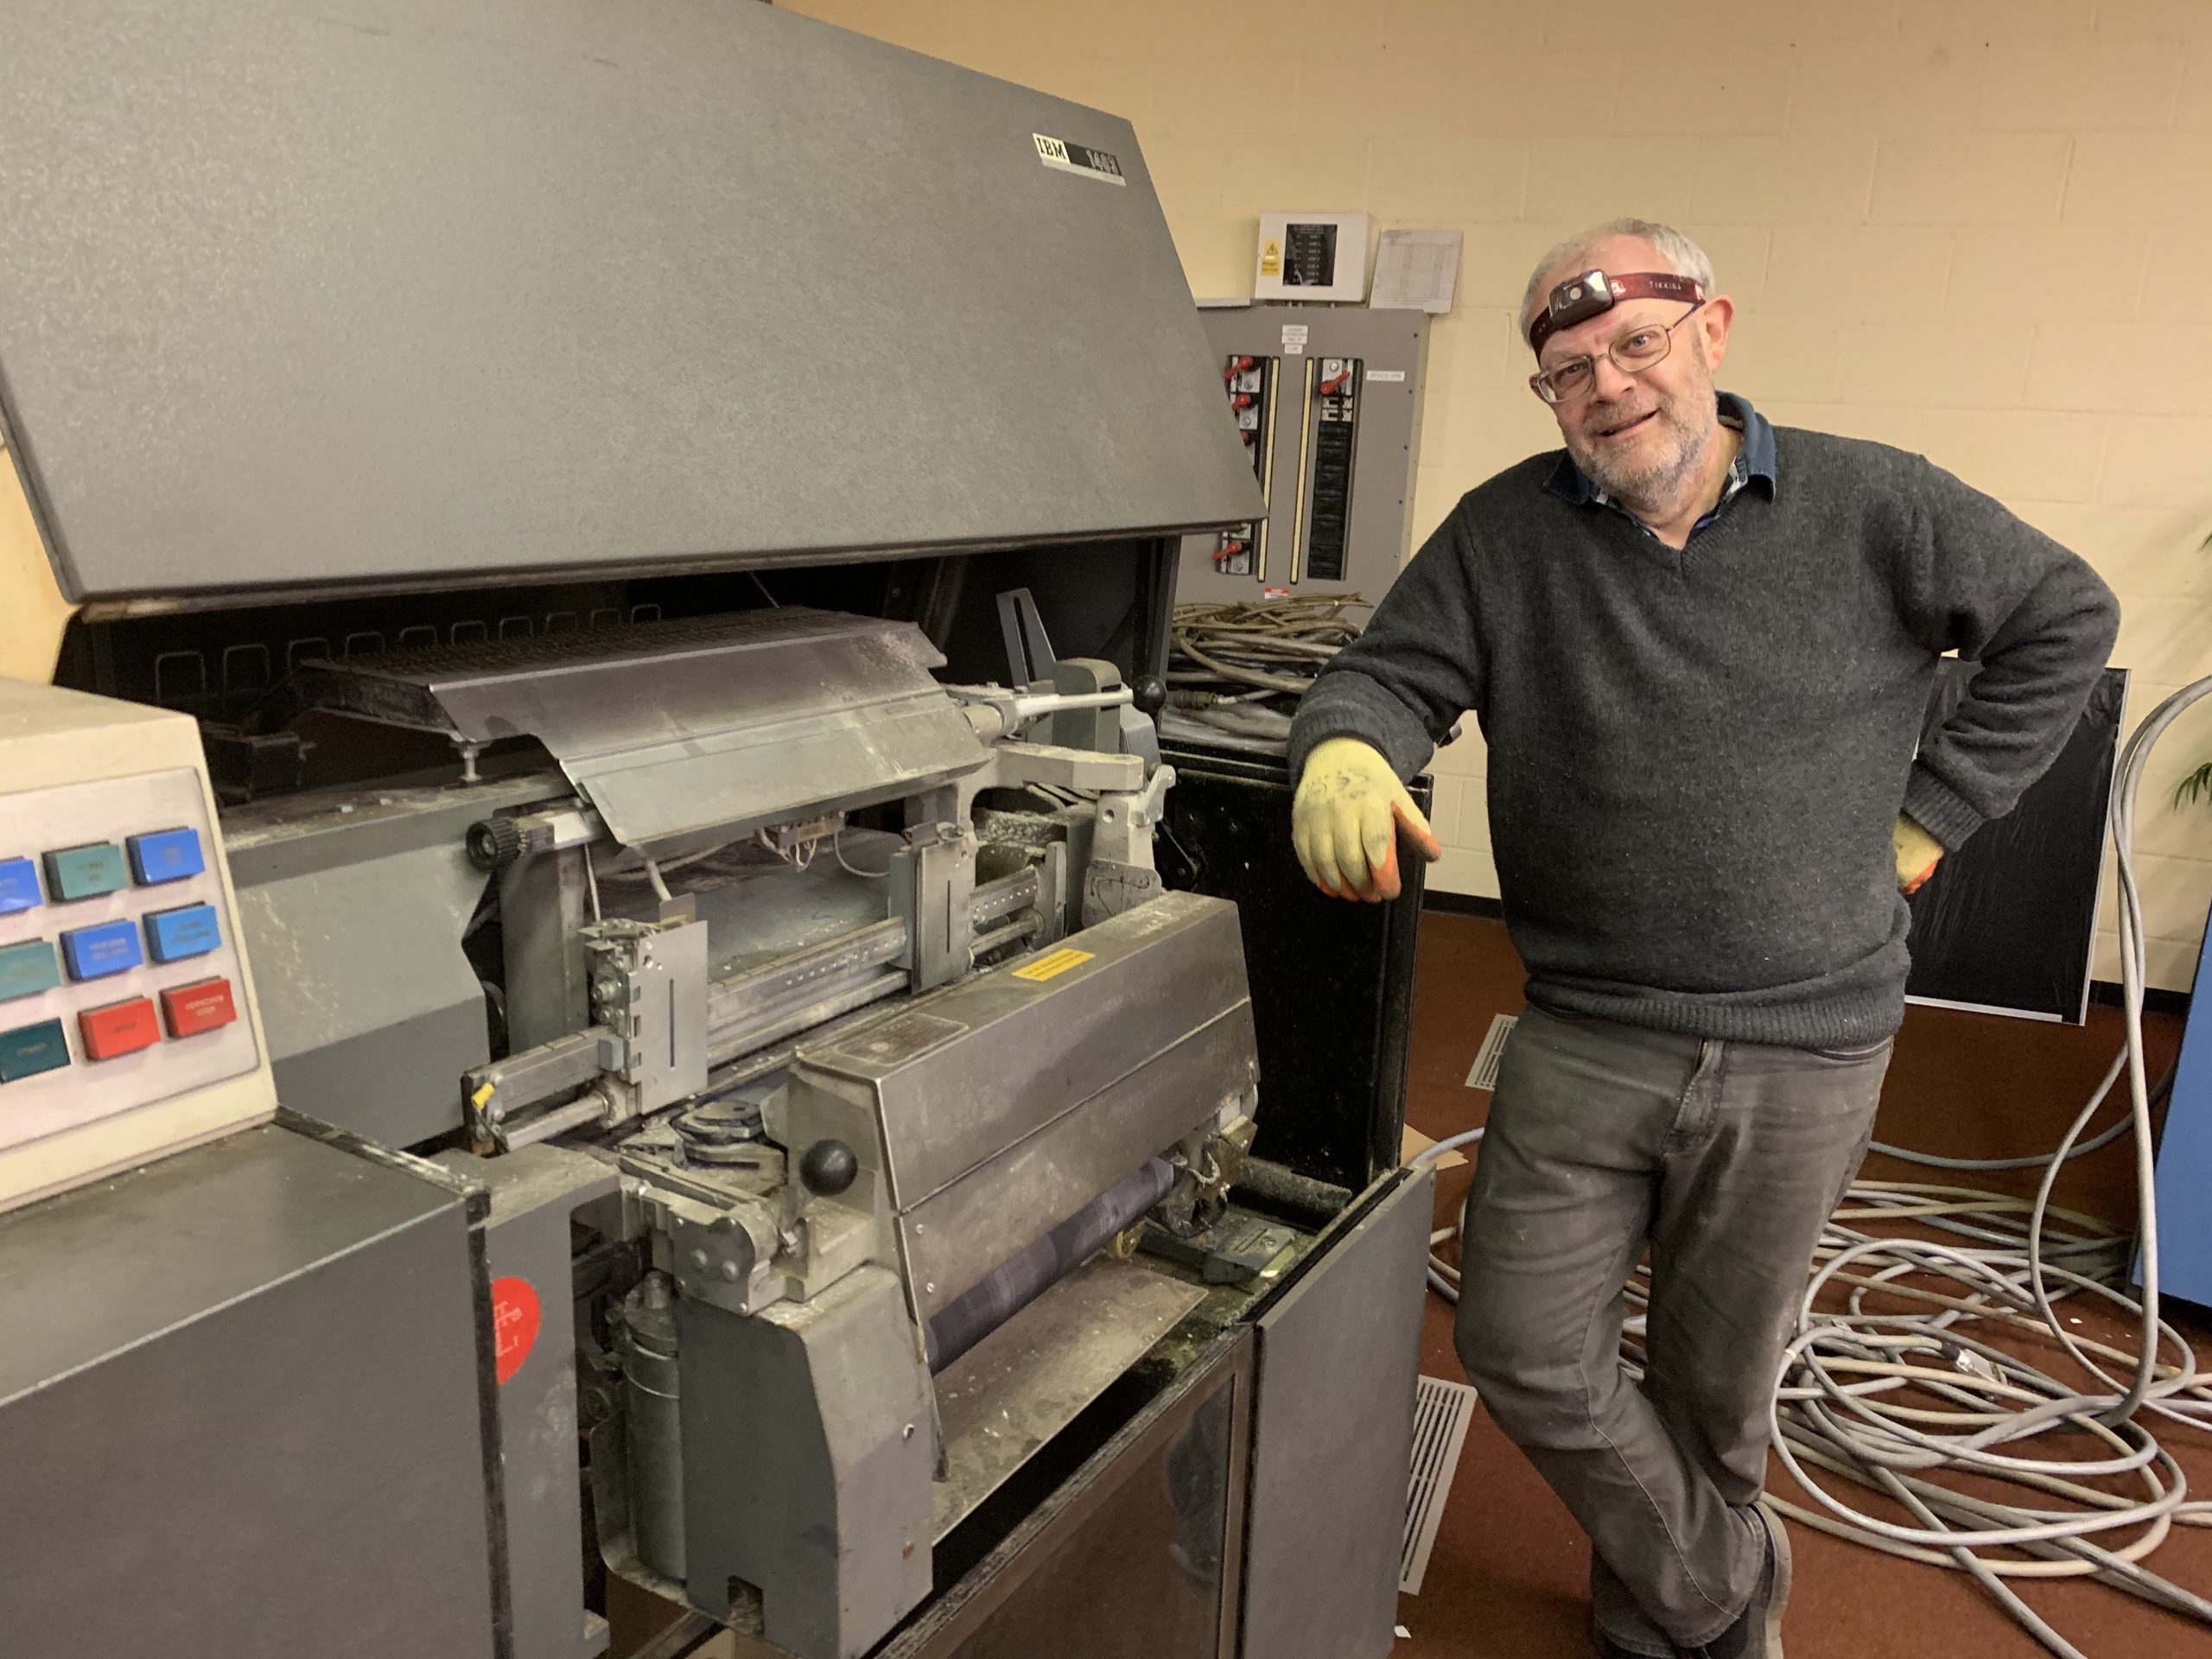
When Peter arrived he originally intended to spend the day cleaning all of the cables and sorting them out, but he got slightly distracted looking at the 1403 printer. We’d spent some time on the Saturday trying to figure out how to open this thing, but it remained closed. We knew that the lid was electrically actuated, and reasoned that there must be a manual release, but could not for the life of us work out how to get into the thing!
After some time looking for catches and investigating panel gaps, Peter managed to find this:

Yes, buried deep inside of the rear of the printer (once you work out how to release the very stuck and hidden rear catches) is this warning, and just above it is the hand crank. Excellent. Subsequent cranking and some lifting assistance heralded an open printer and a pleased Peter!
In the bottom of the printer there was rather a lot of rubbish including more tennis gear, medical paperwork for the previous owner, and a lot of wood; but buried in all of this mess we did find 3 spare system cards, two of which contain SLT’s:
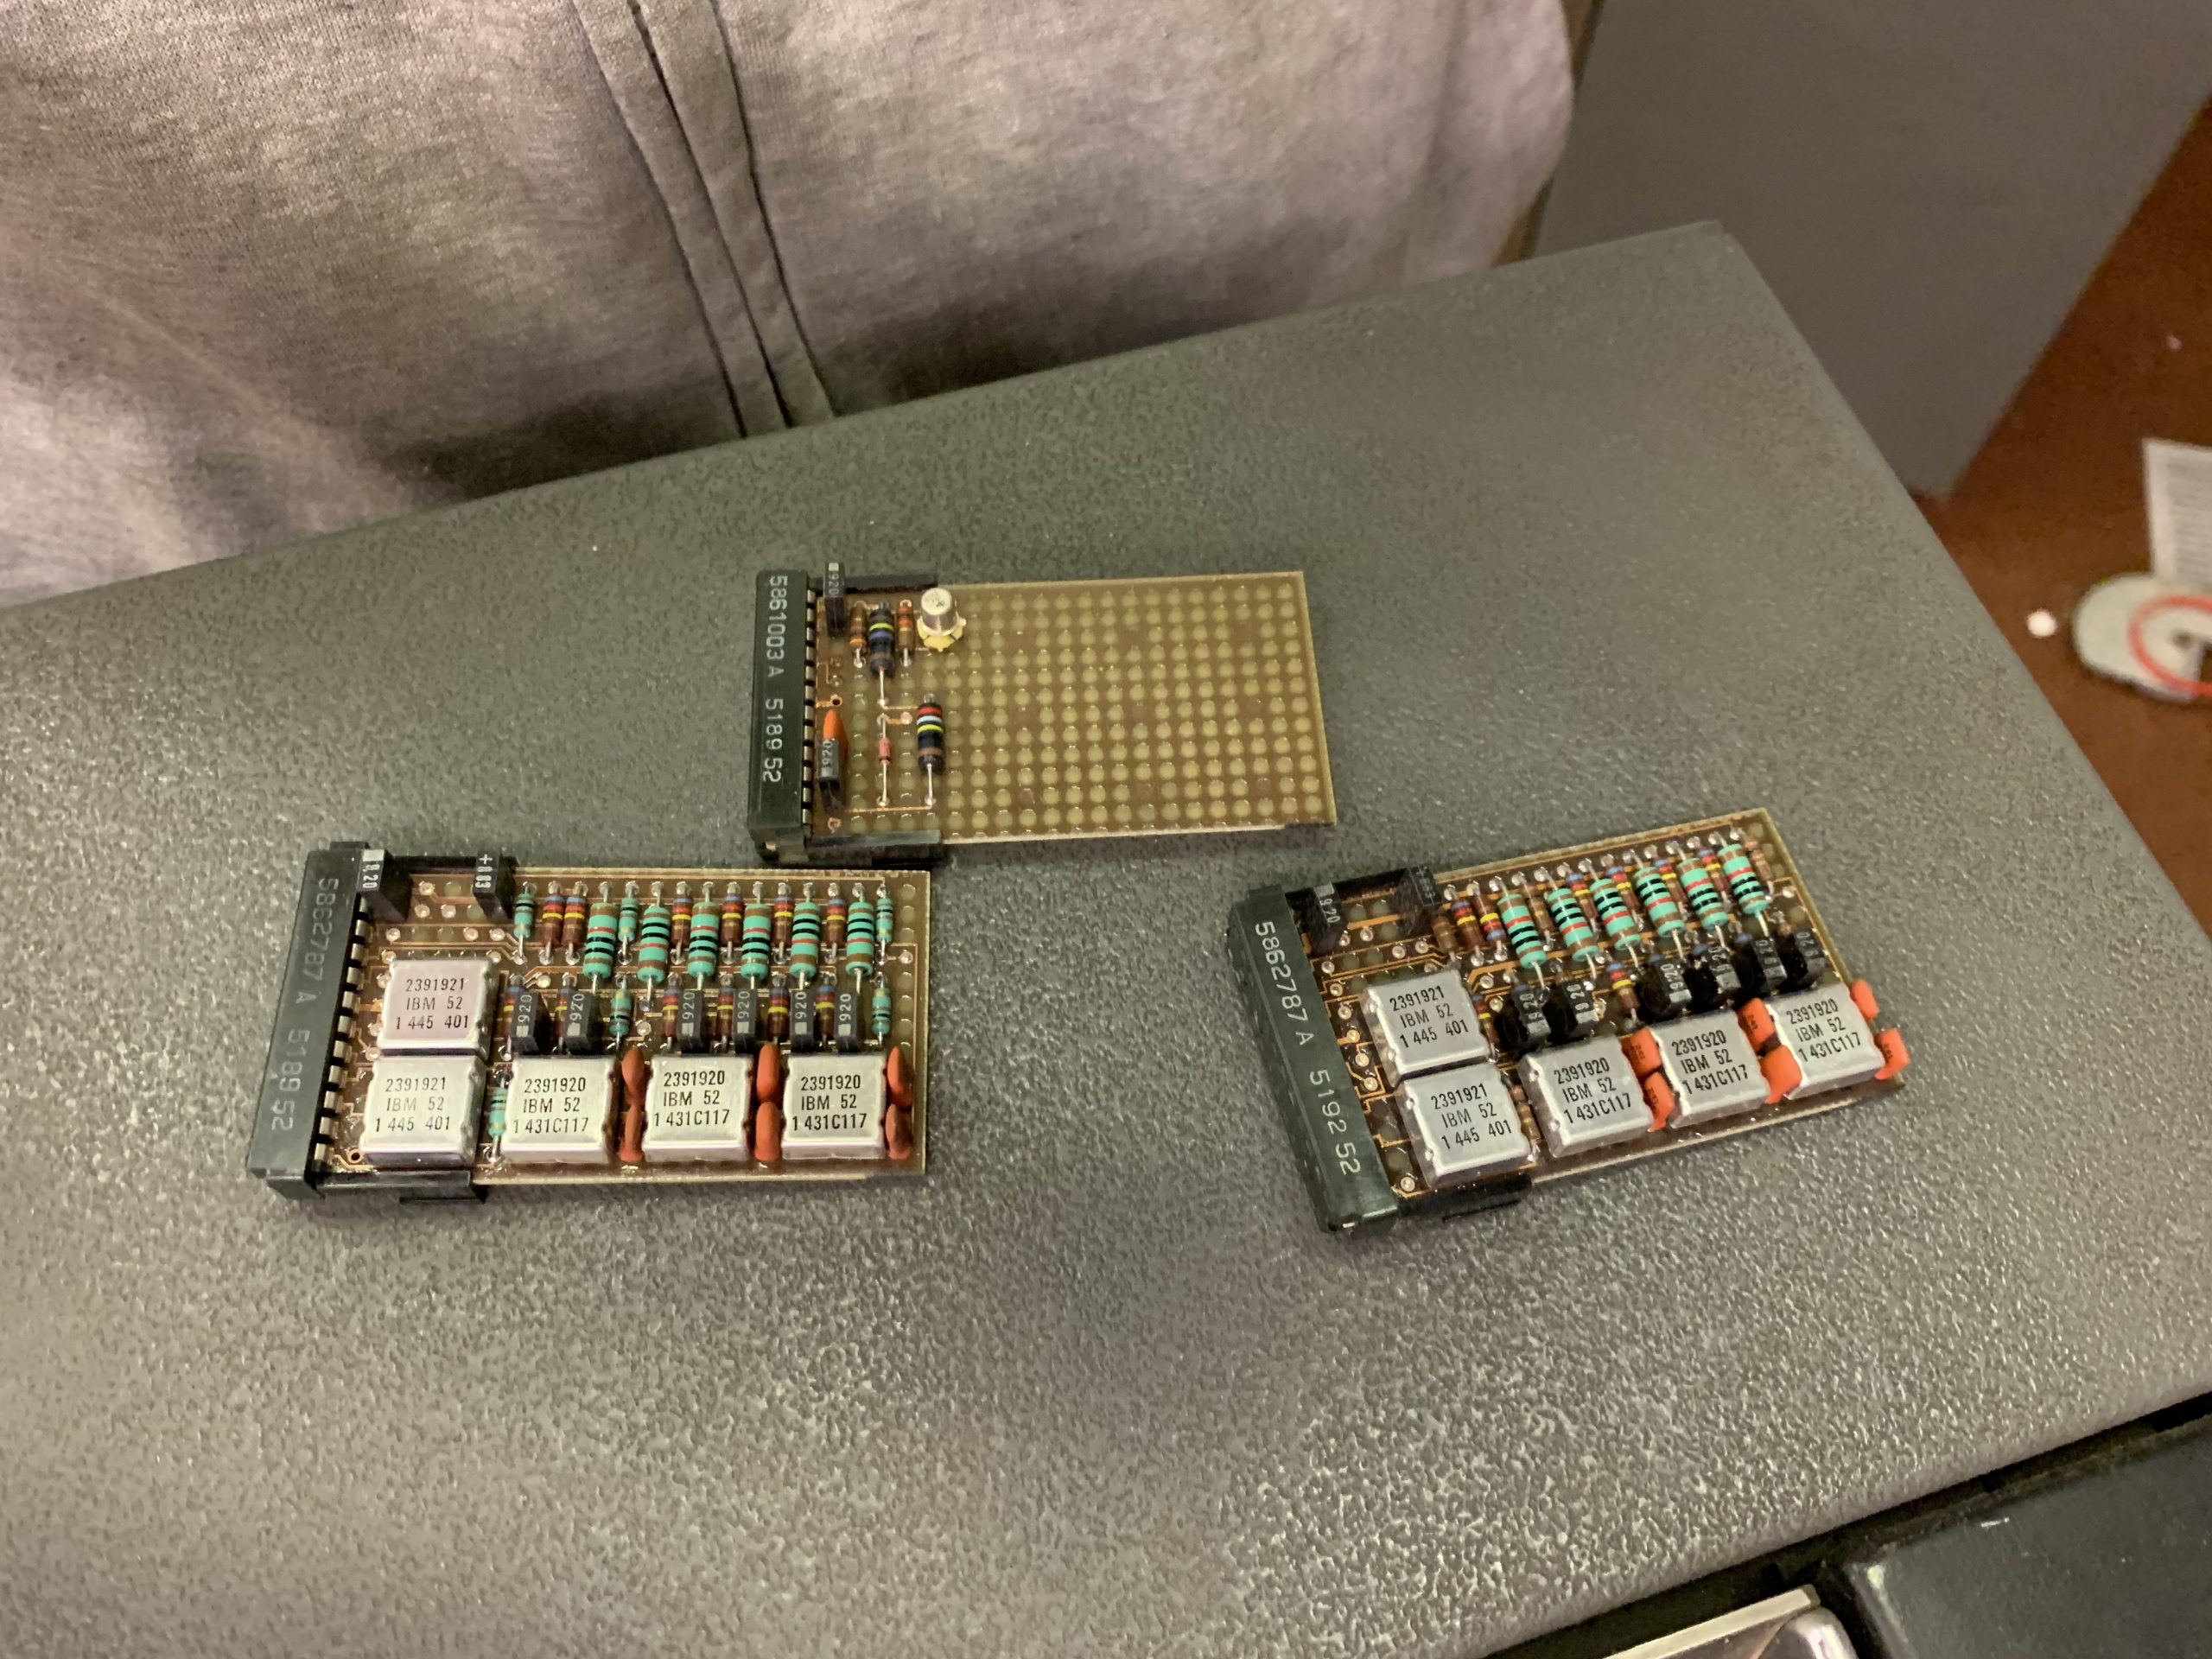
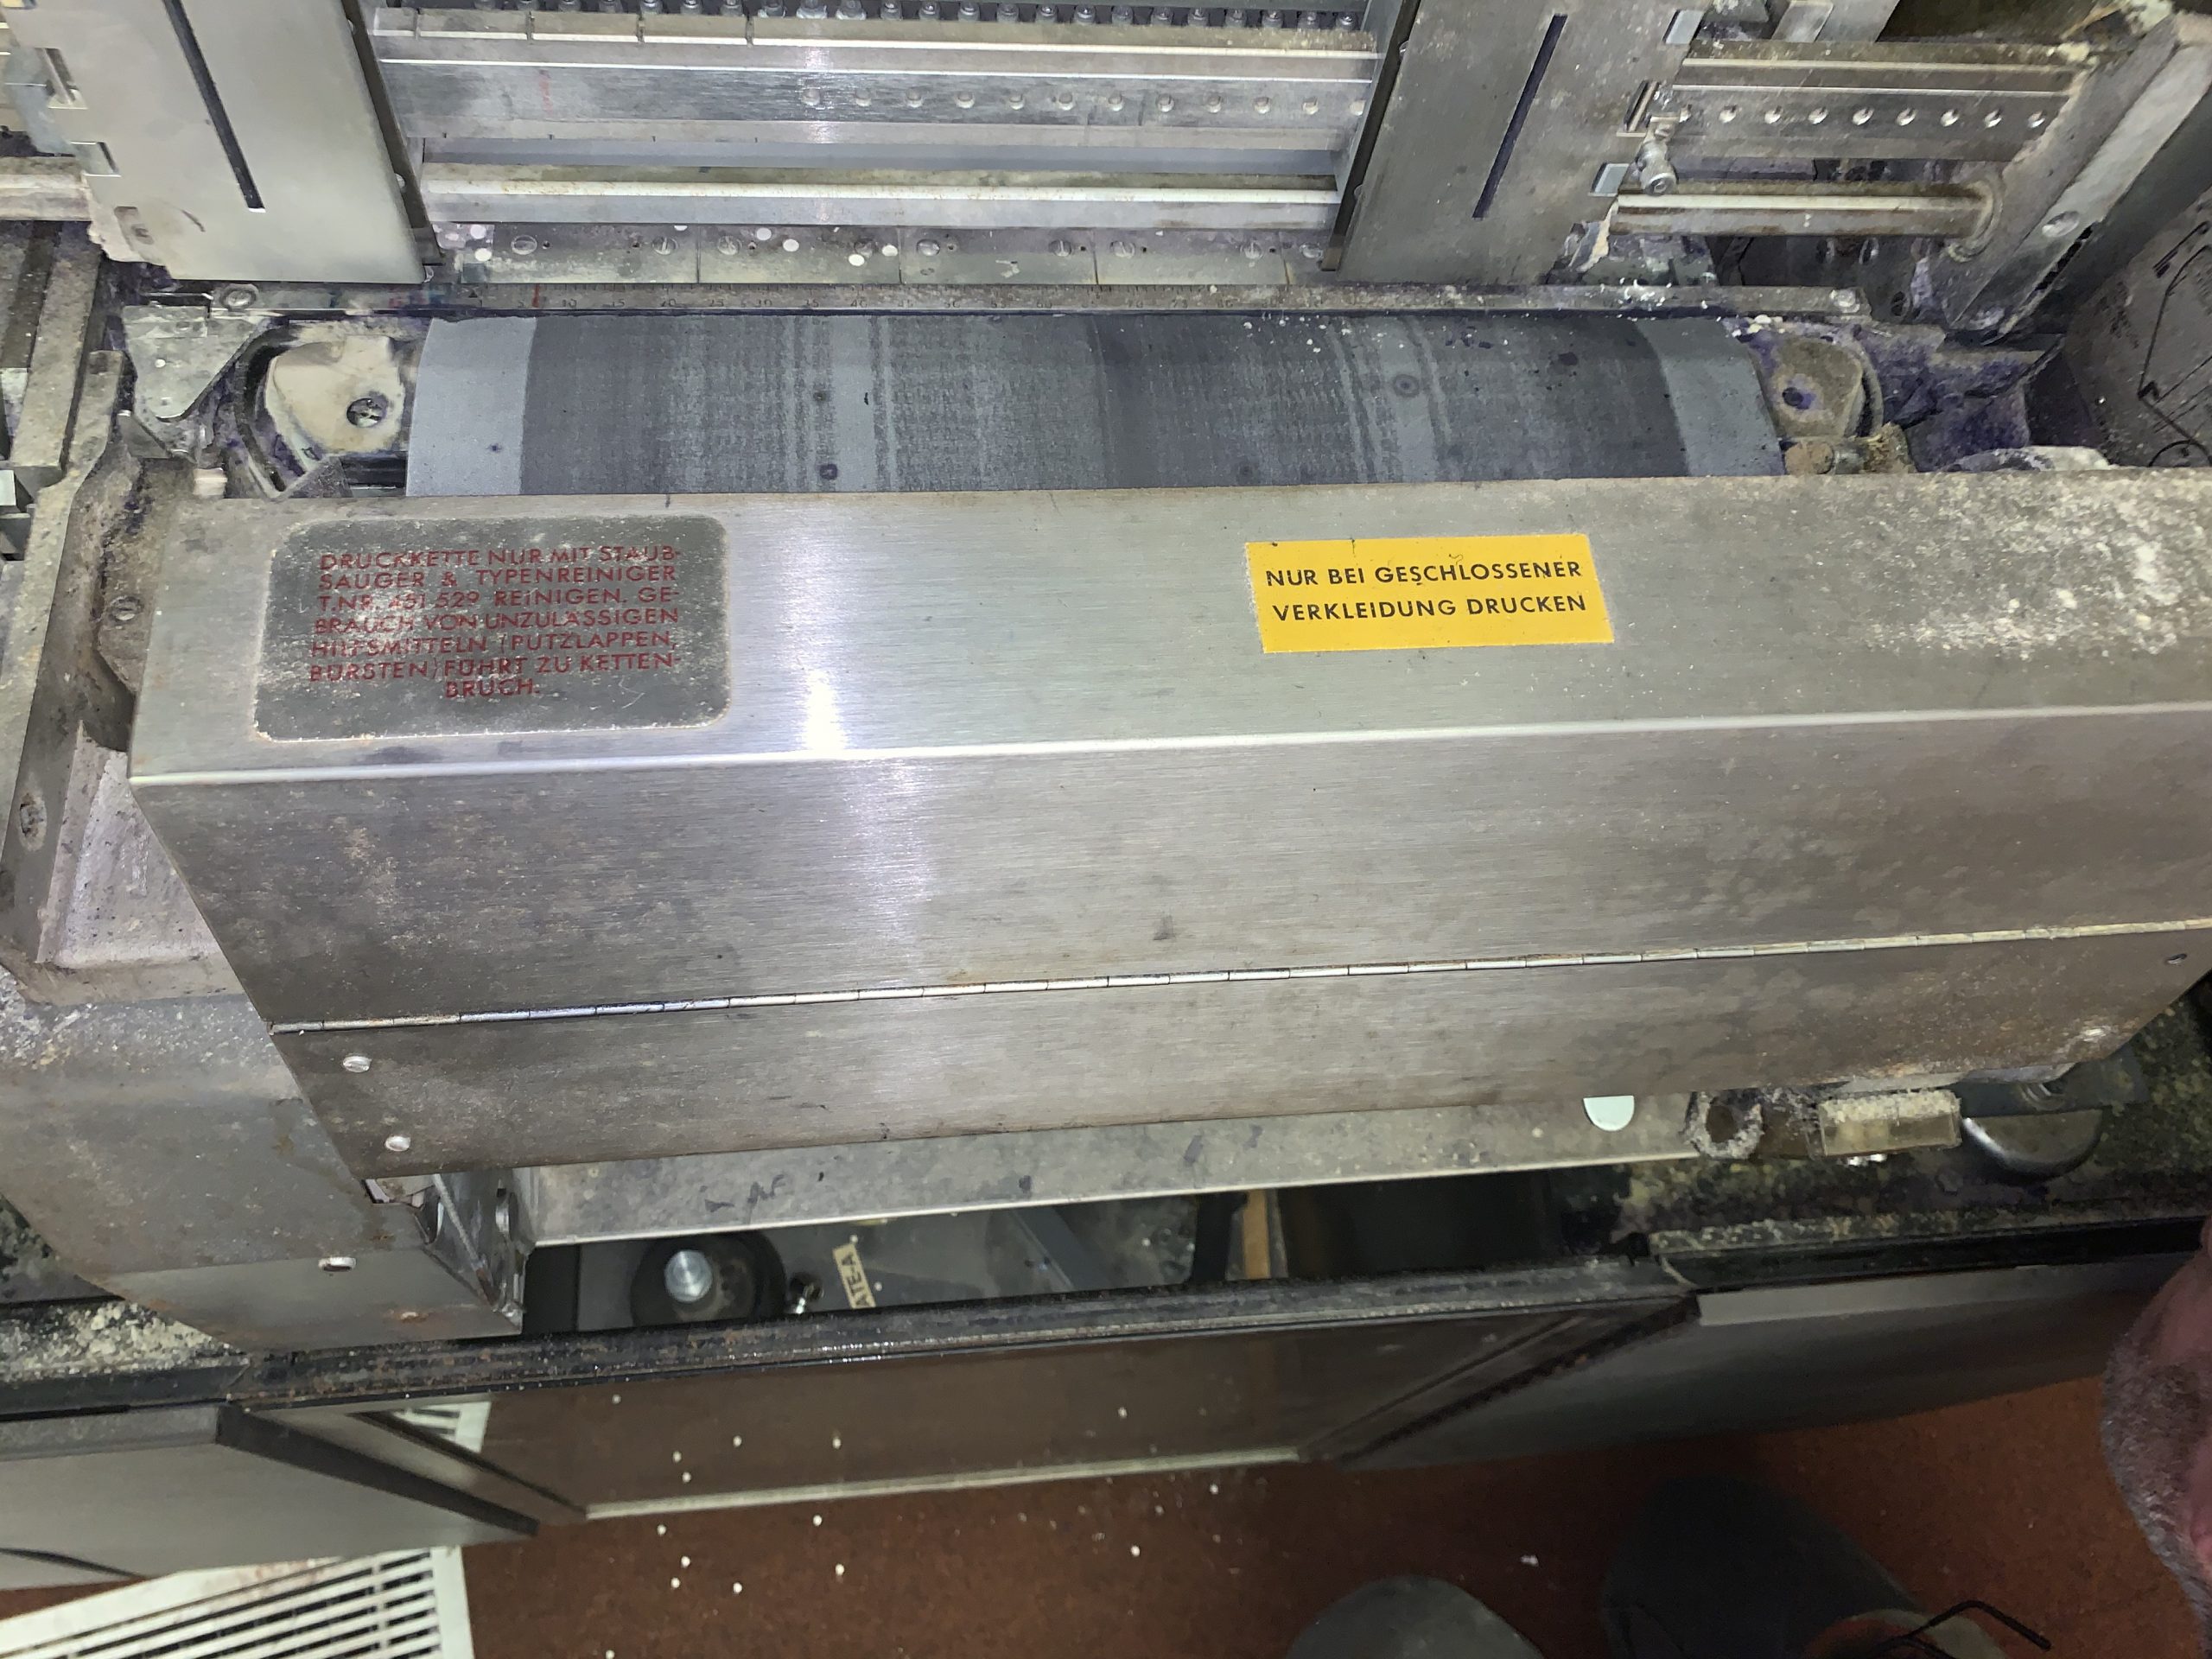
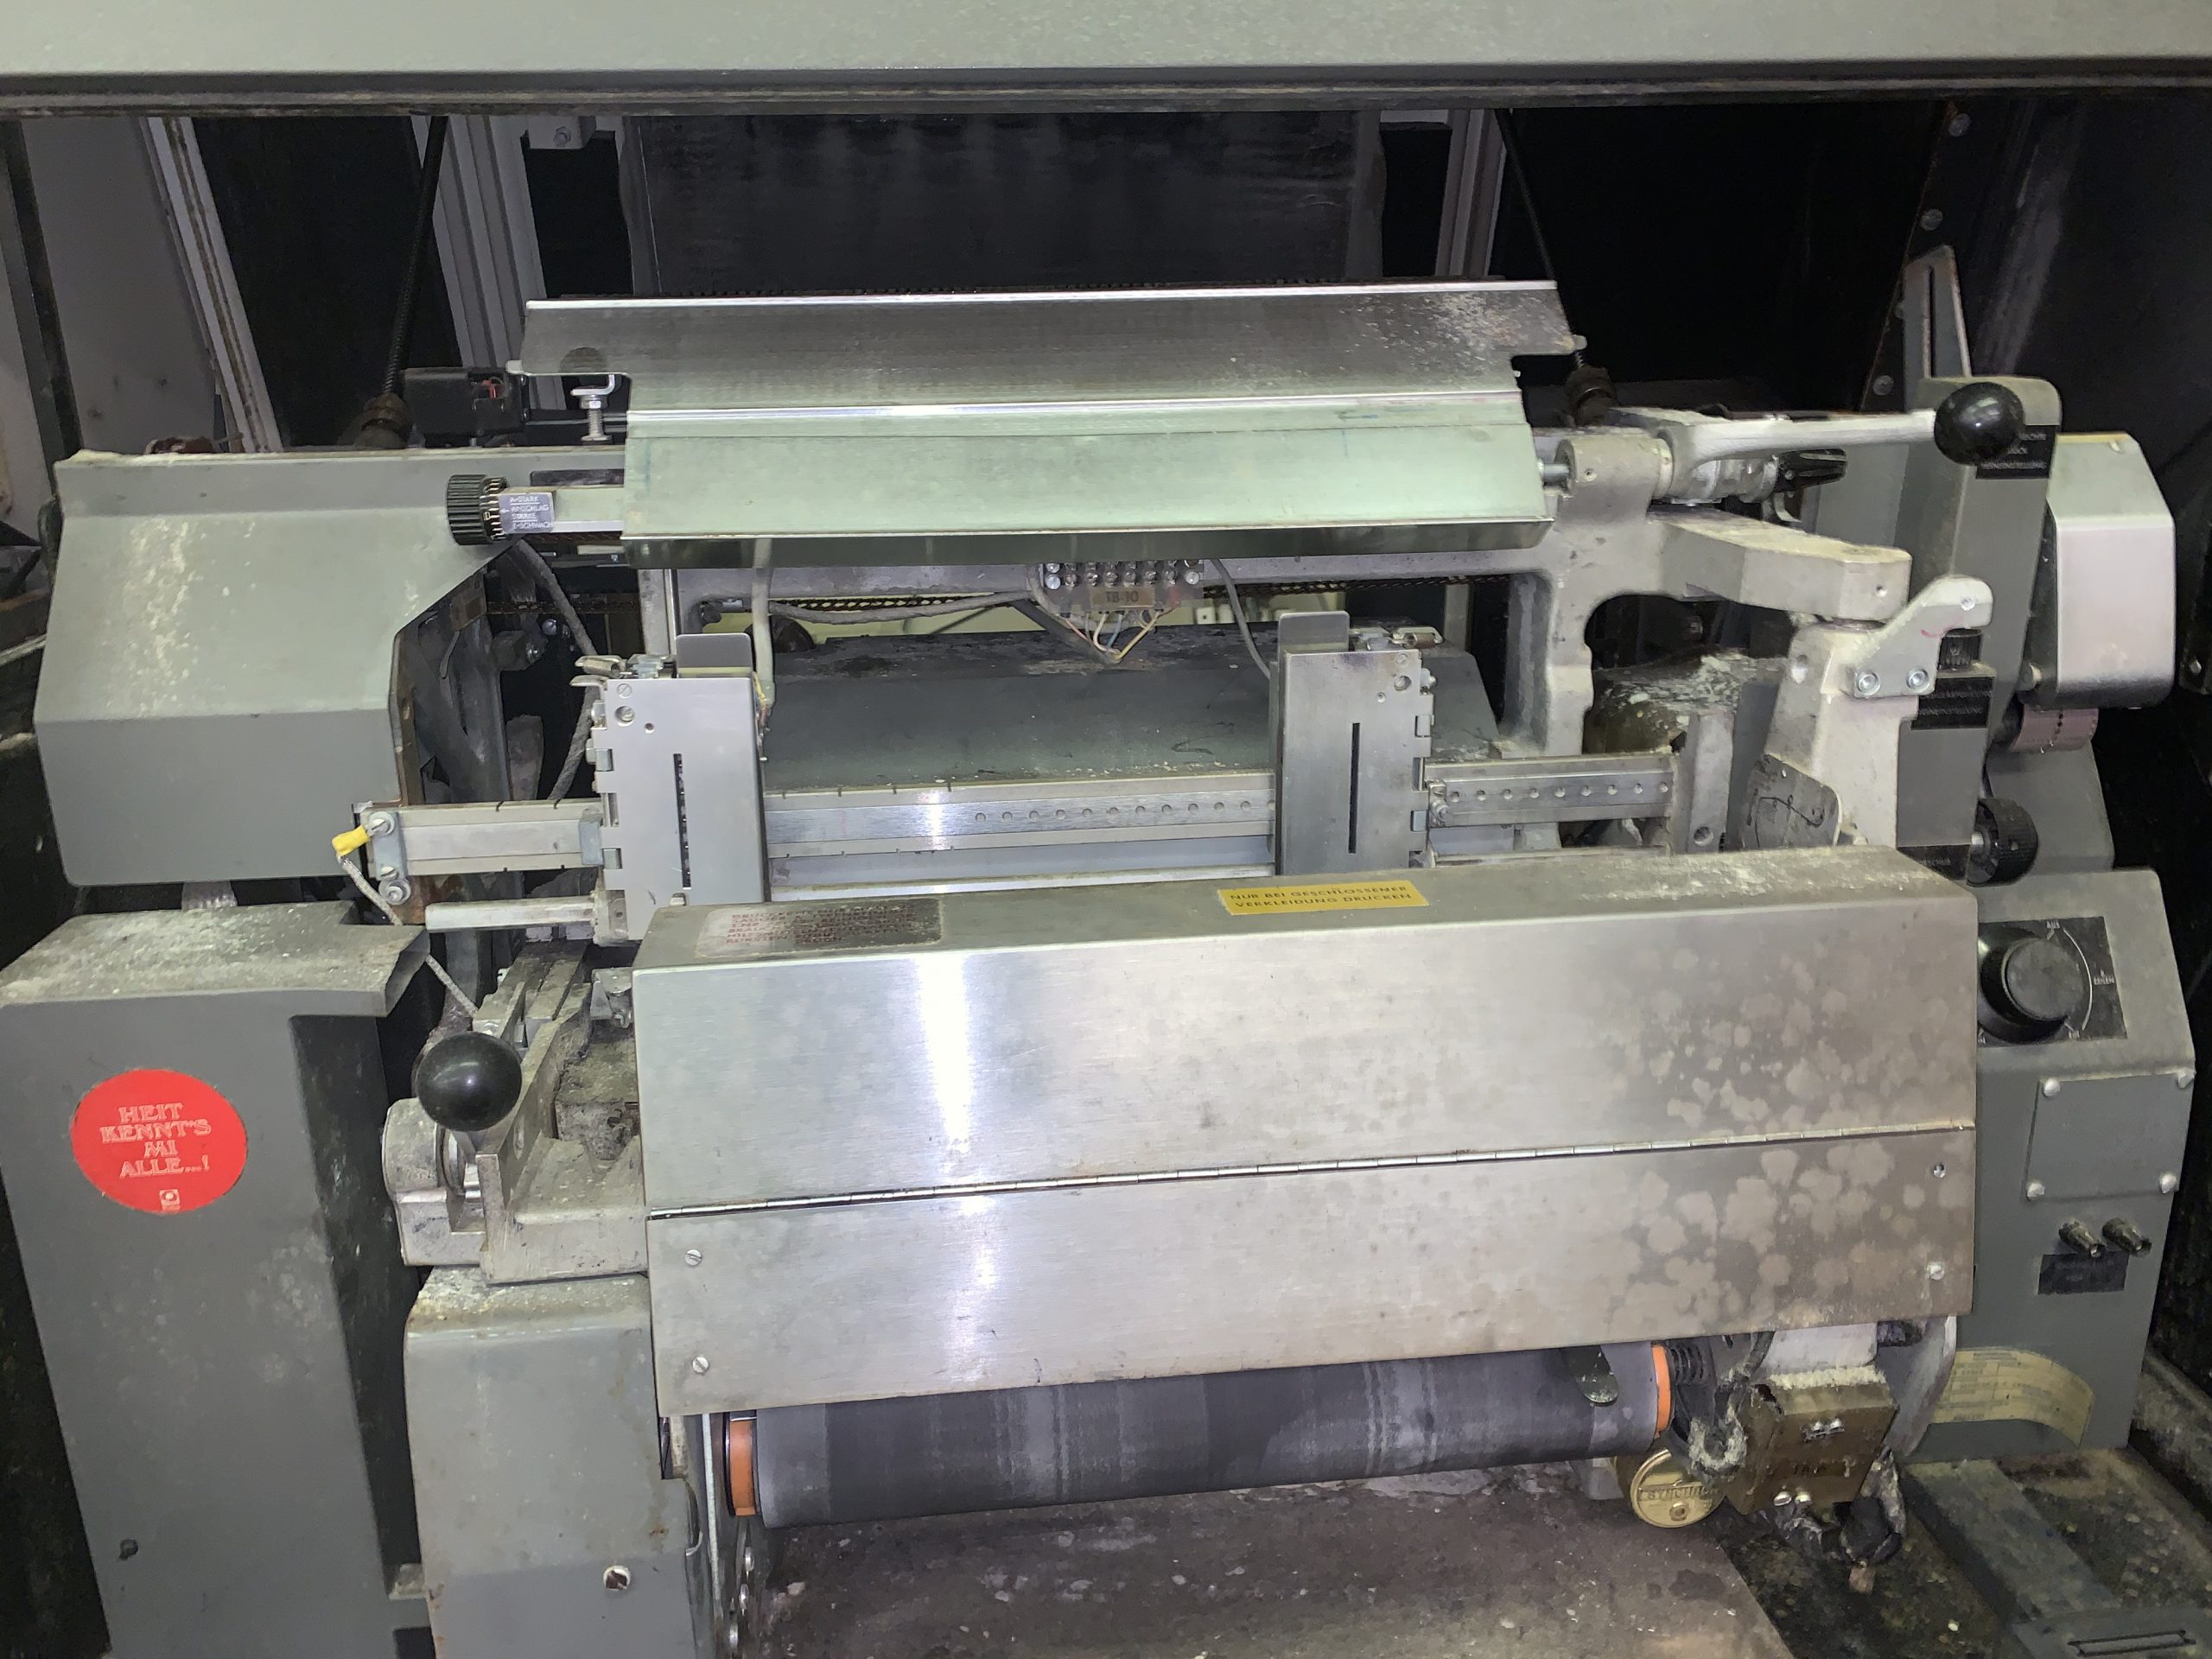
These may very well be from the printer, so of course, these were preserved whilst everything else was disposed of. Have a couple more shots of the printer:
After getting the printer open, my father set about giving it a bit of a clean up (it’s positively filthy), and Peter set about his original plan of cleaning and organising cables:
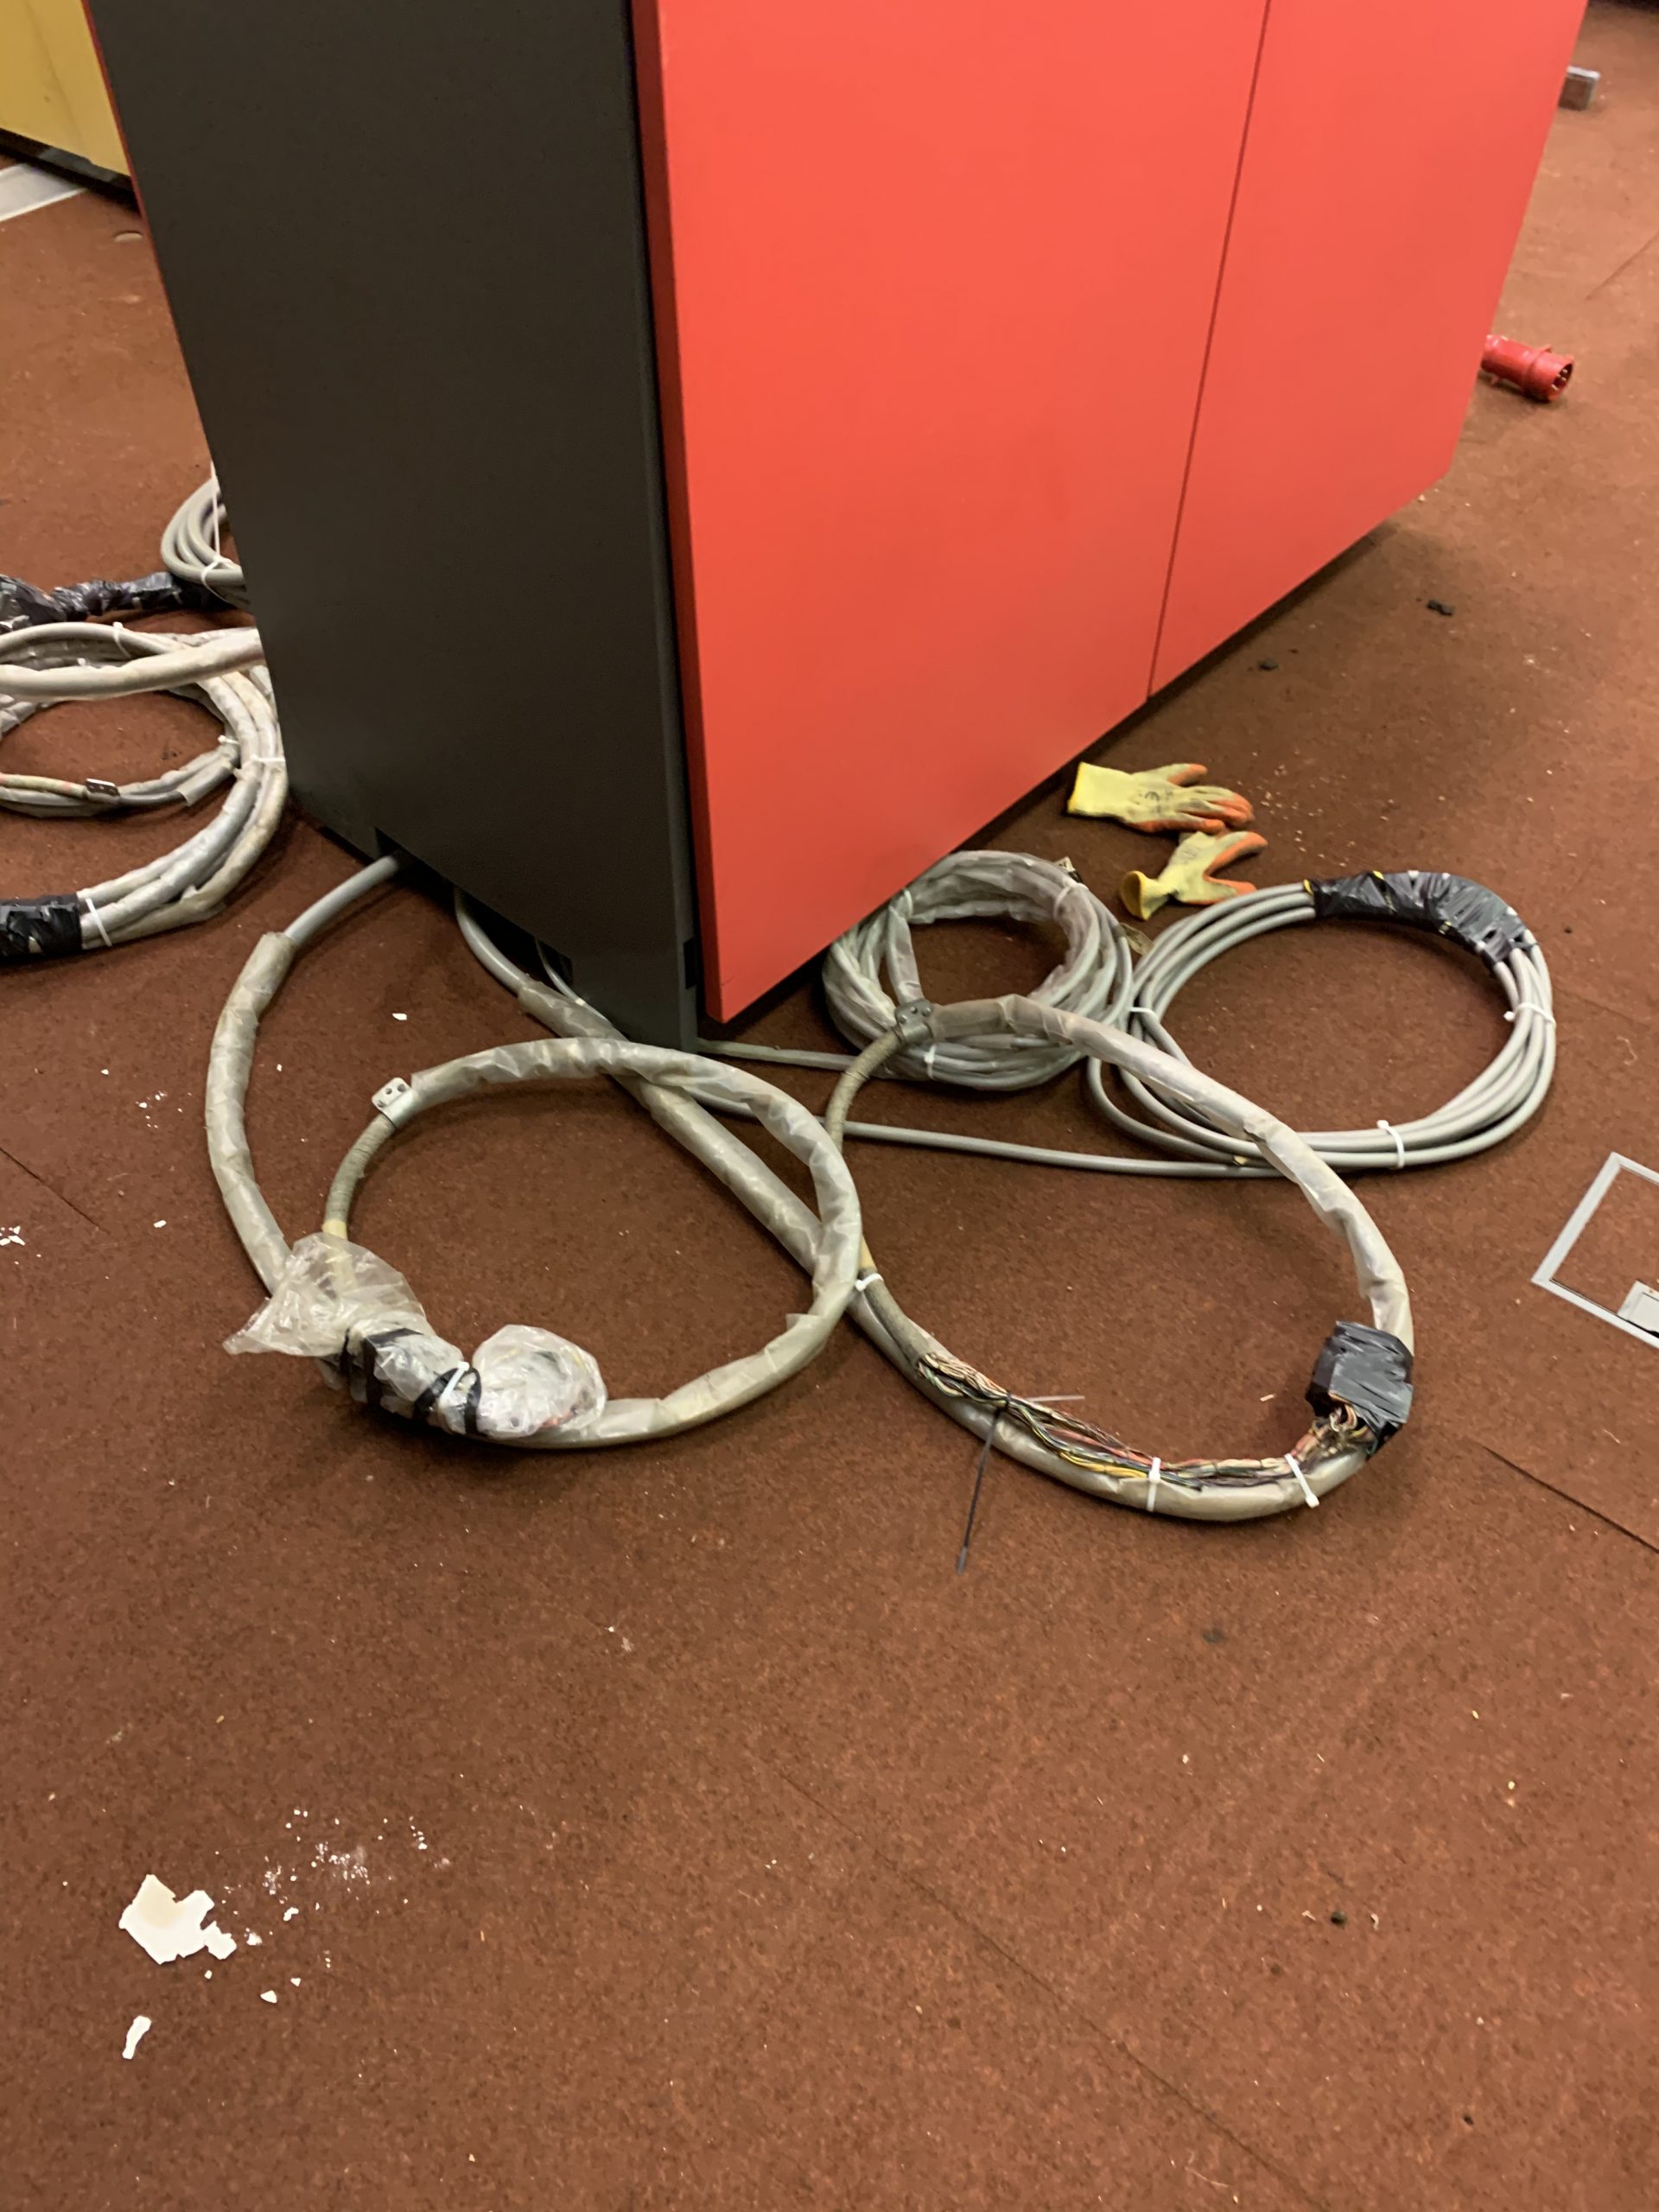
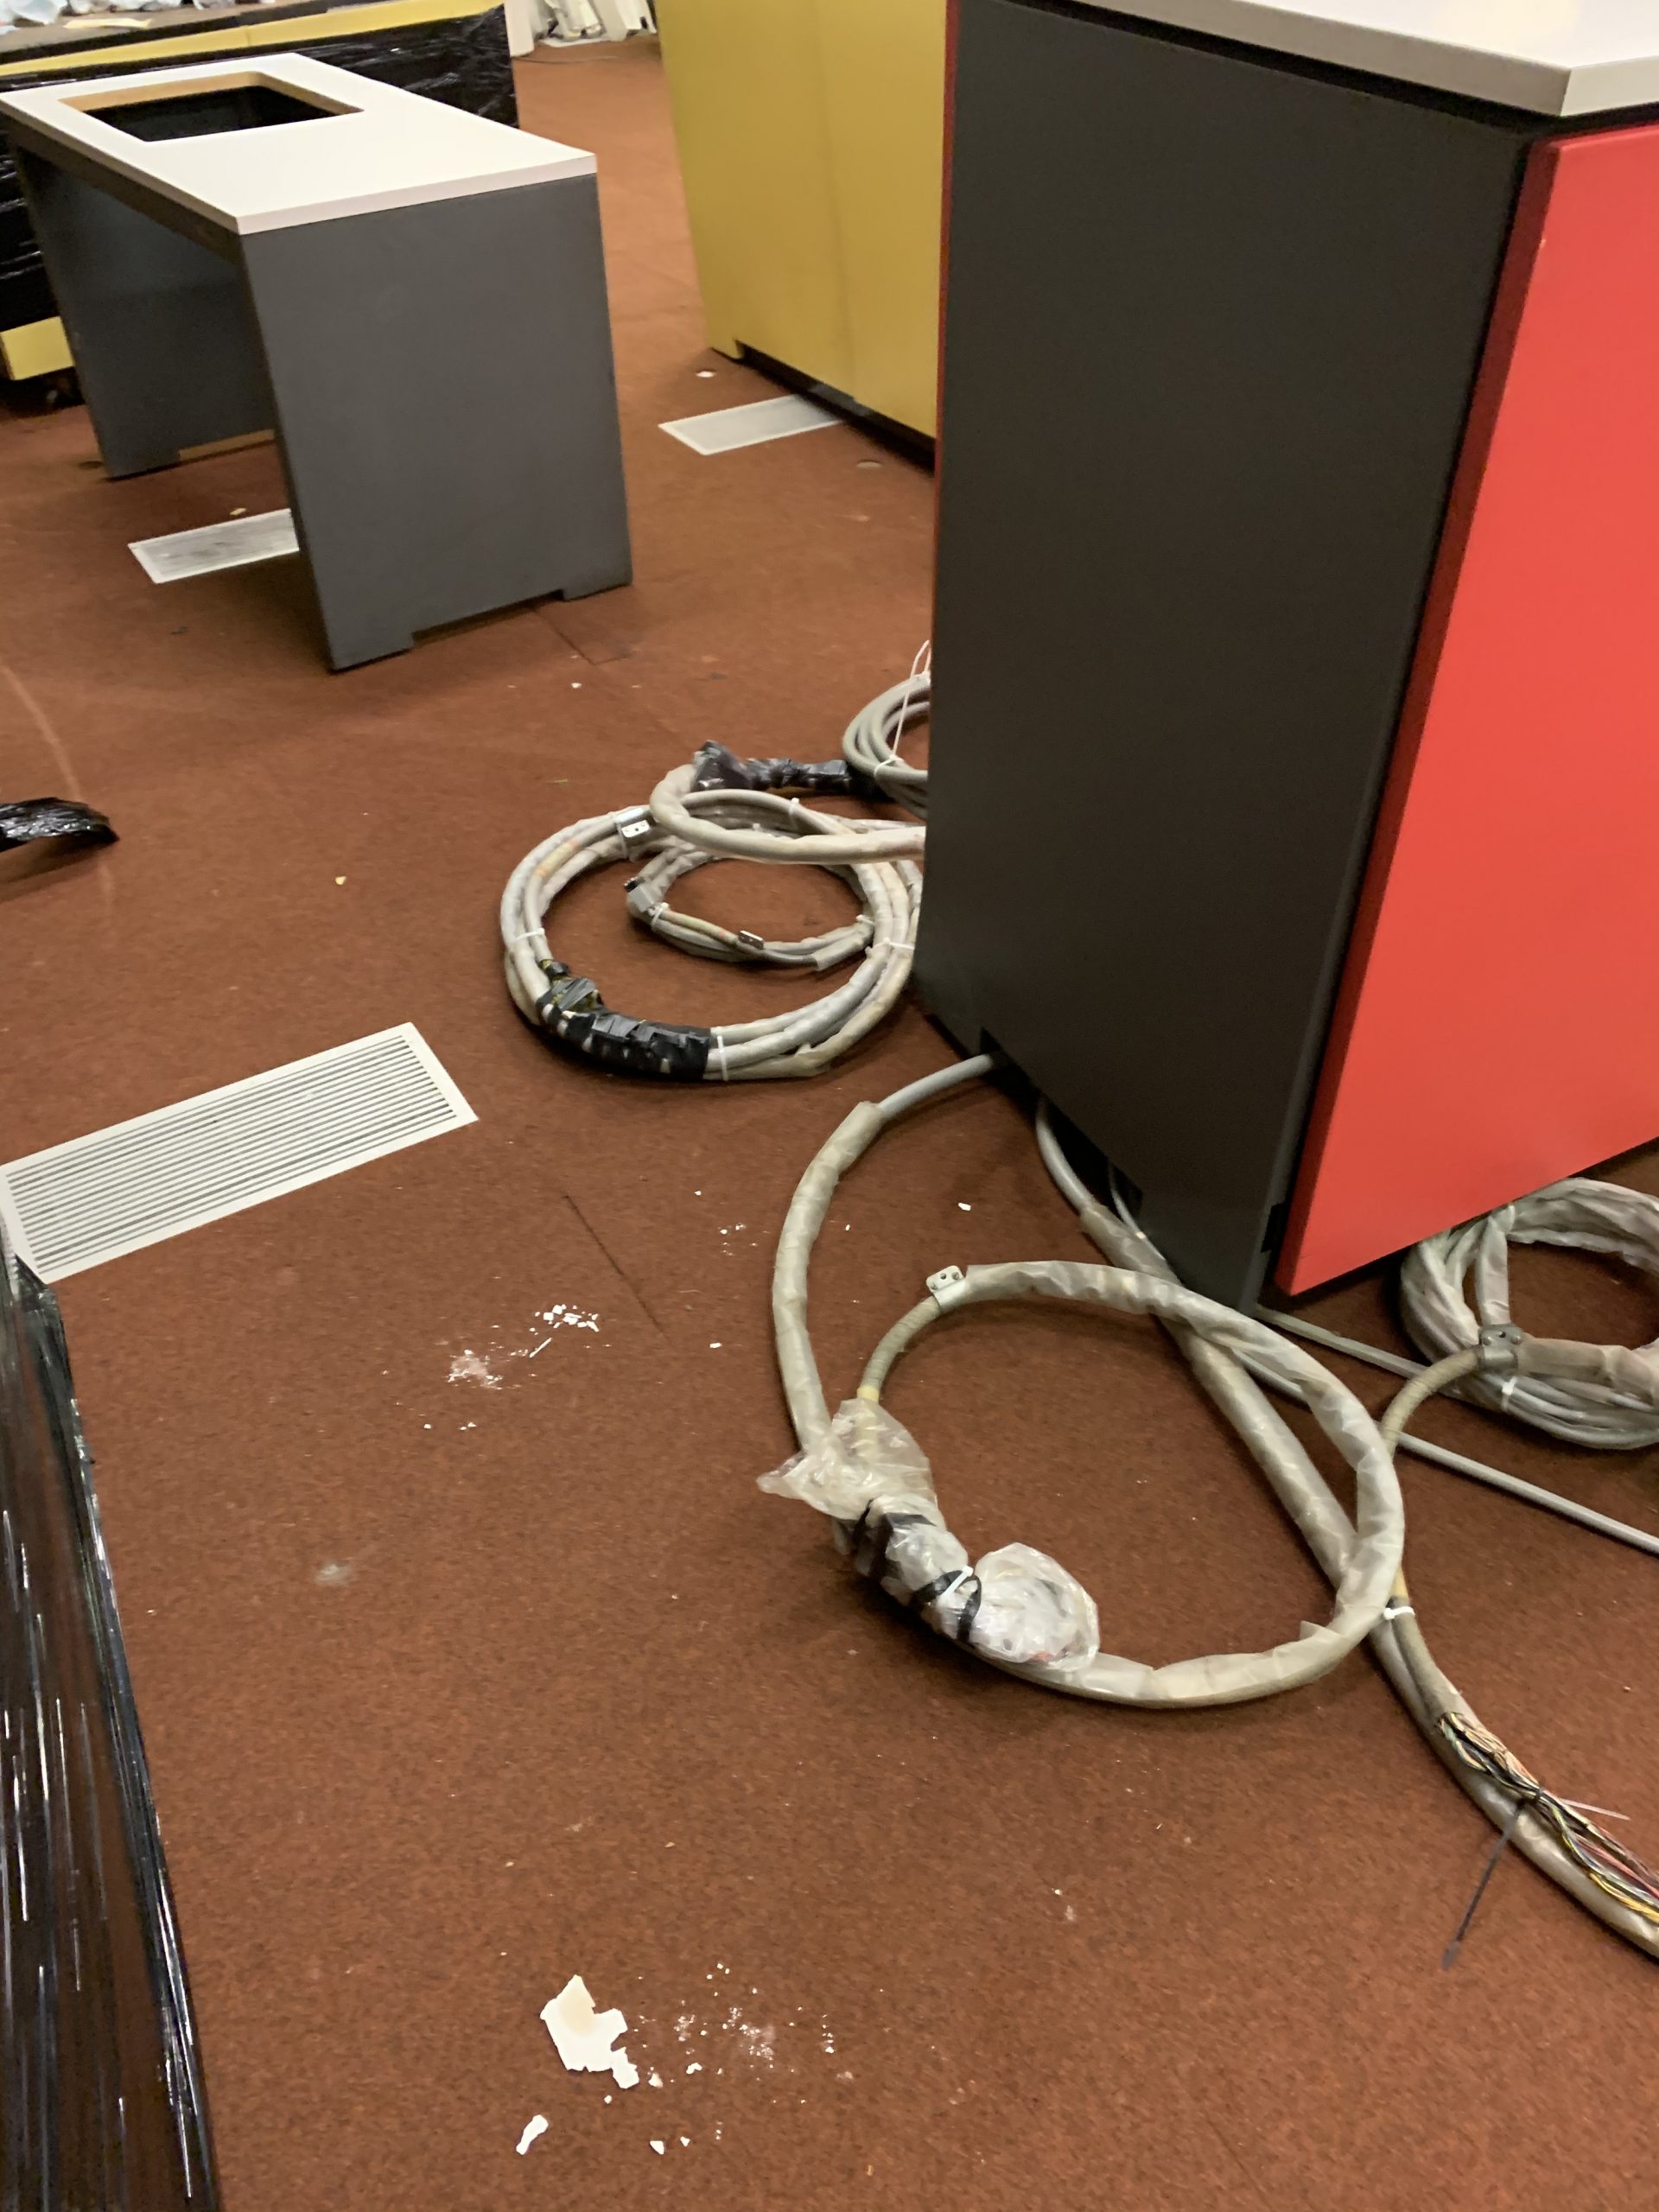
With these looking much better (and being considerably less sticky!) they could be organised into nicely coiled loops and tucked out of the way next to the machine to remove any trip hazard.
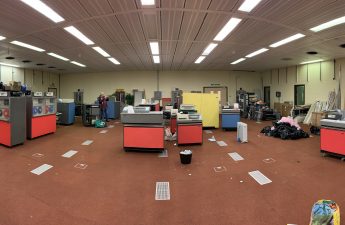
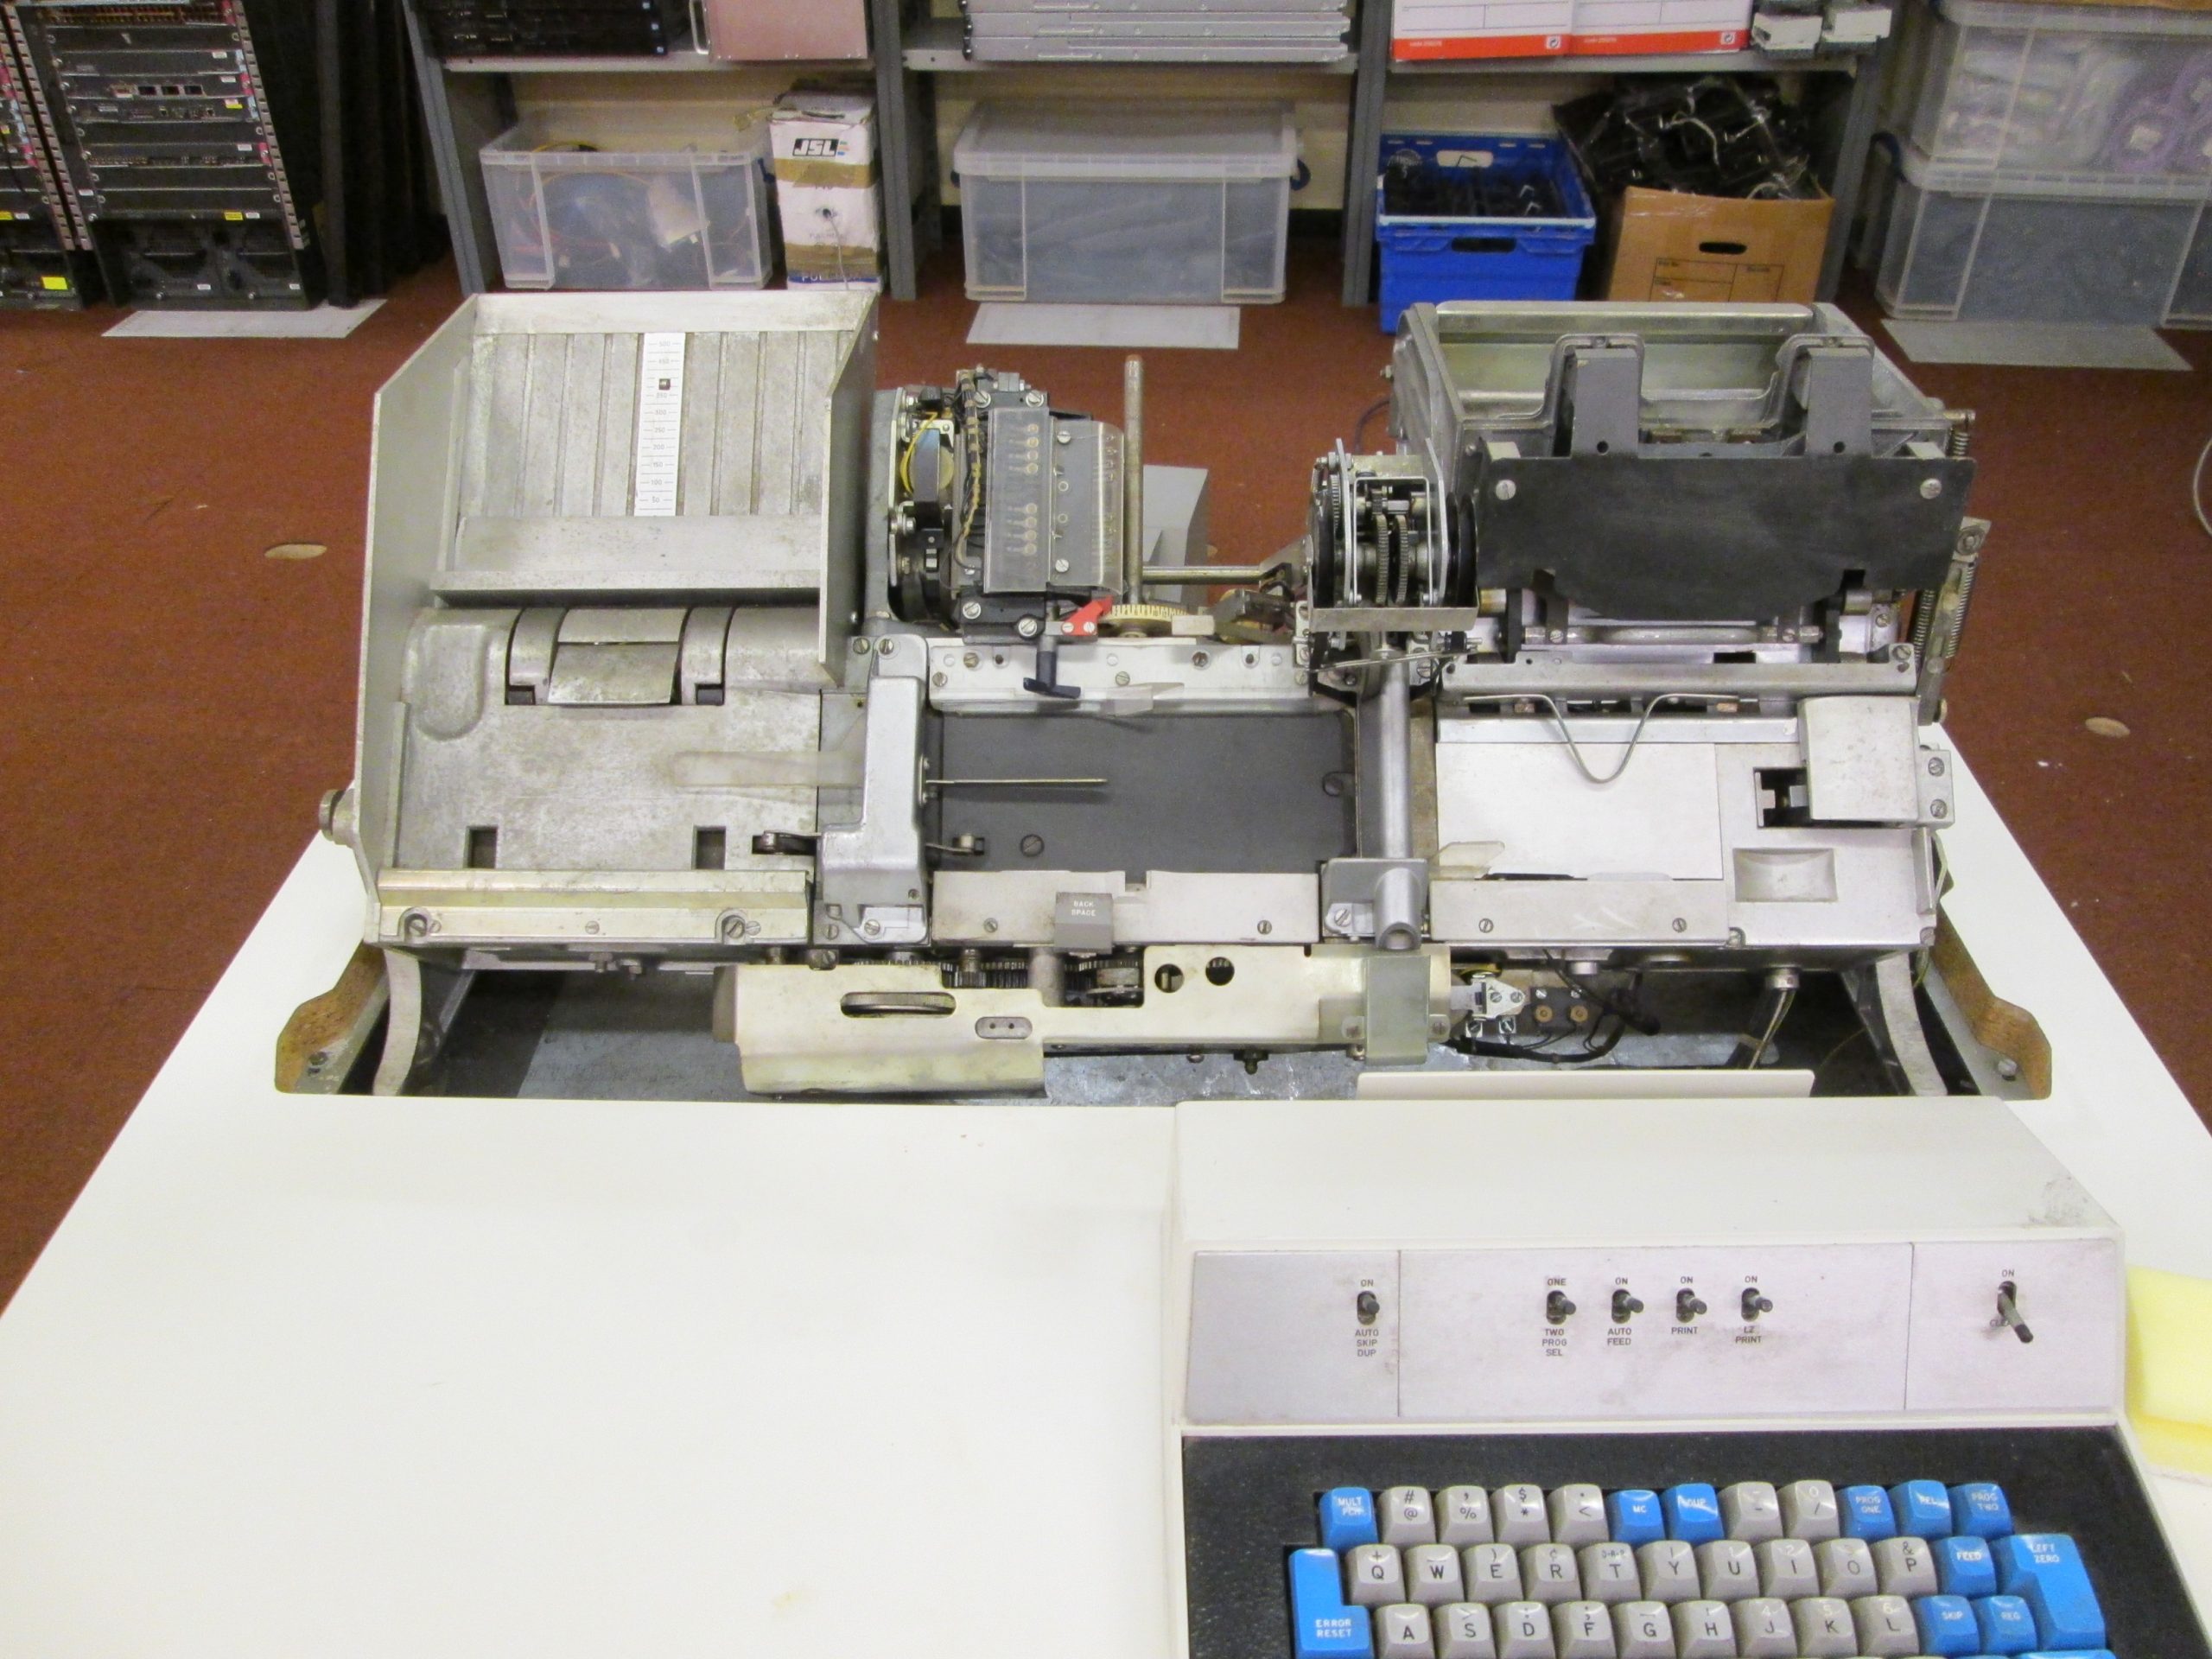
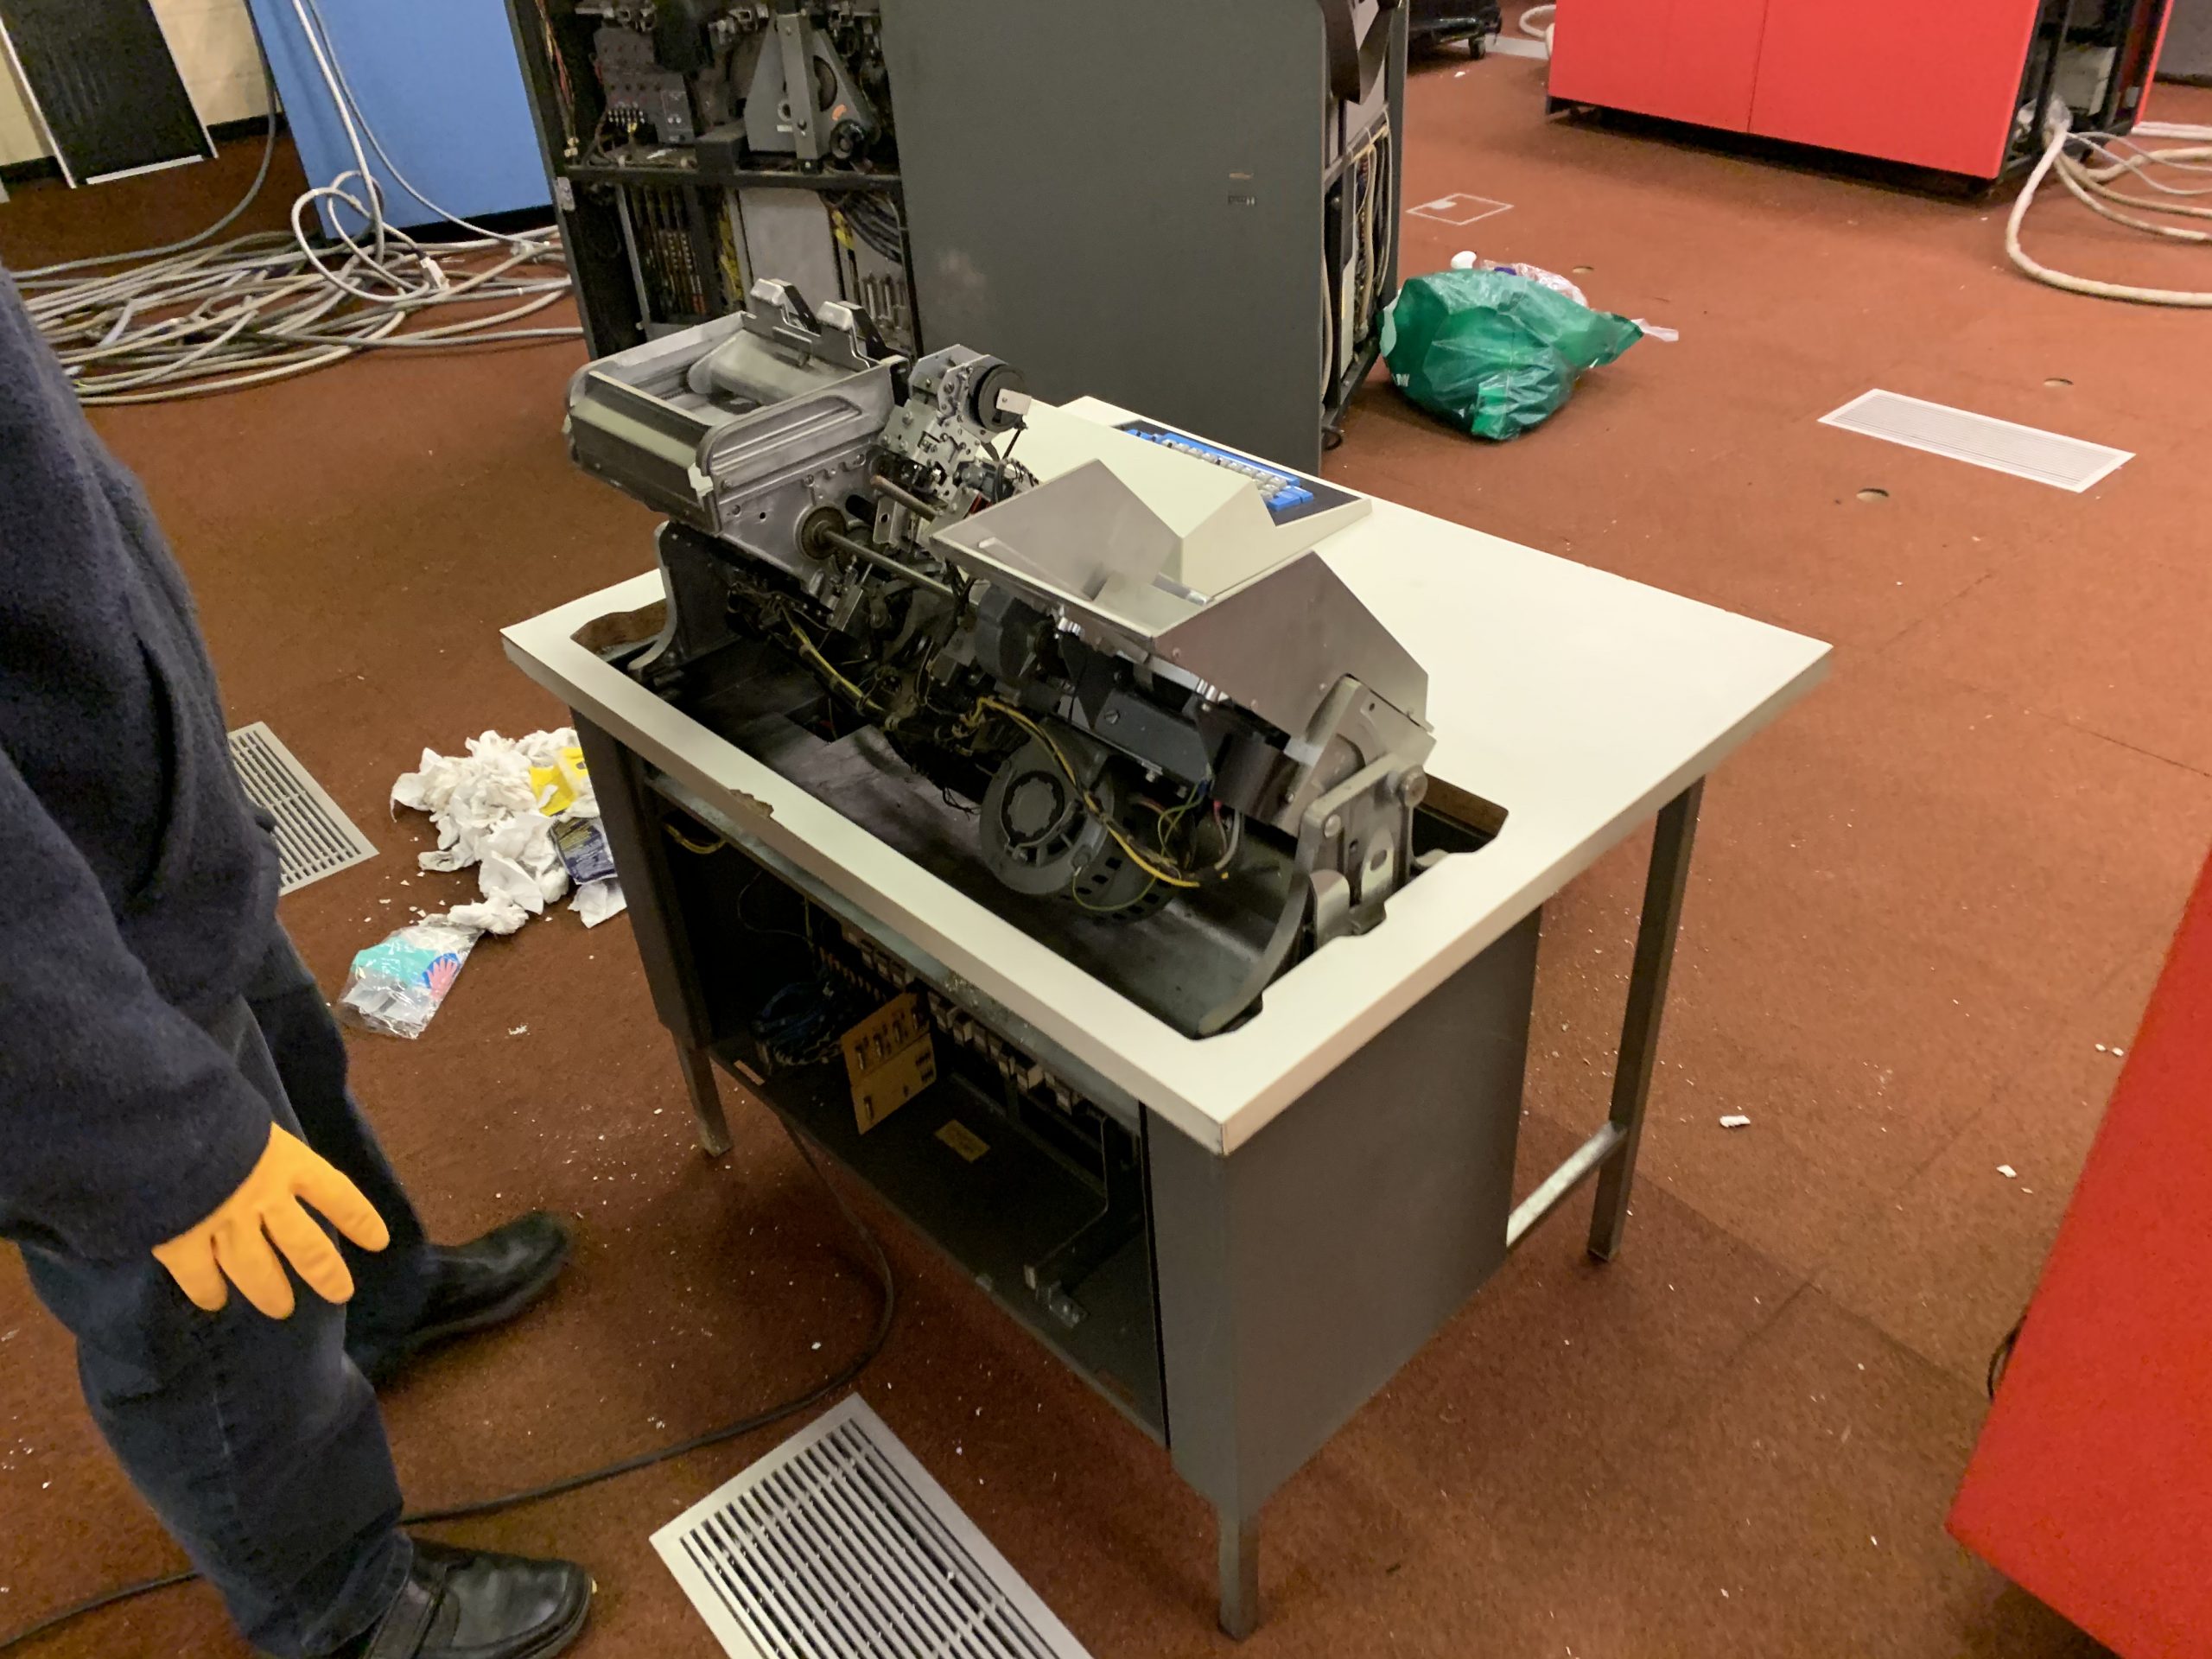
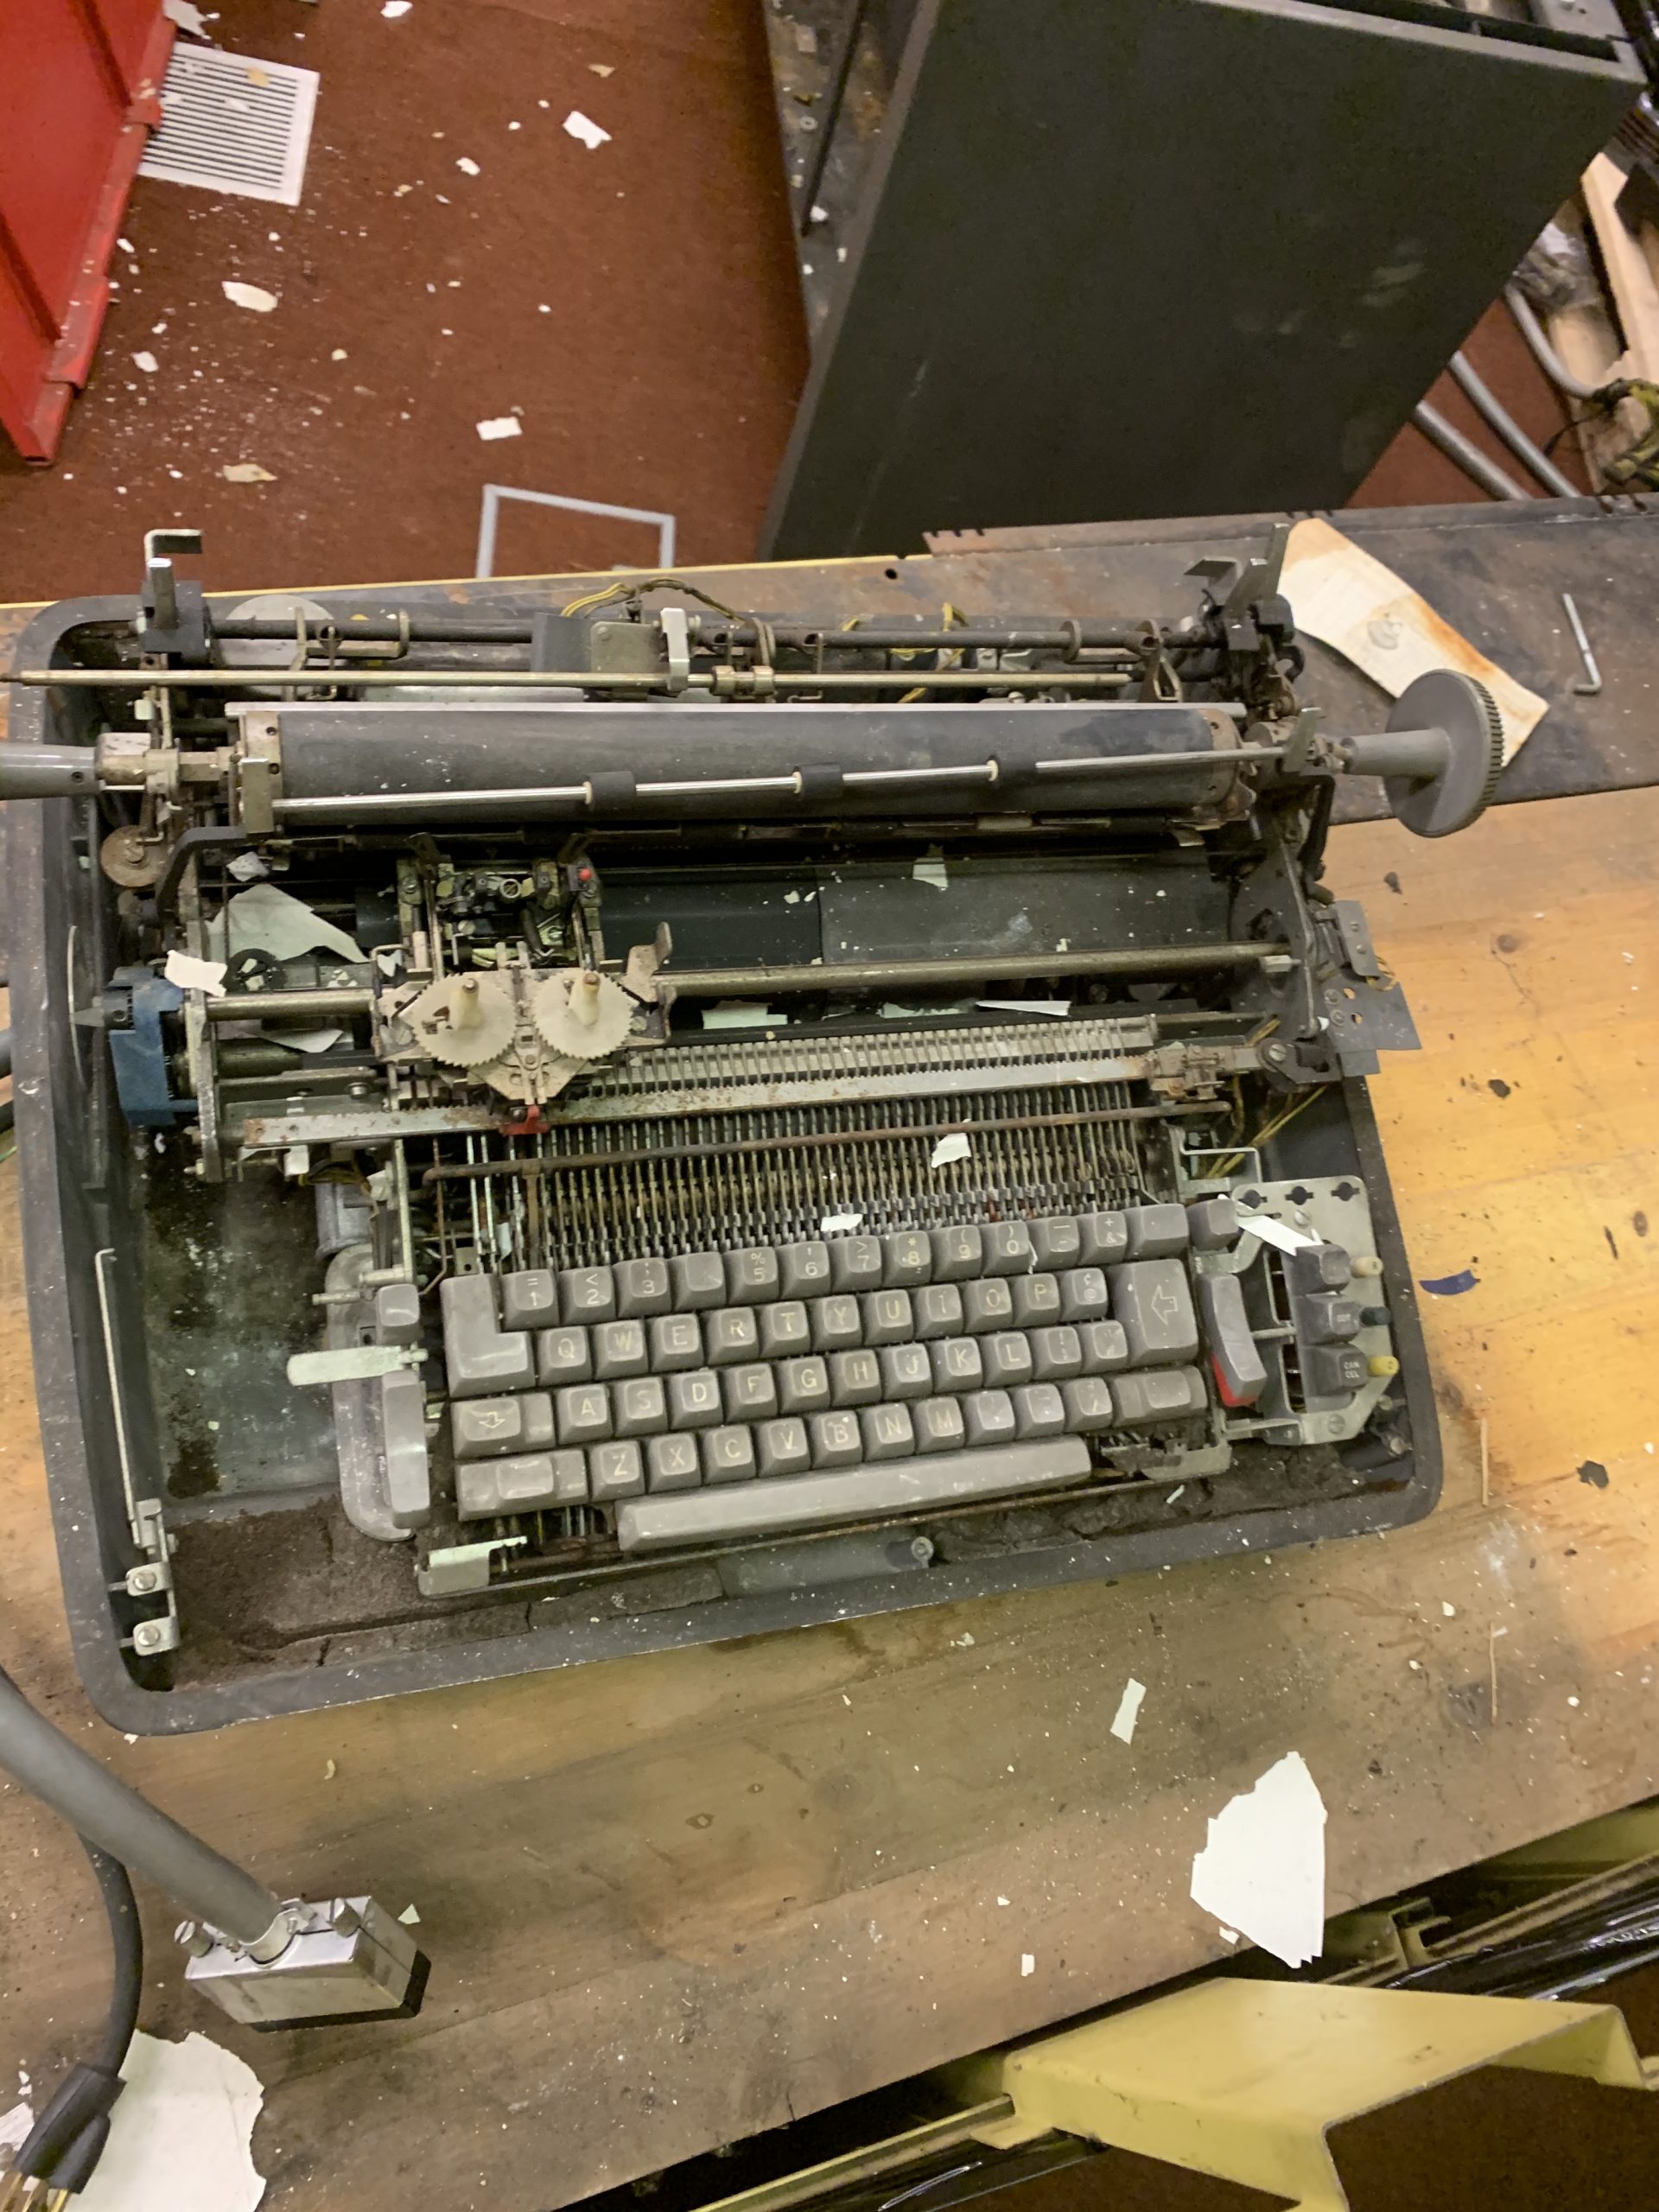
Now some of you may remember seeing a somewhat worse-for-wear looking system console in the early photo sets:
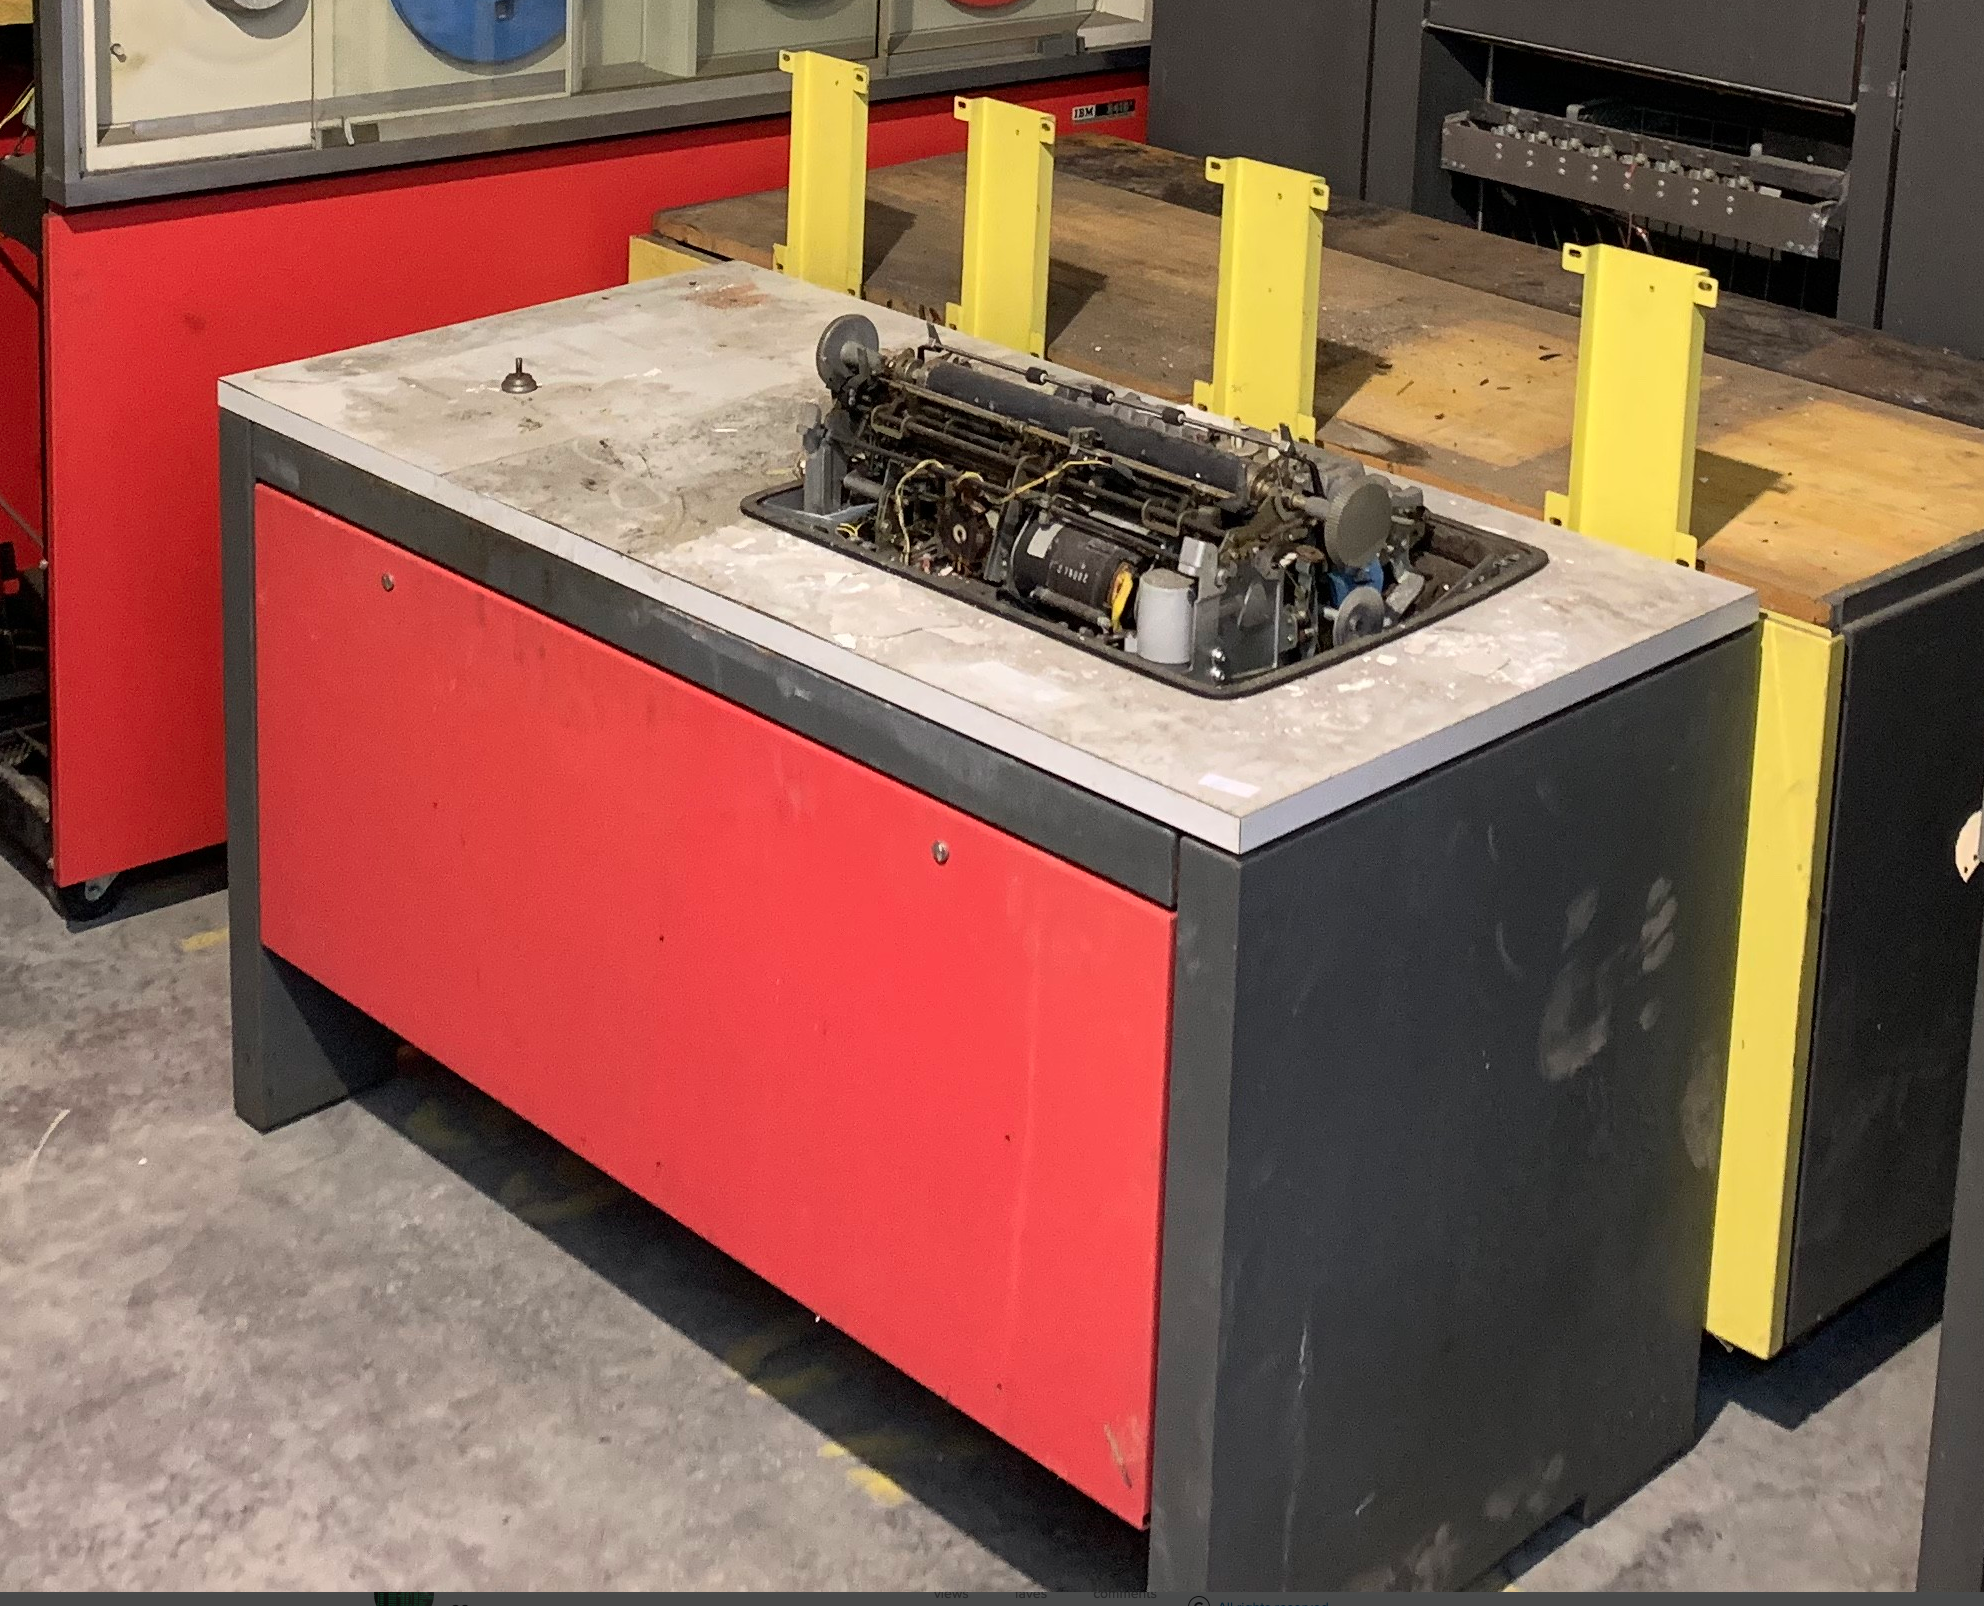
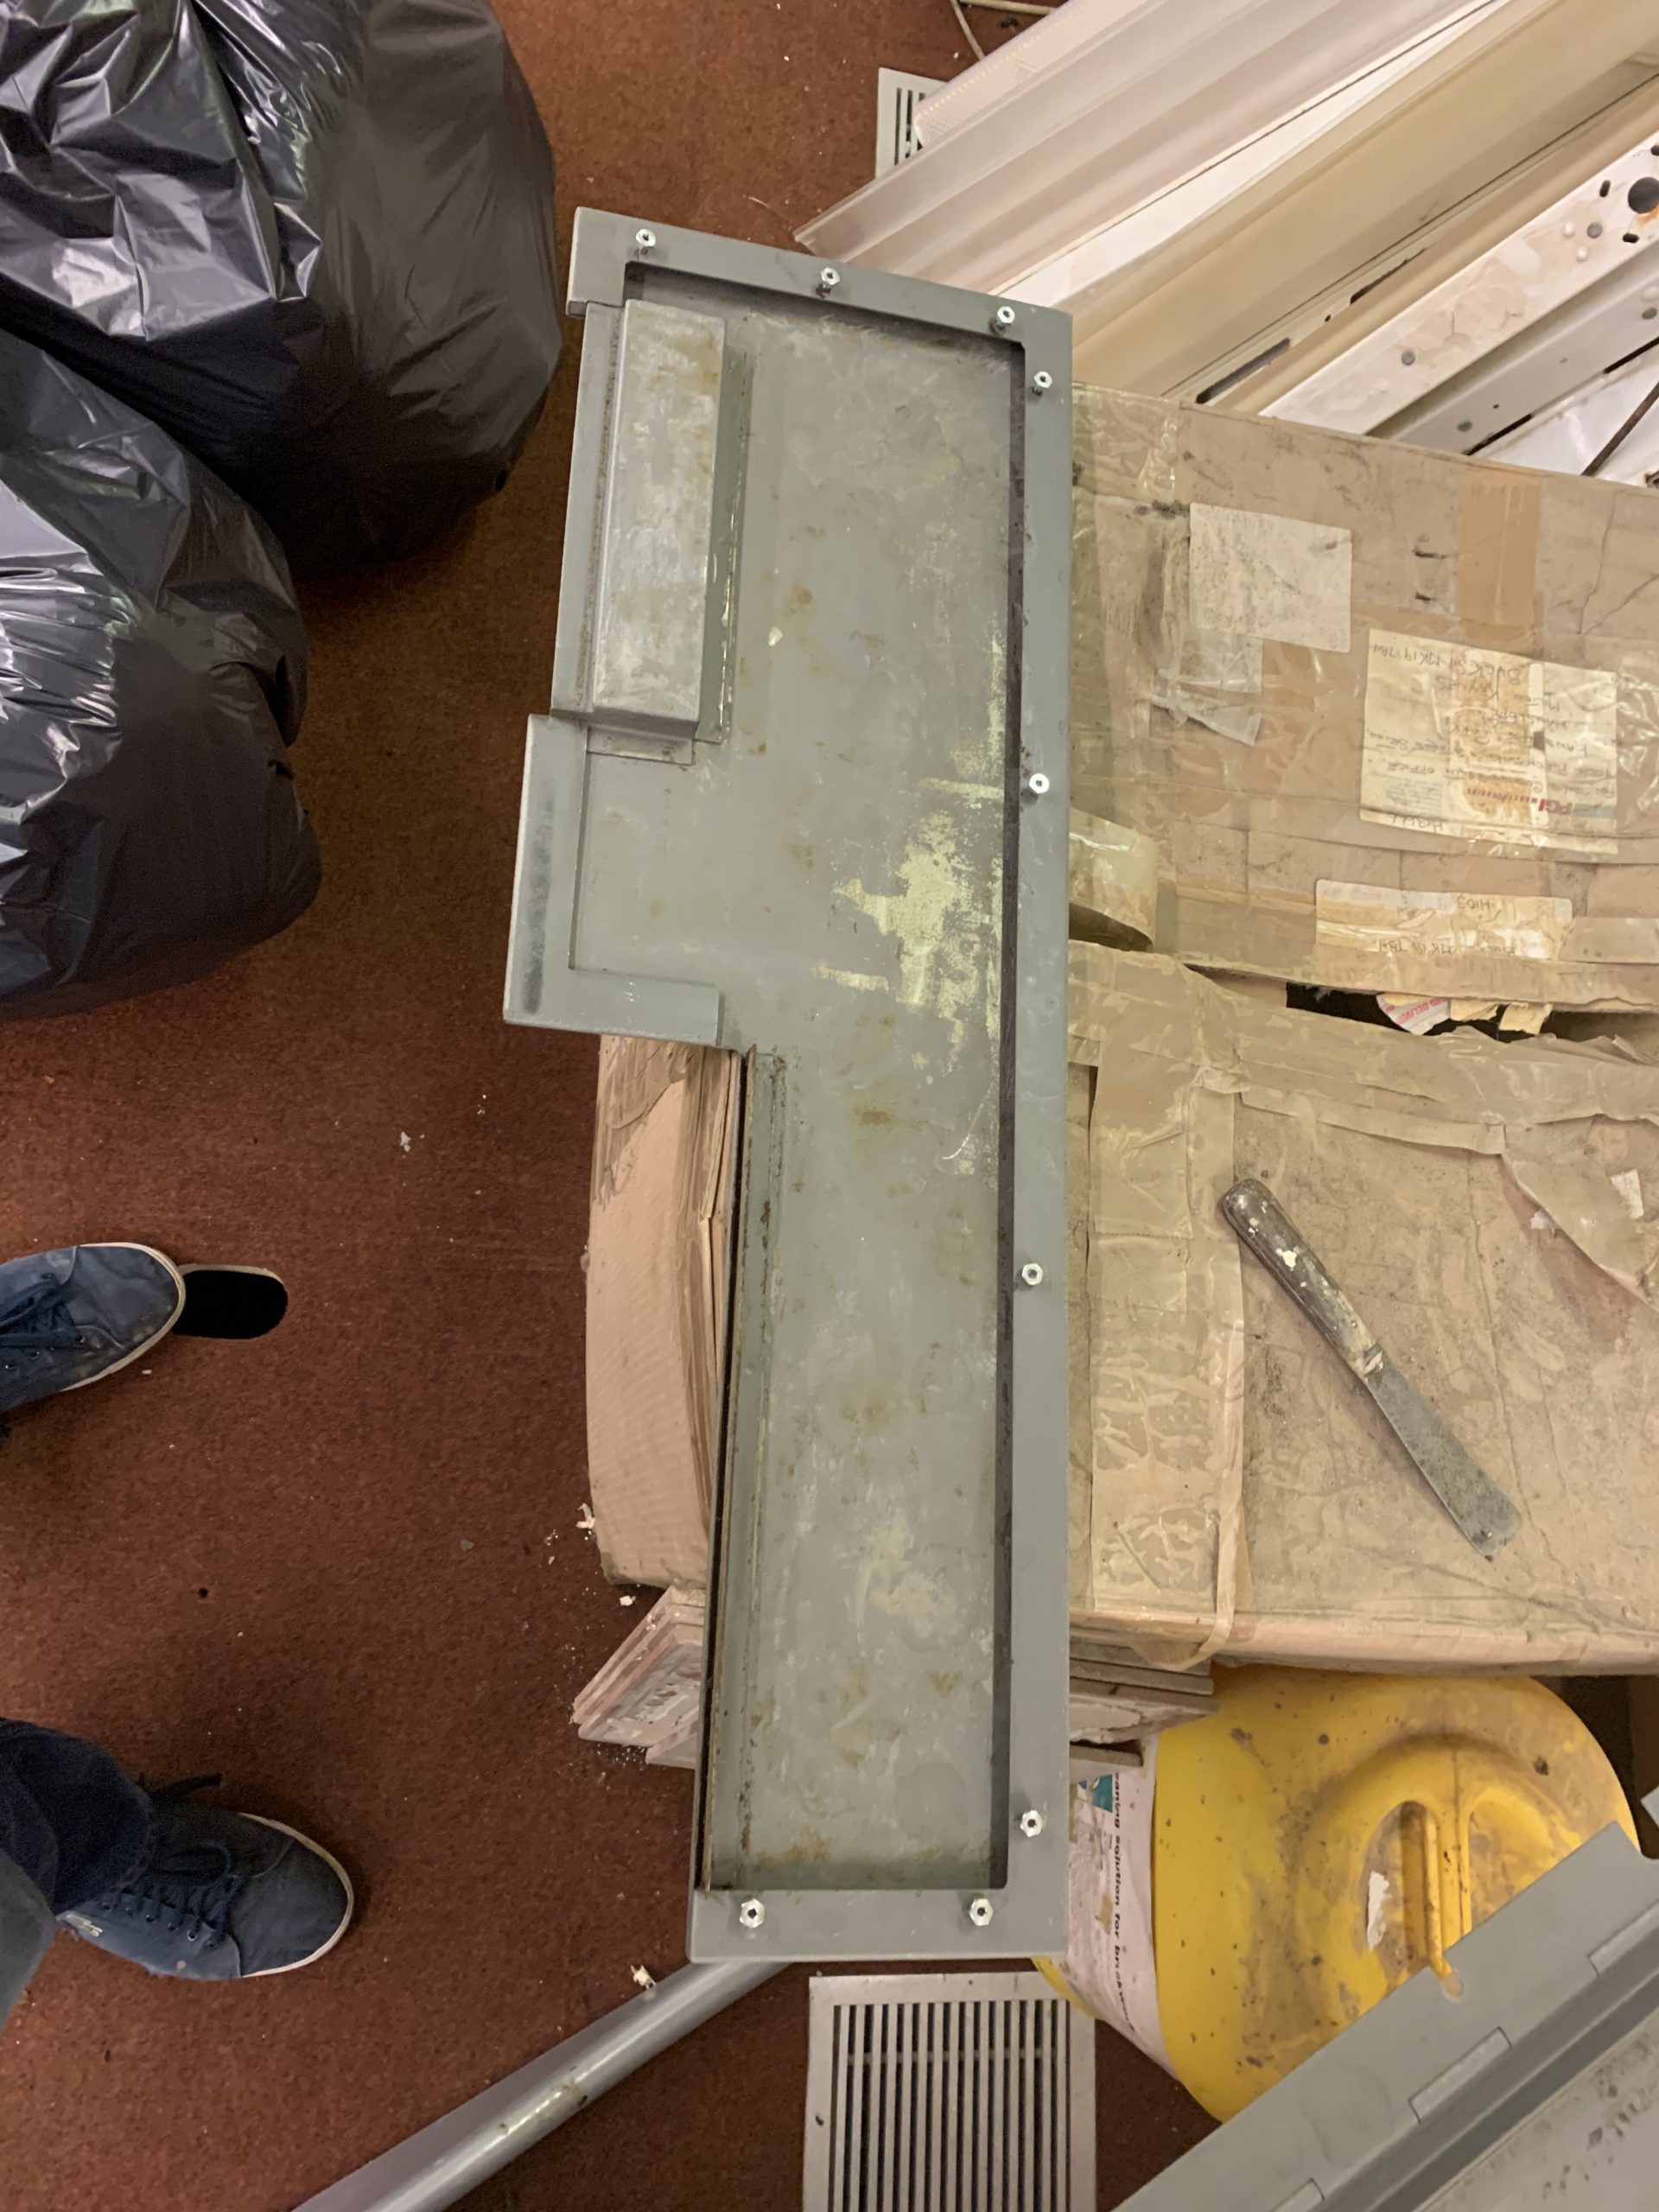
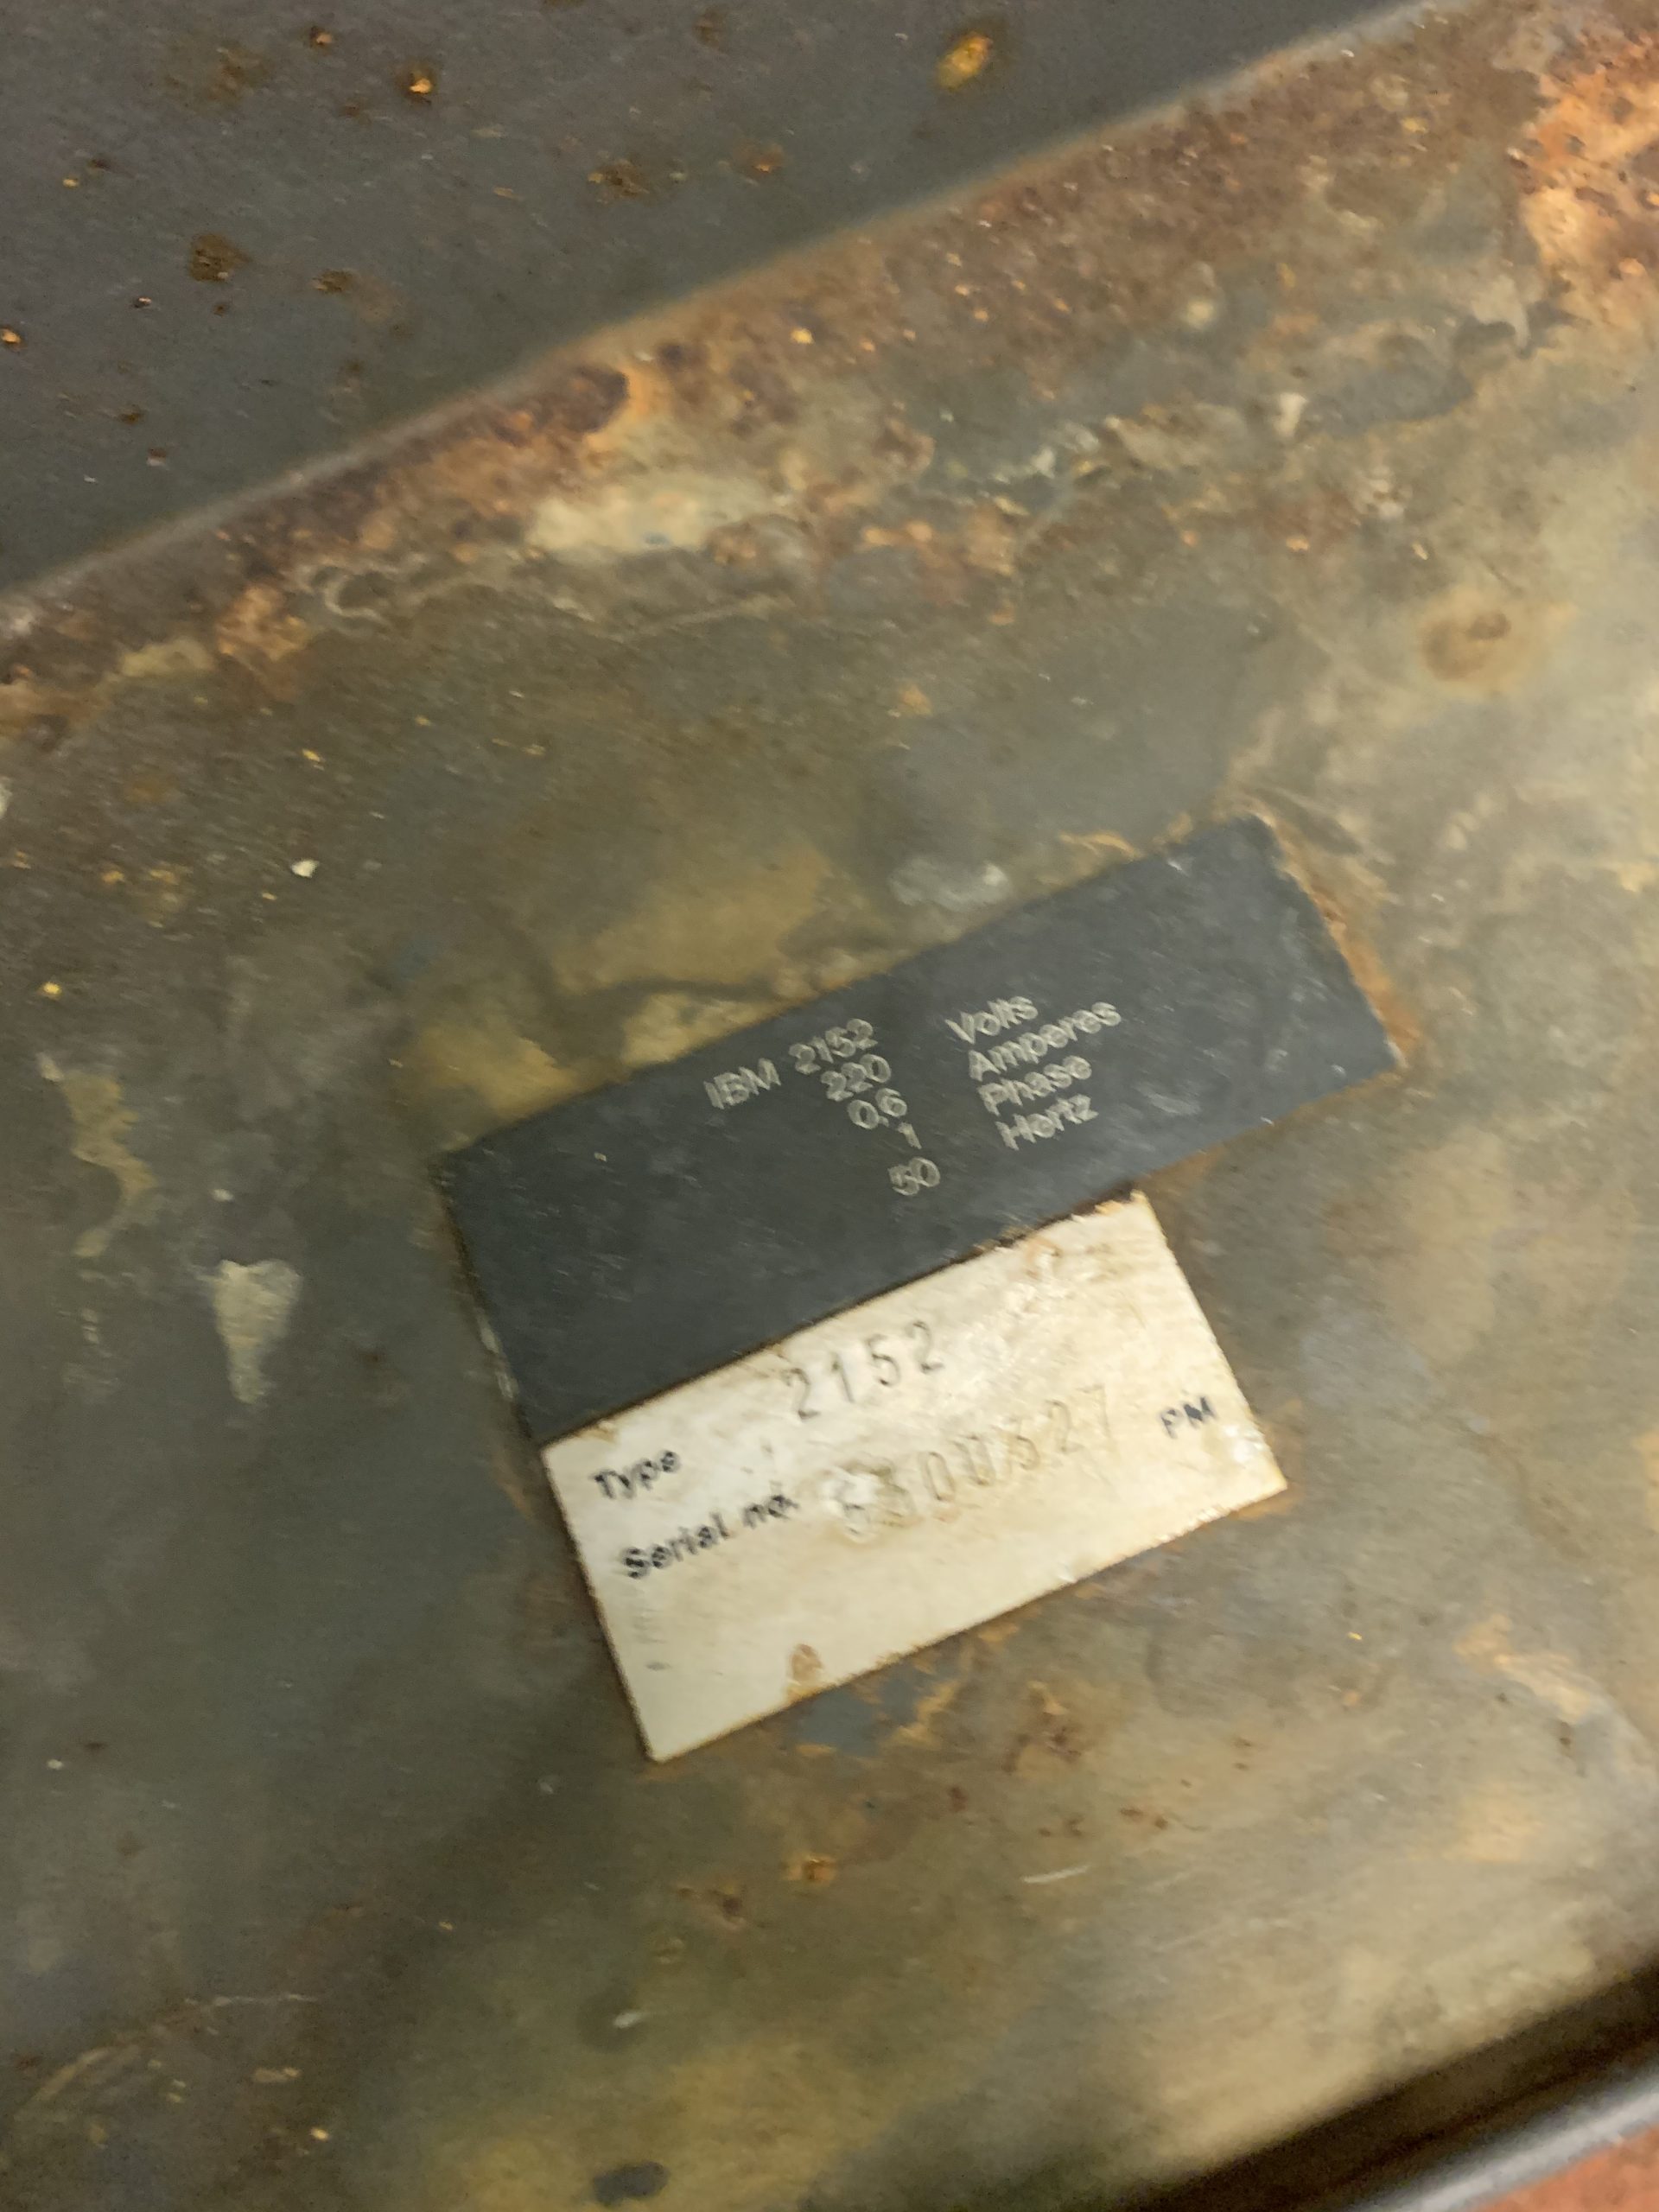
This is labelled as a 2152, but we can find very little information about it anywhere. I’ve also not seen any photos of it attached to systems, but I do know it was cabled into our red processor, and we have a cable labelled up for it, however it is in extremely poor condition. I decided to open it up and take a look at it to determine it’s restorability.
We pulled the teletype from the desk to expose the model label:
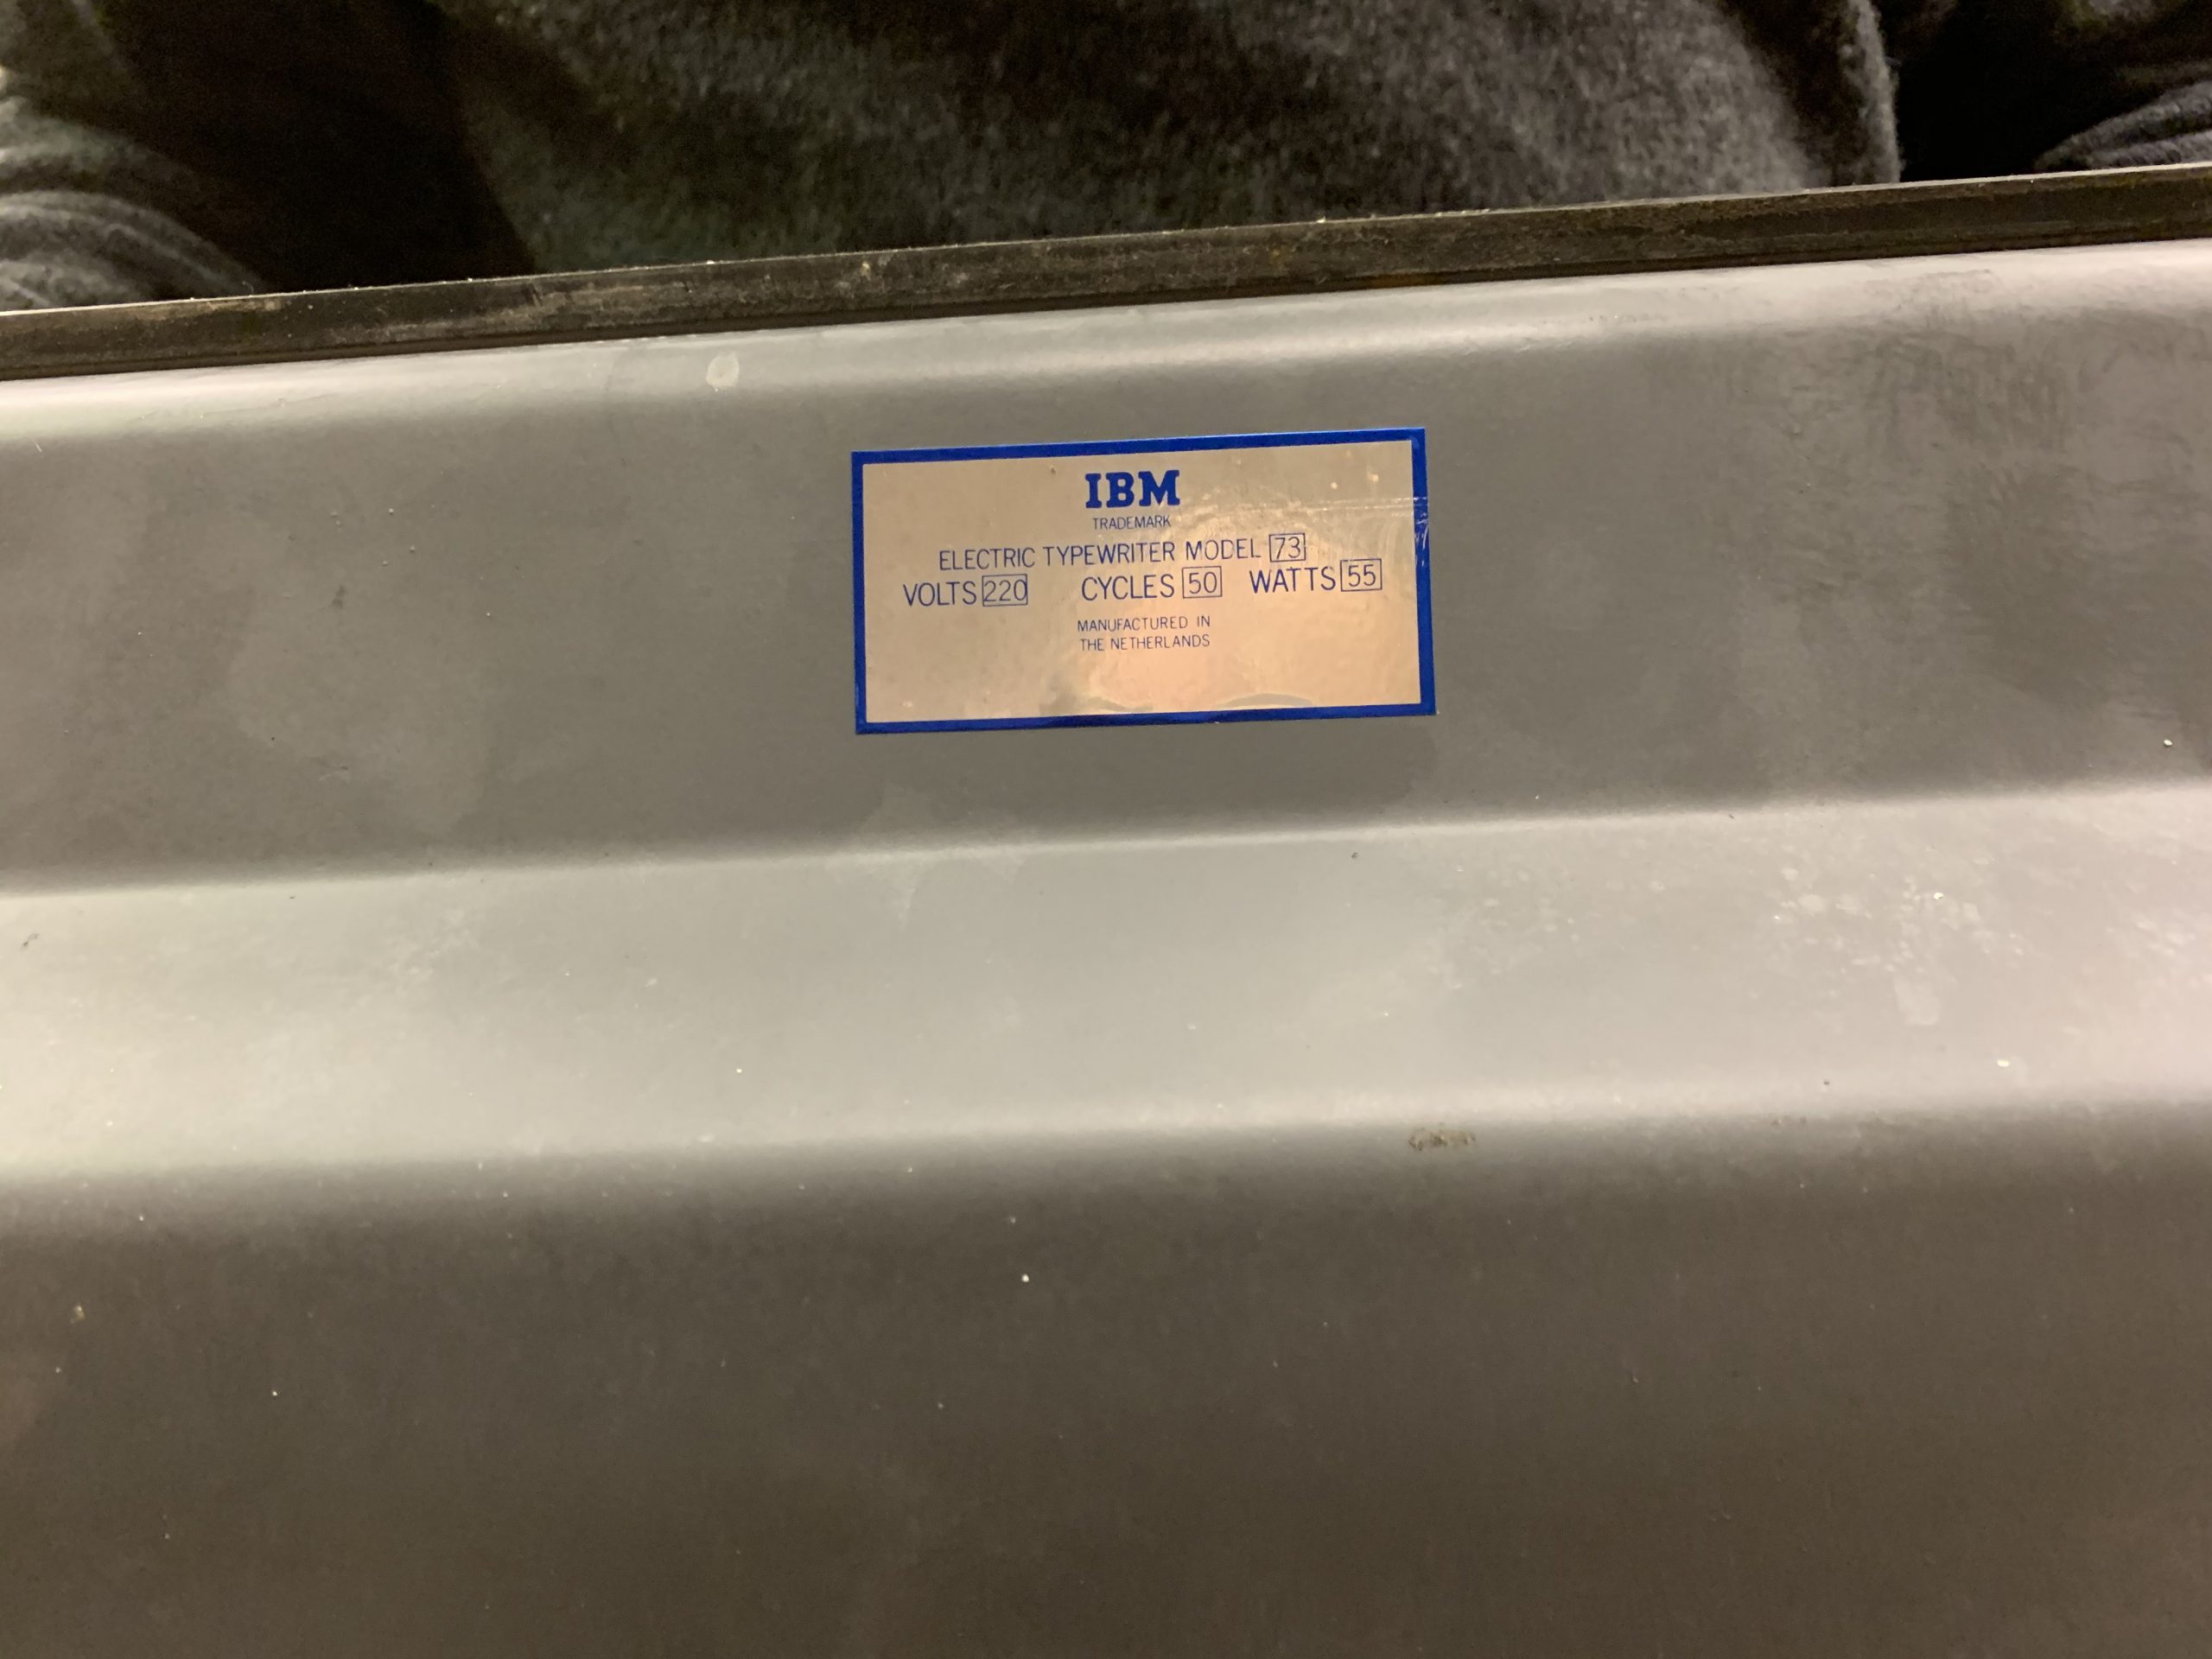
Okay, so we know it’s a model 73. I’m no expert on IBM Selectrics, so I posted in an IBM golfball typewriter facebook group. They informed me that this was akin to a 72, but with some extra bits. A chap on there has very kindly offered to donate a model 72 to us to use for parts to repair our 73; this is going to be no easy task! If you happen to be, or know, a selectric engineer we could really use some help!
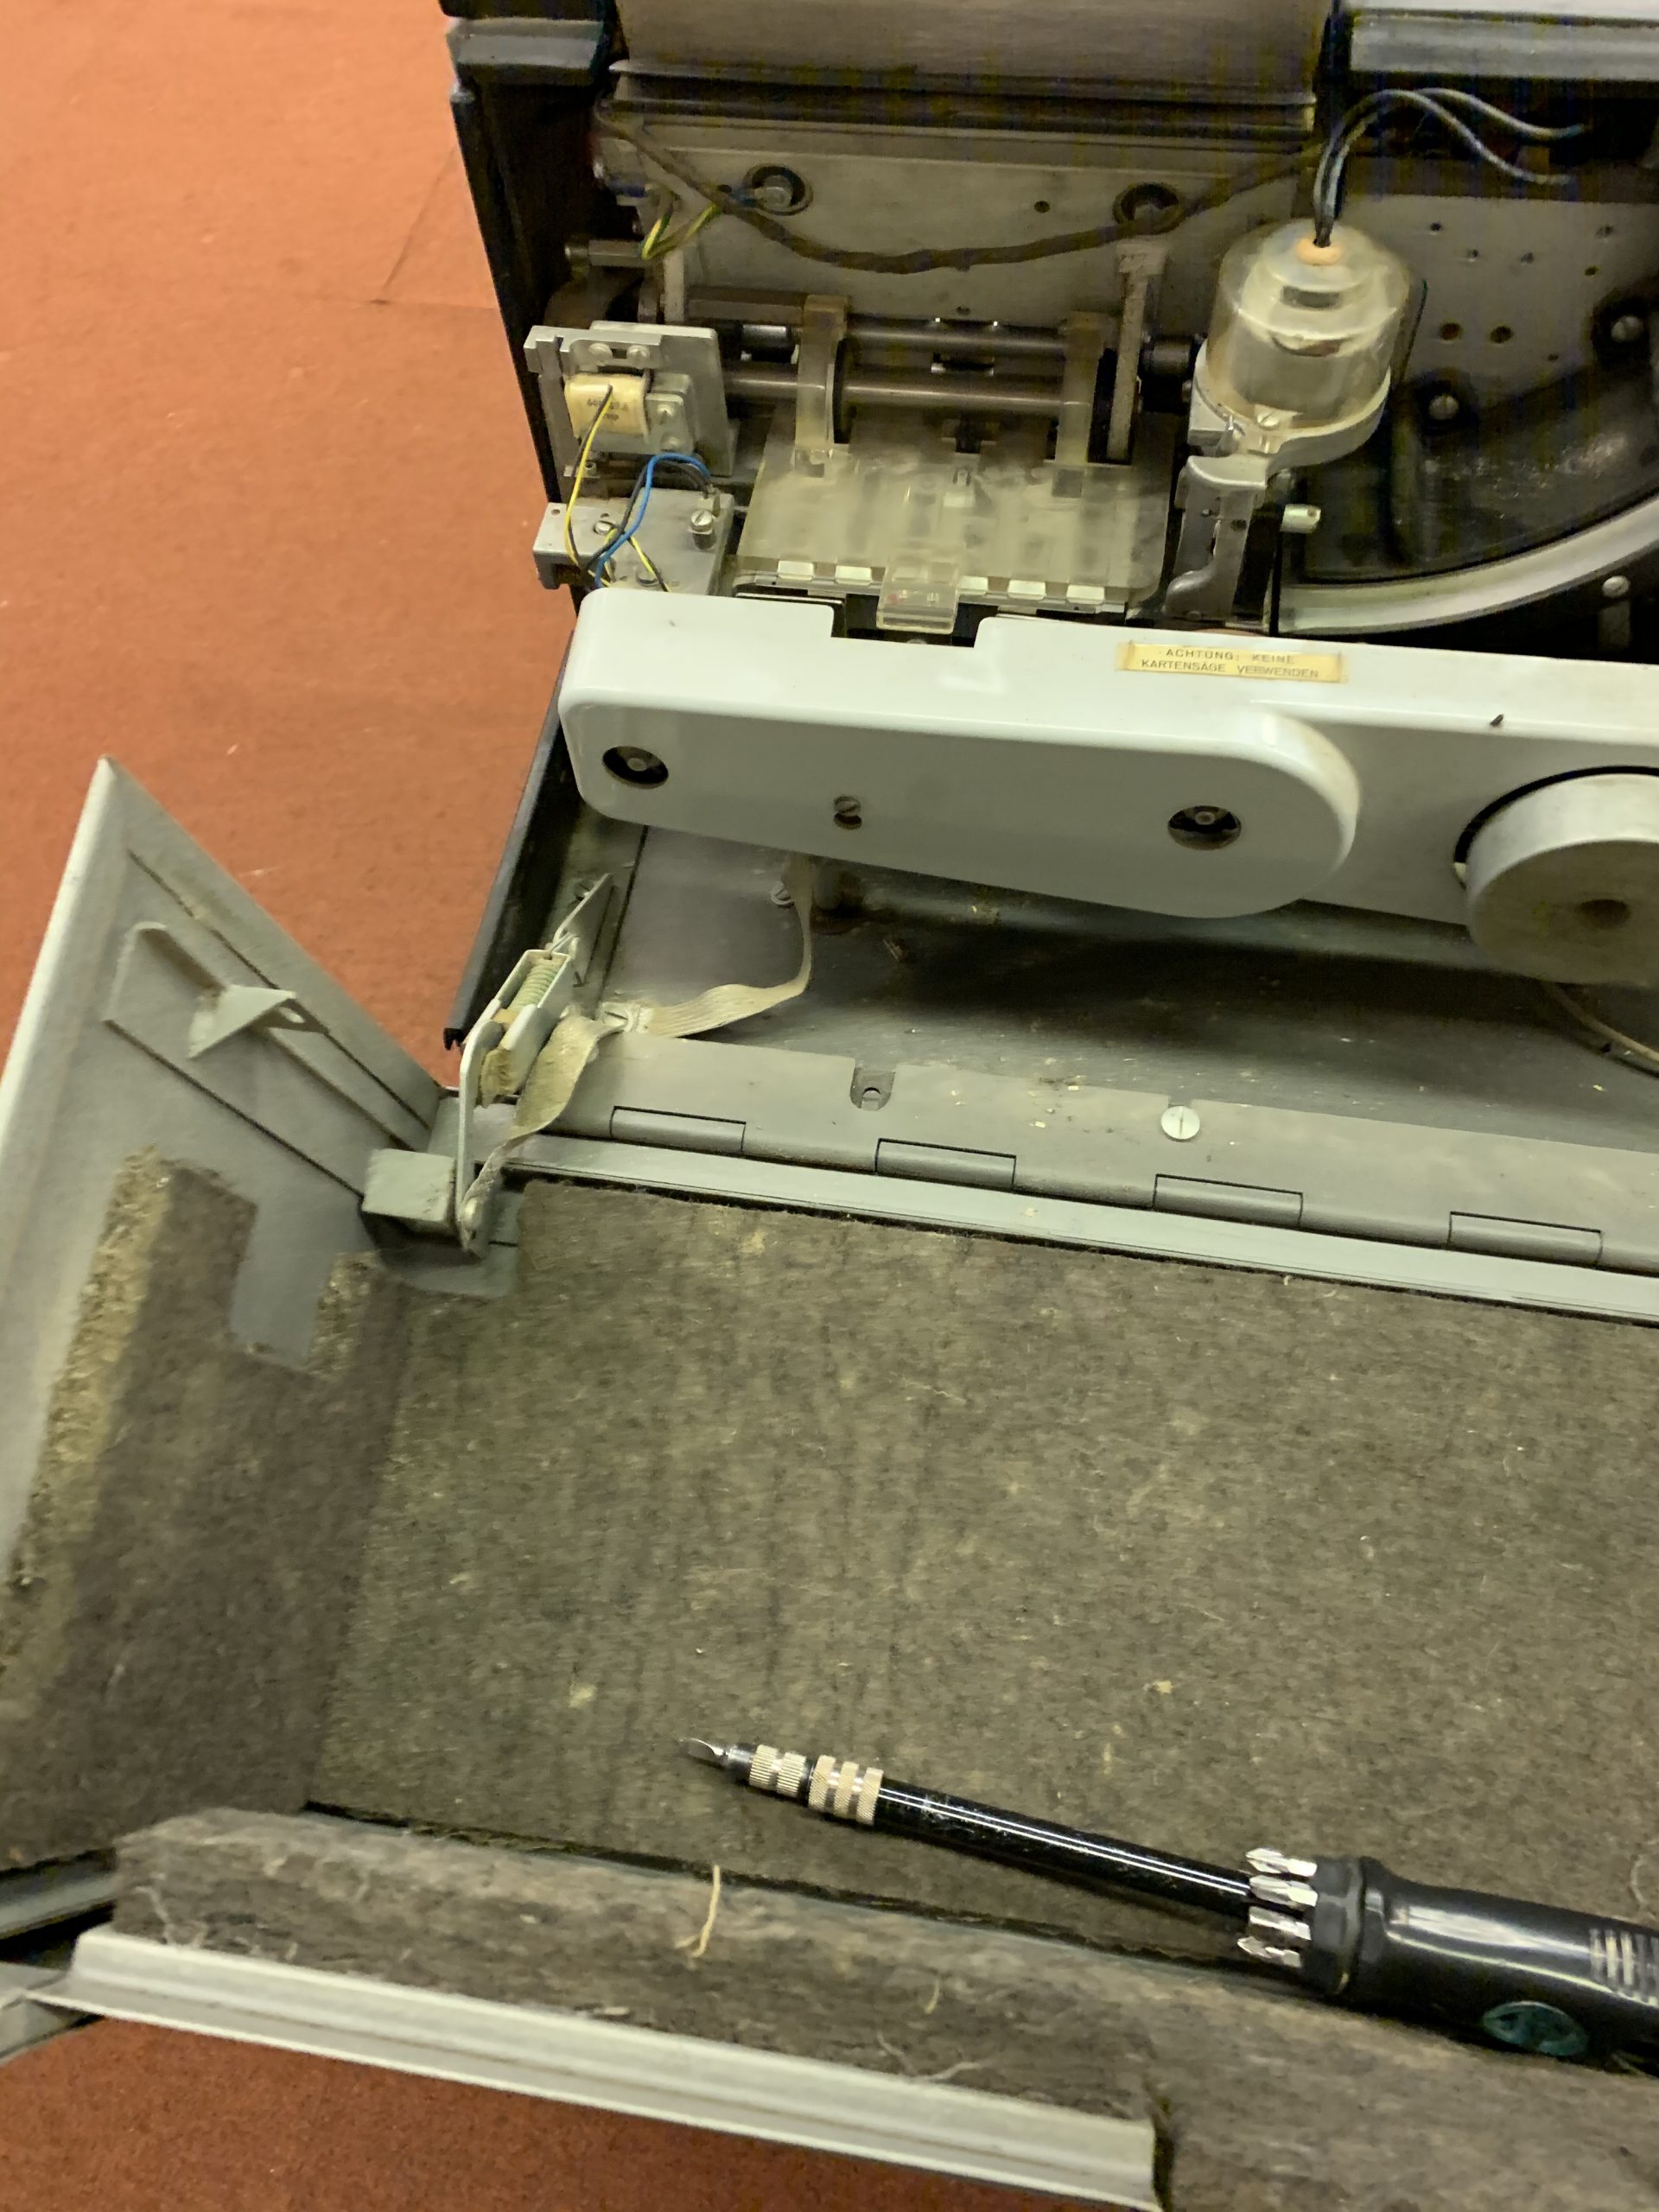
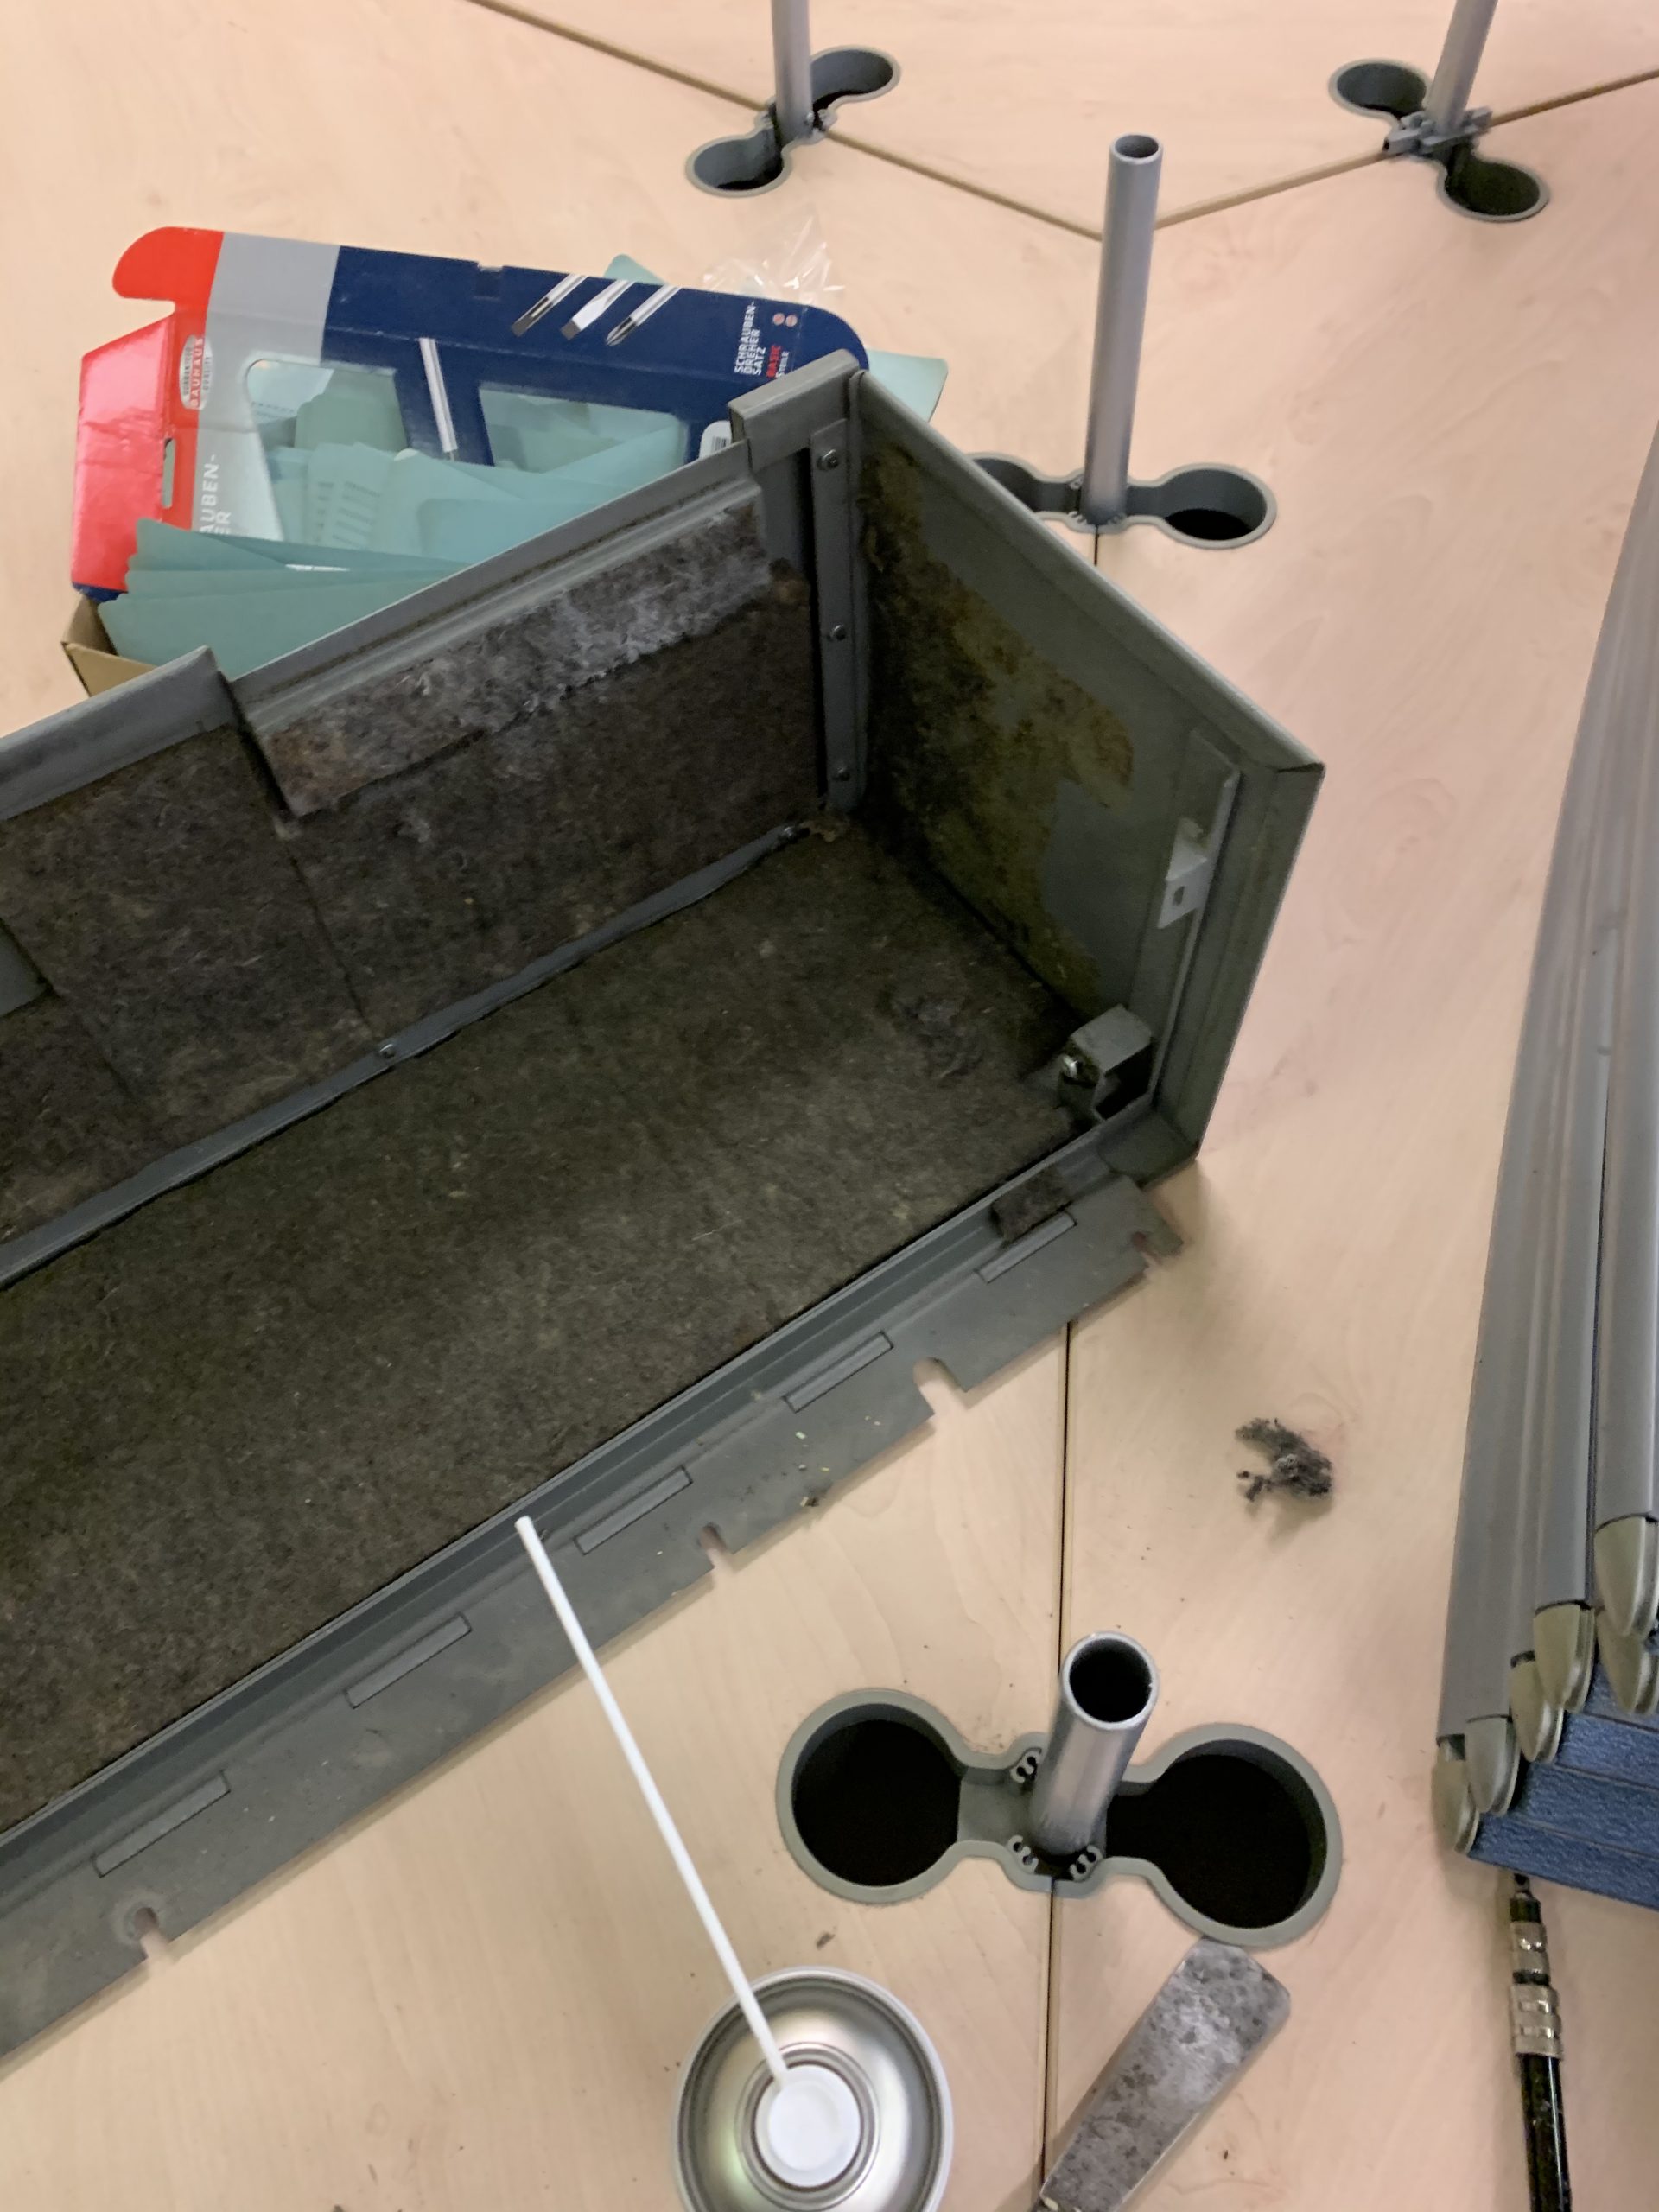
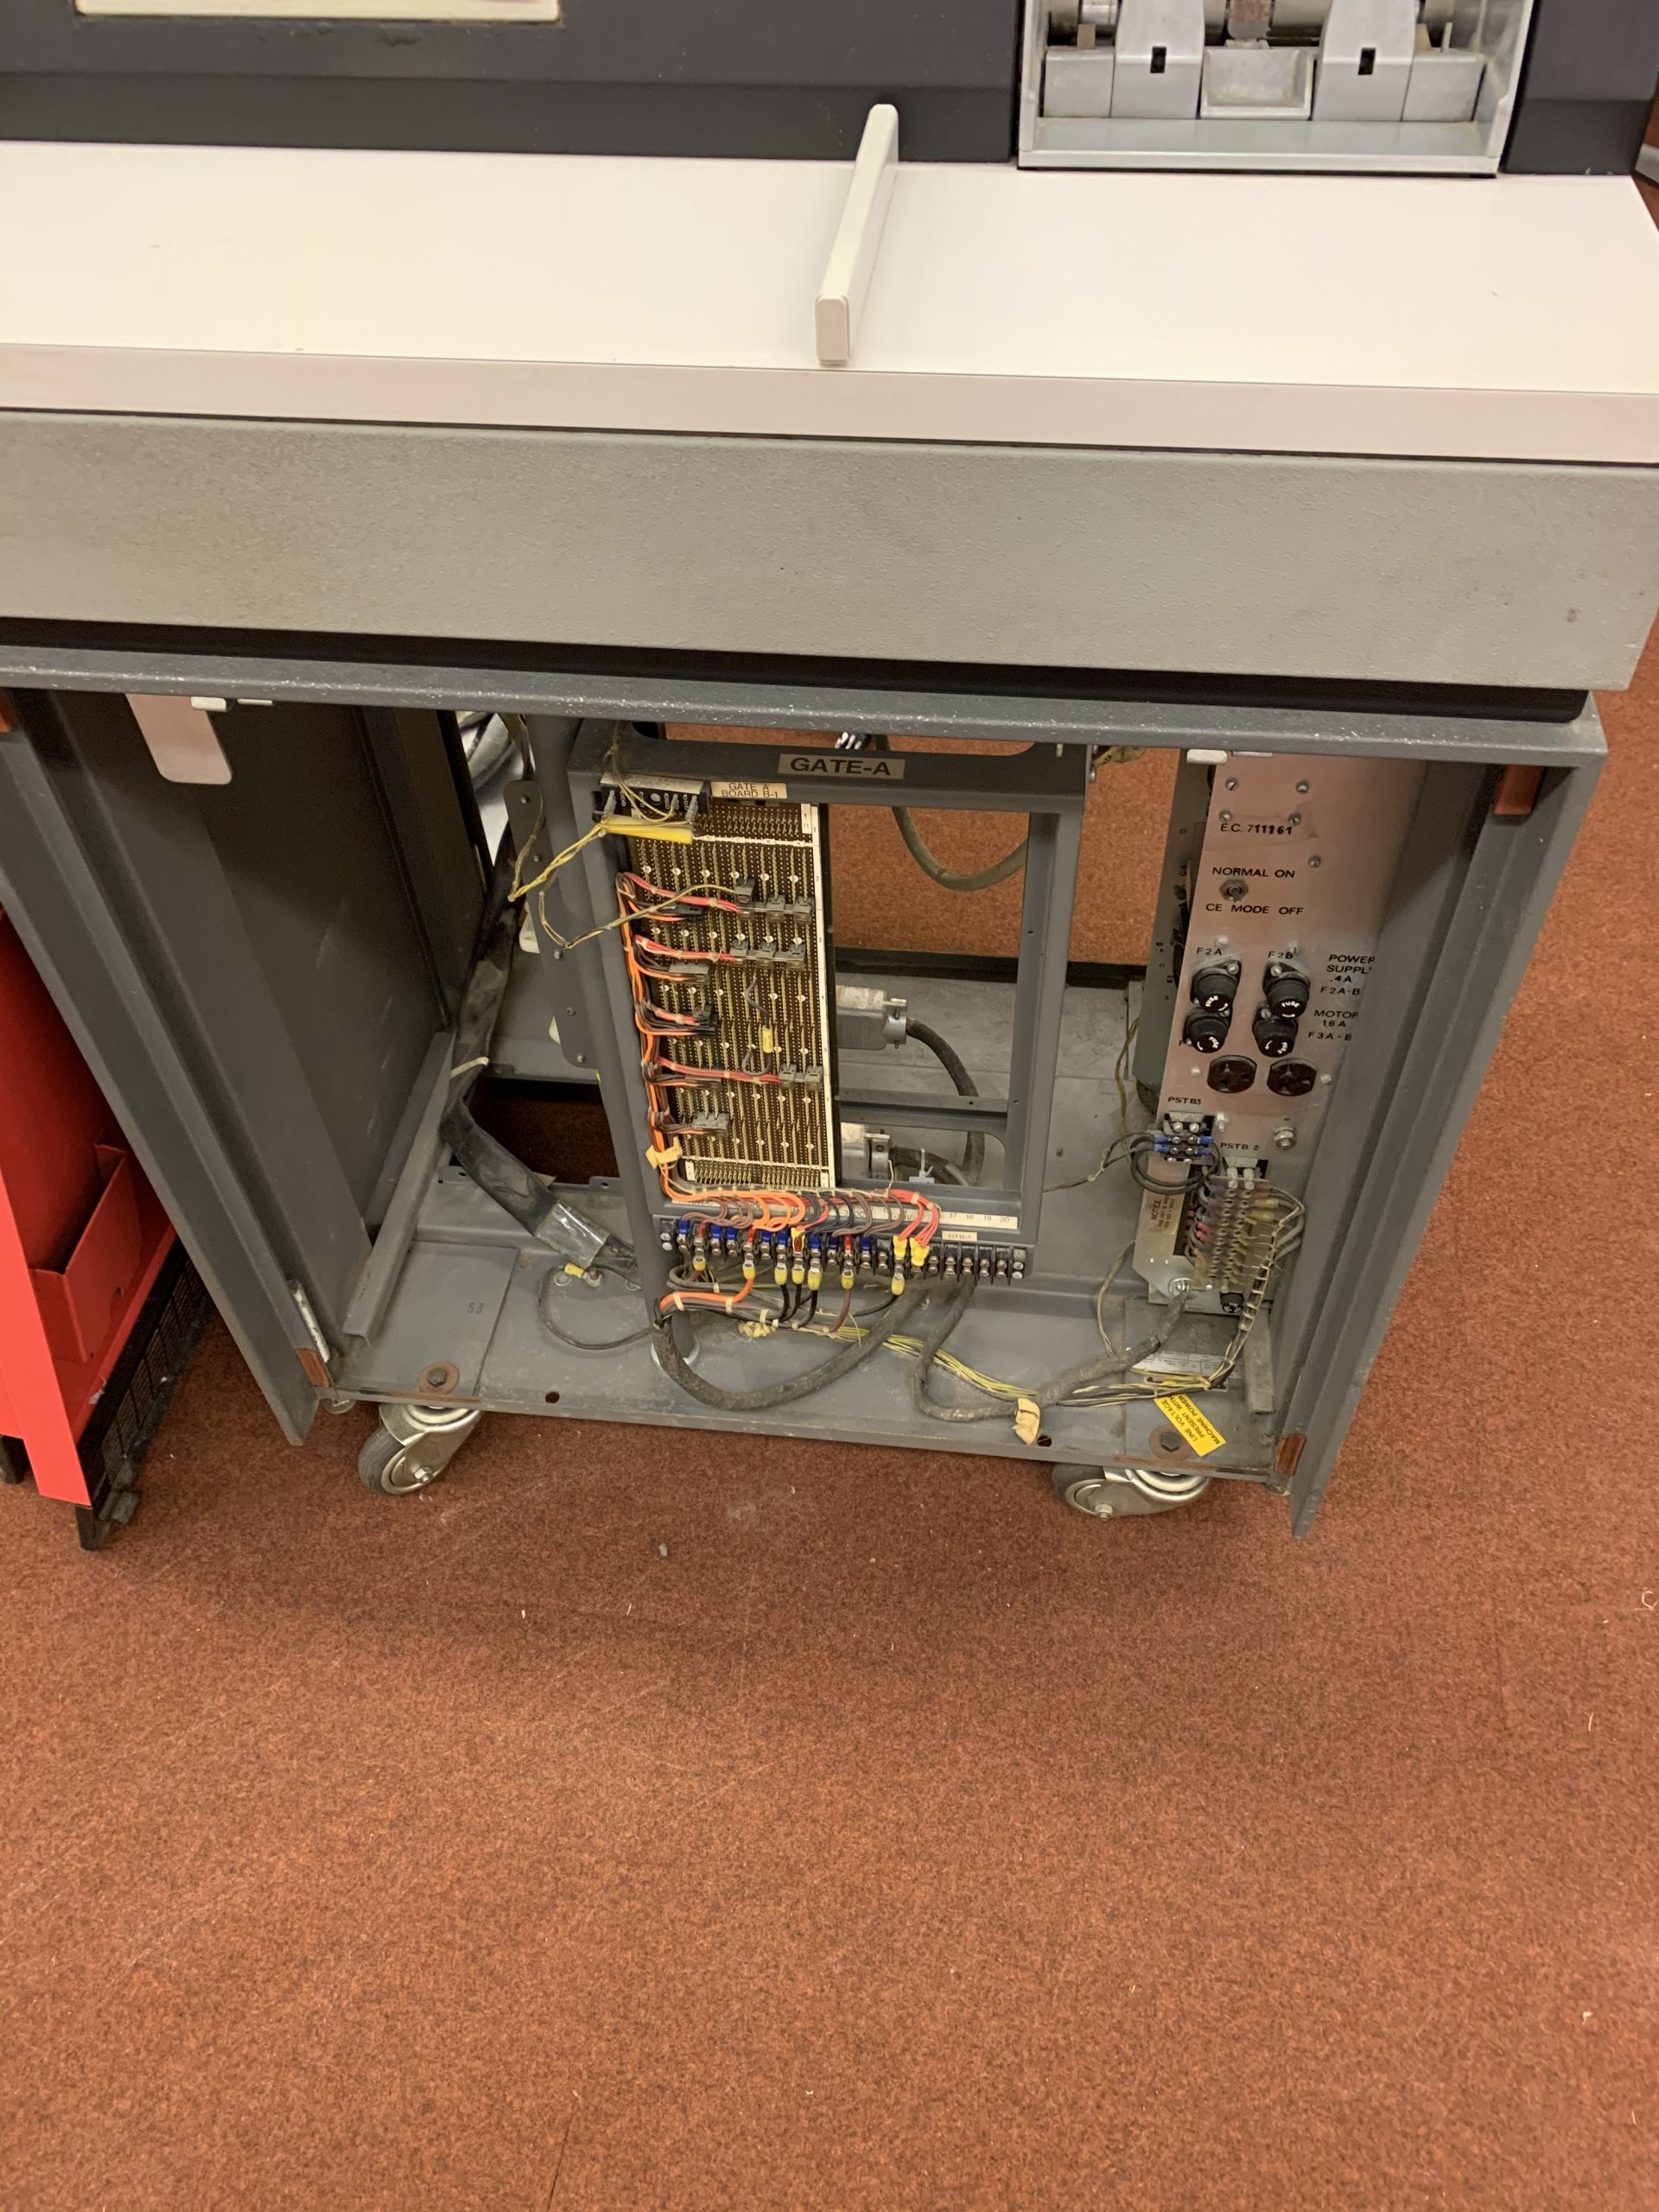
Since I can’t do much with that just yet, I thought I’d turn my attention to the rest of the desk:
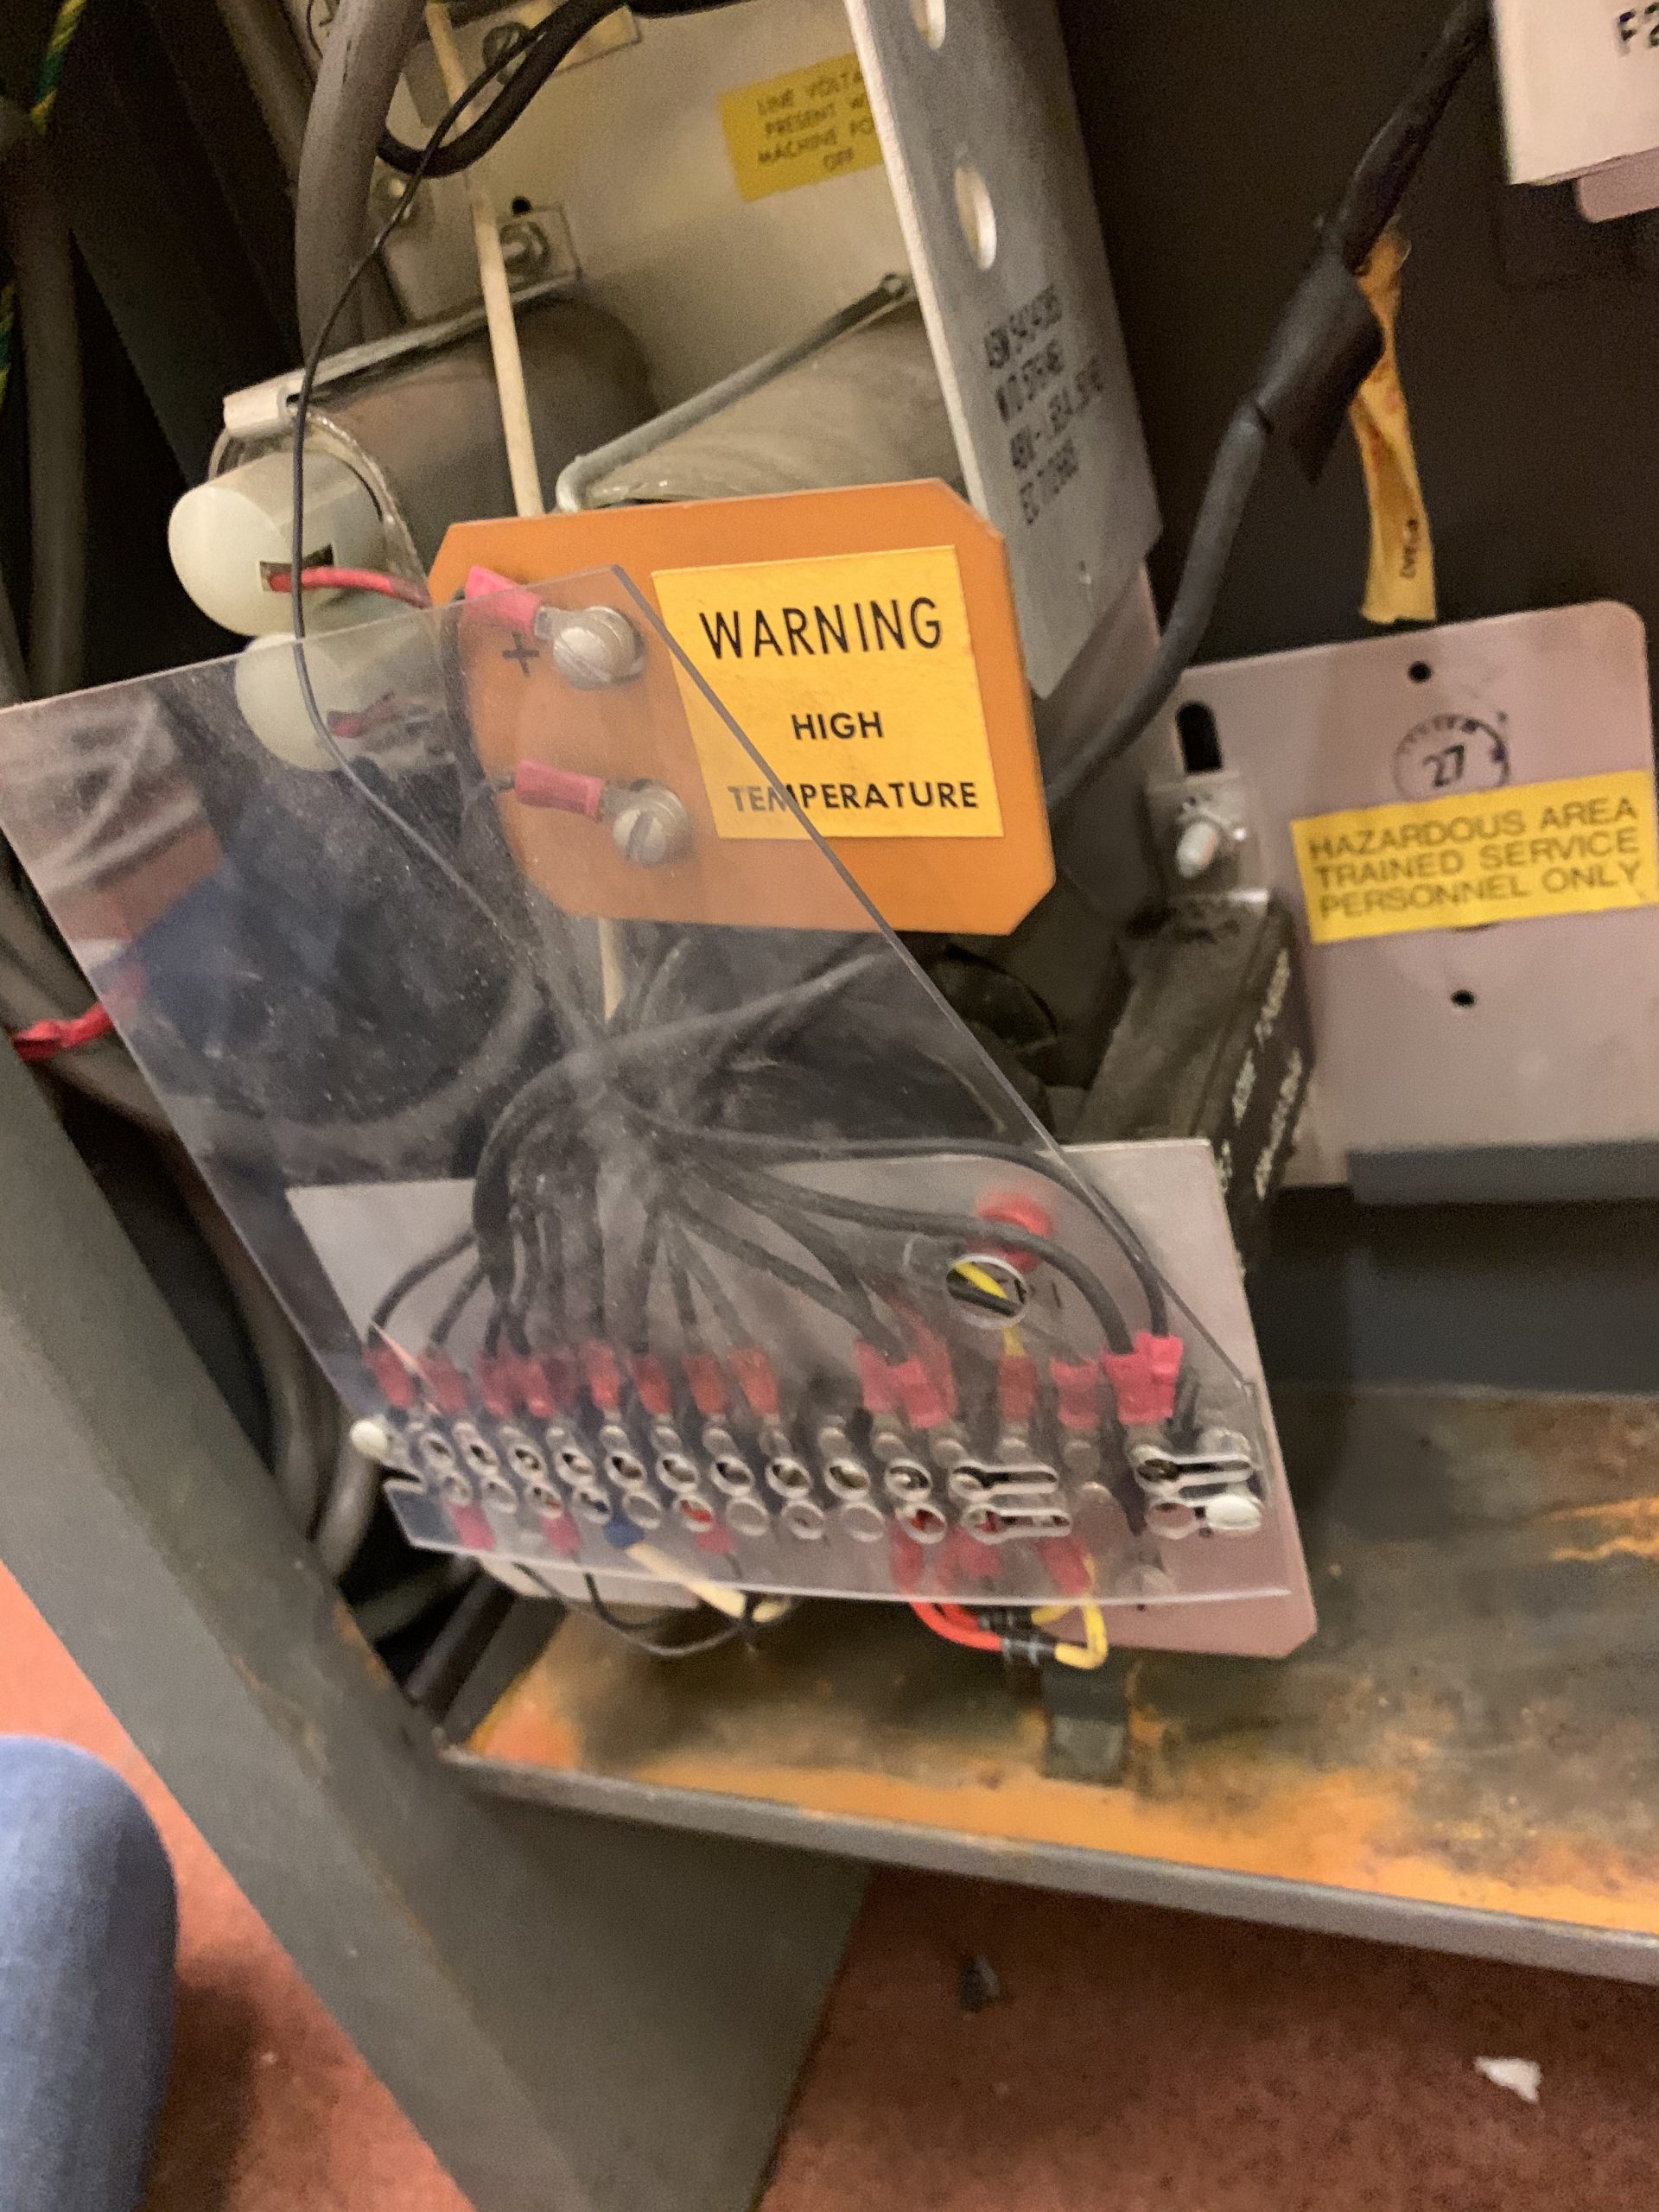
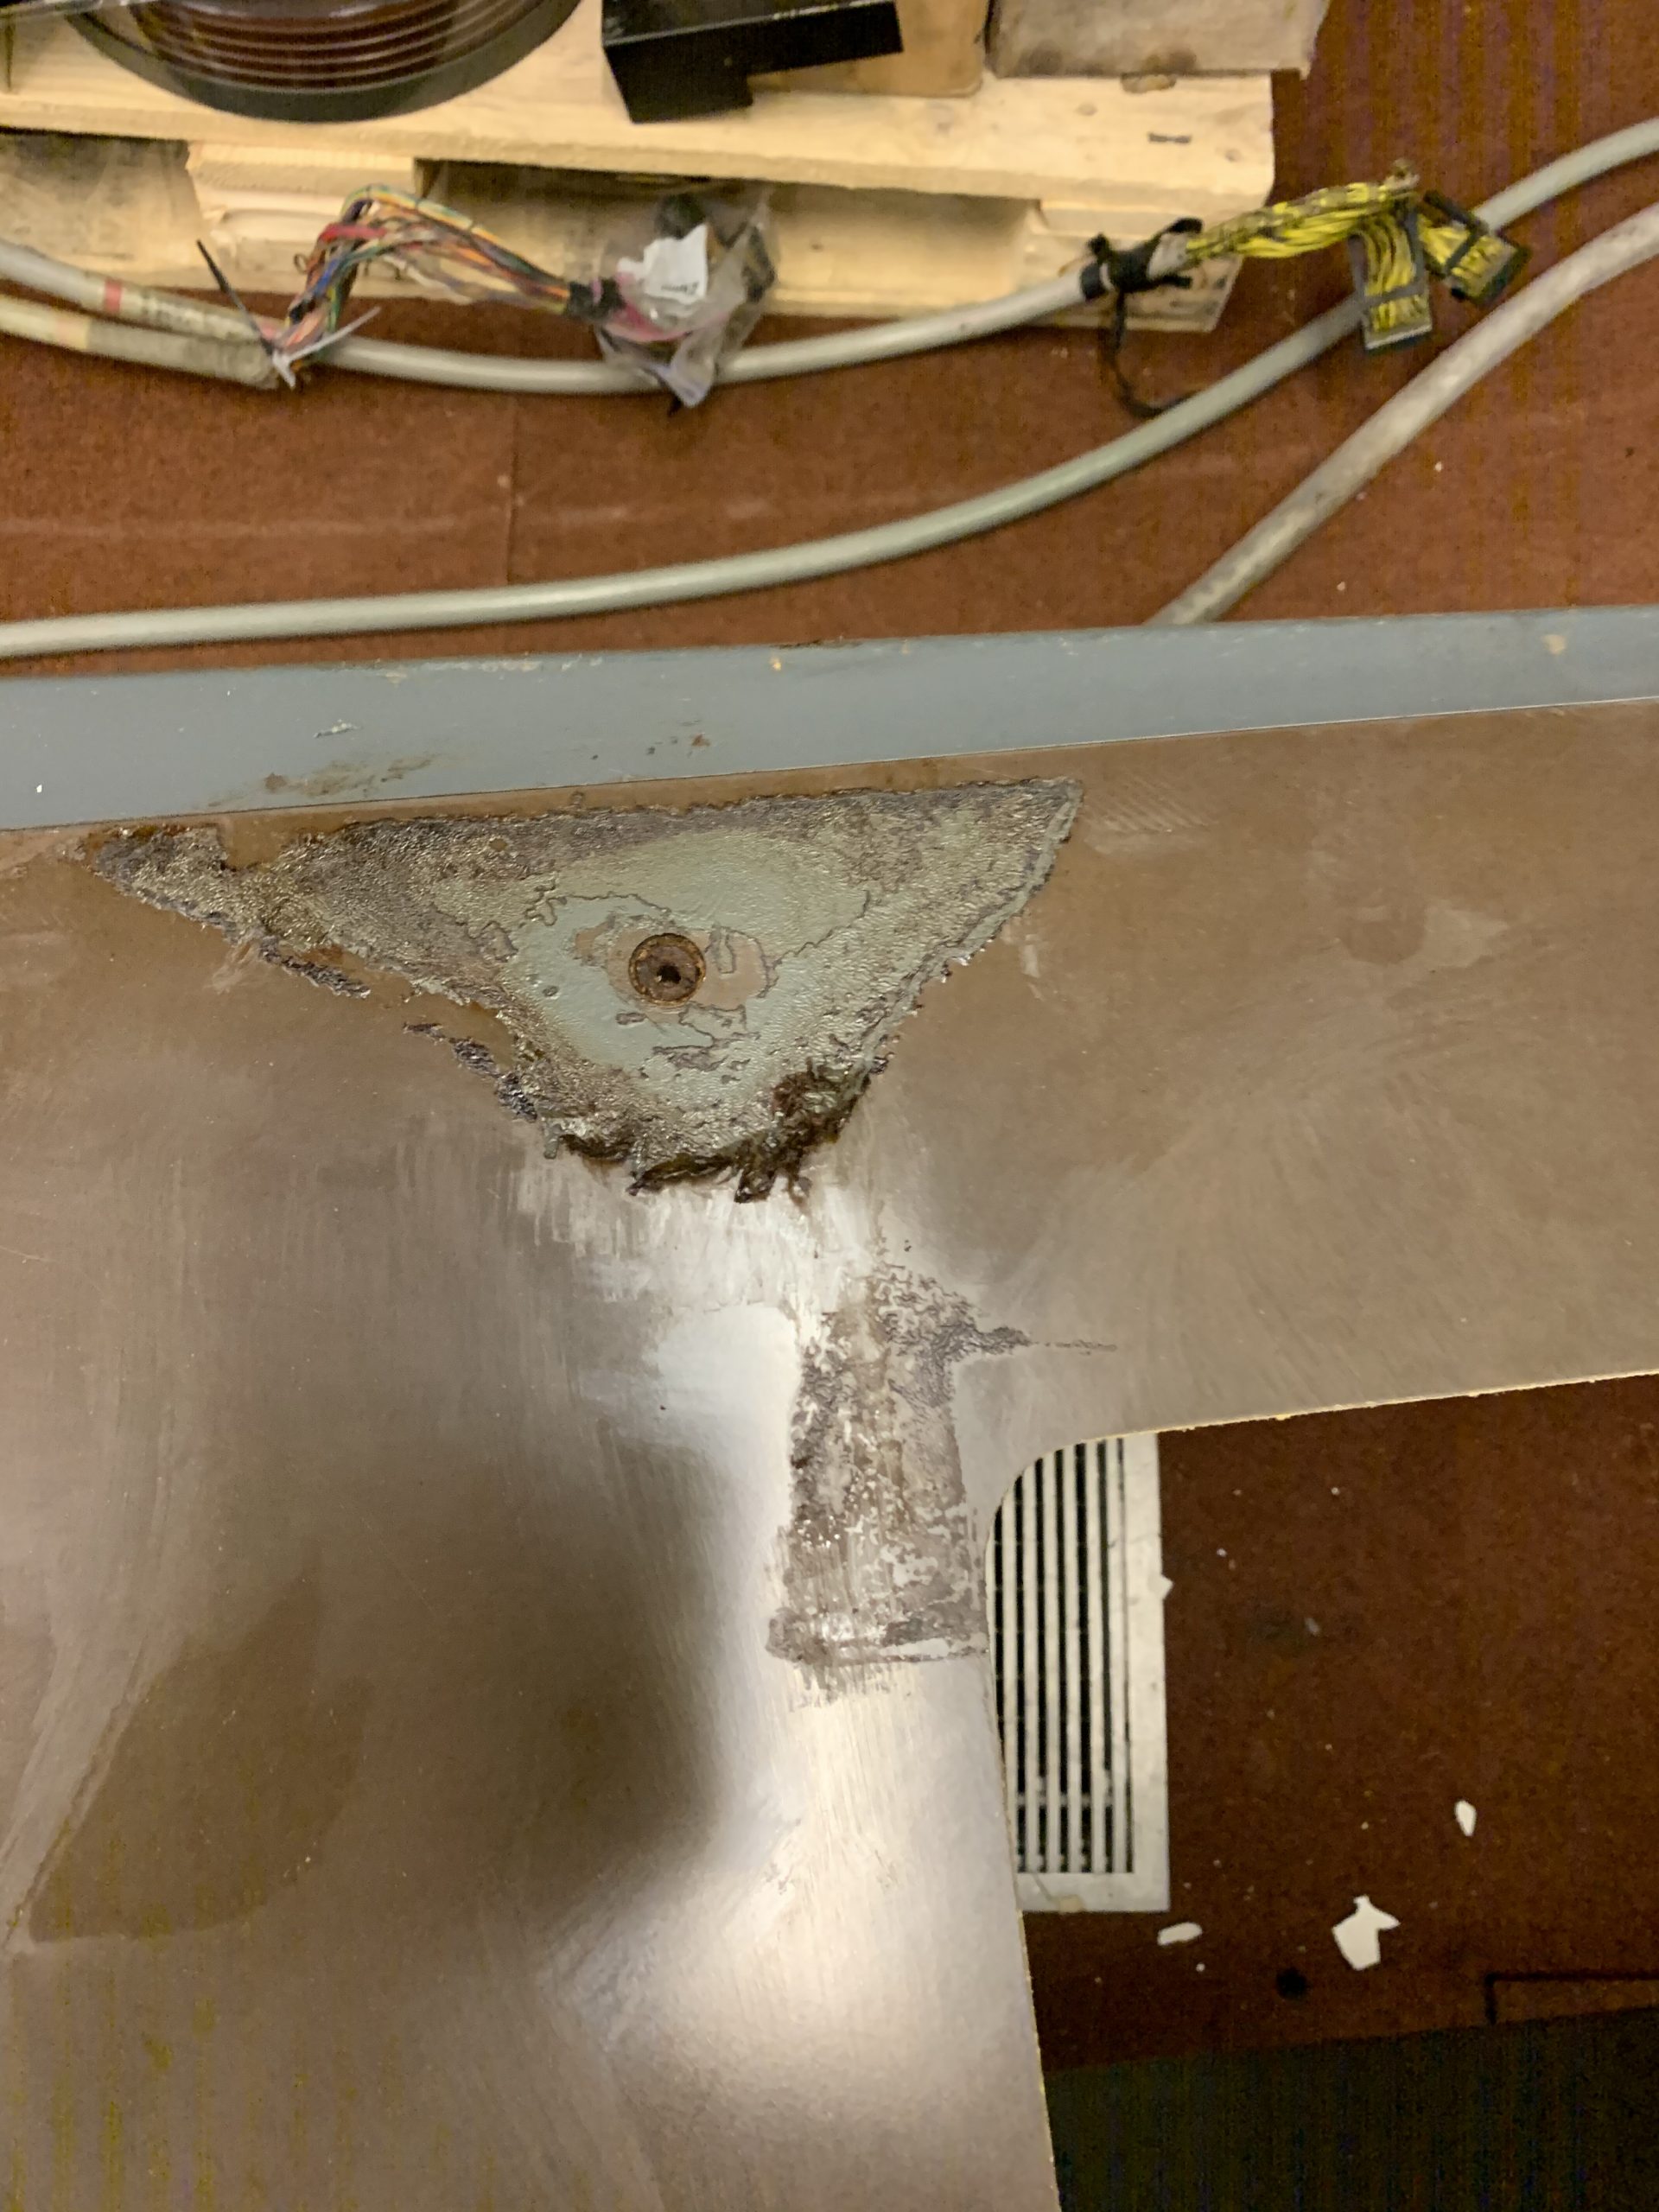
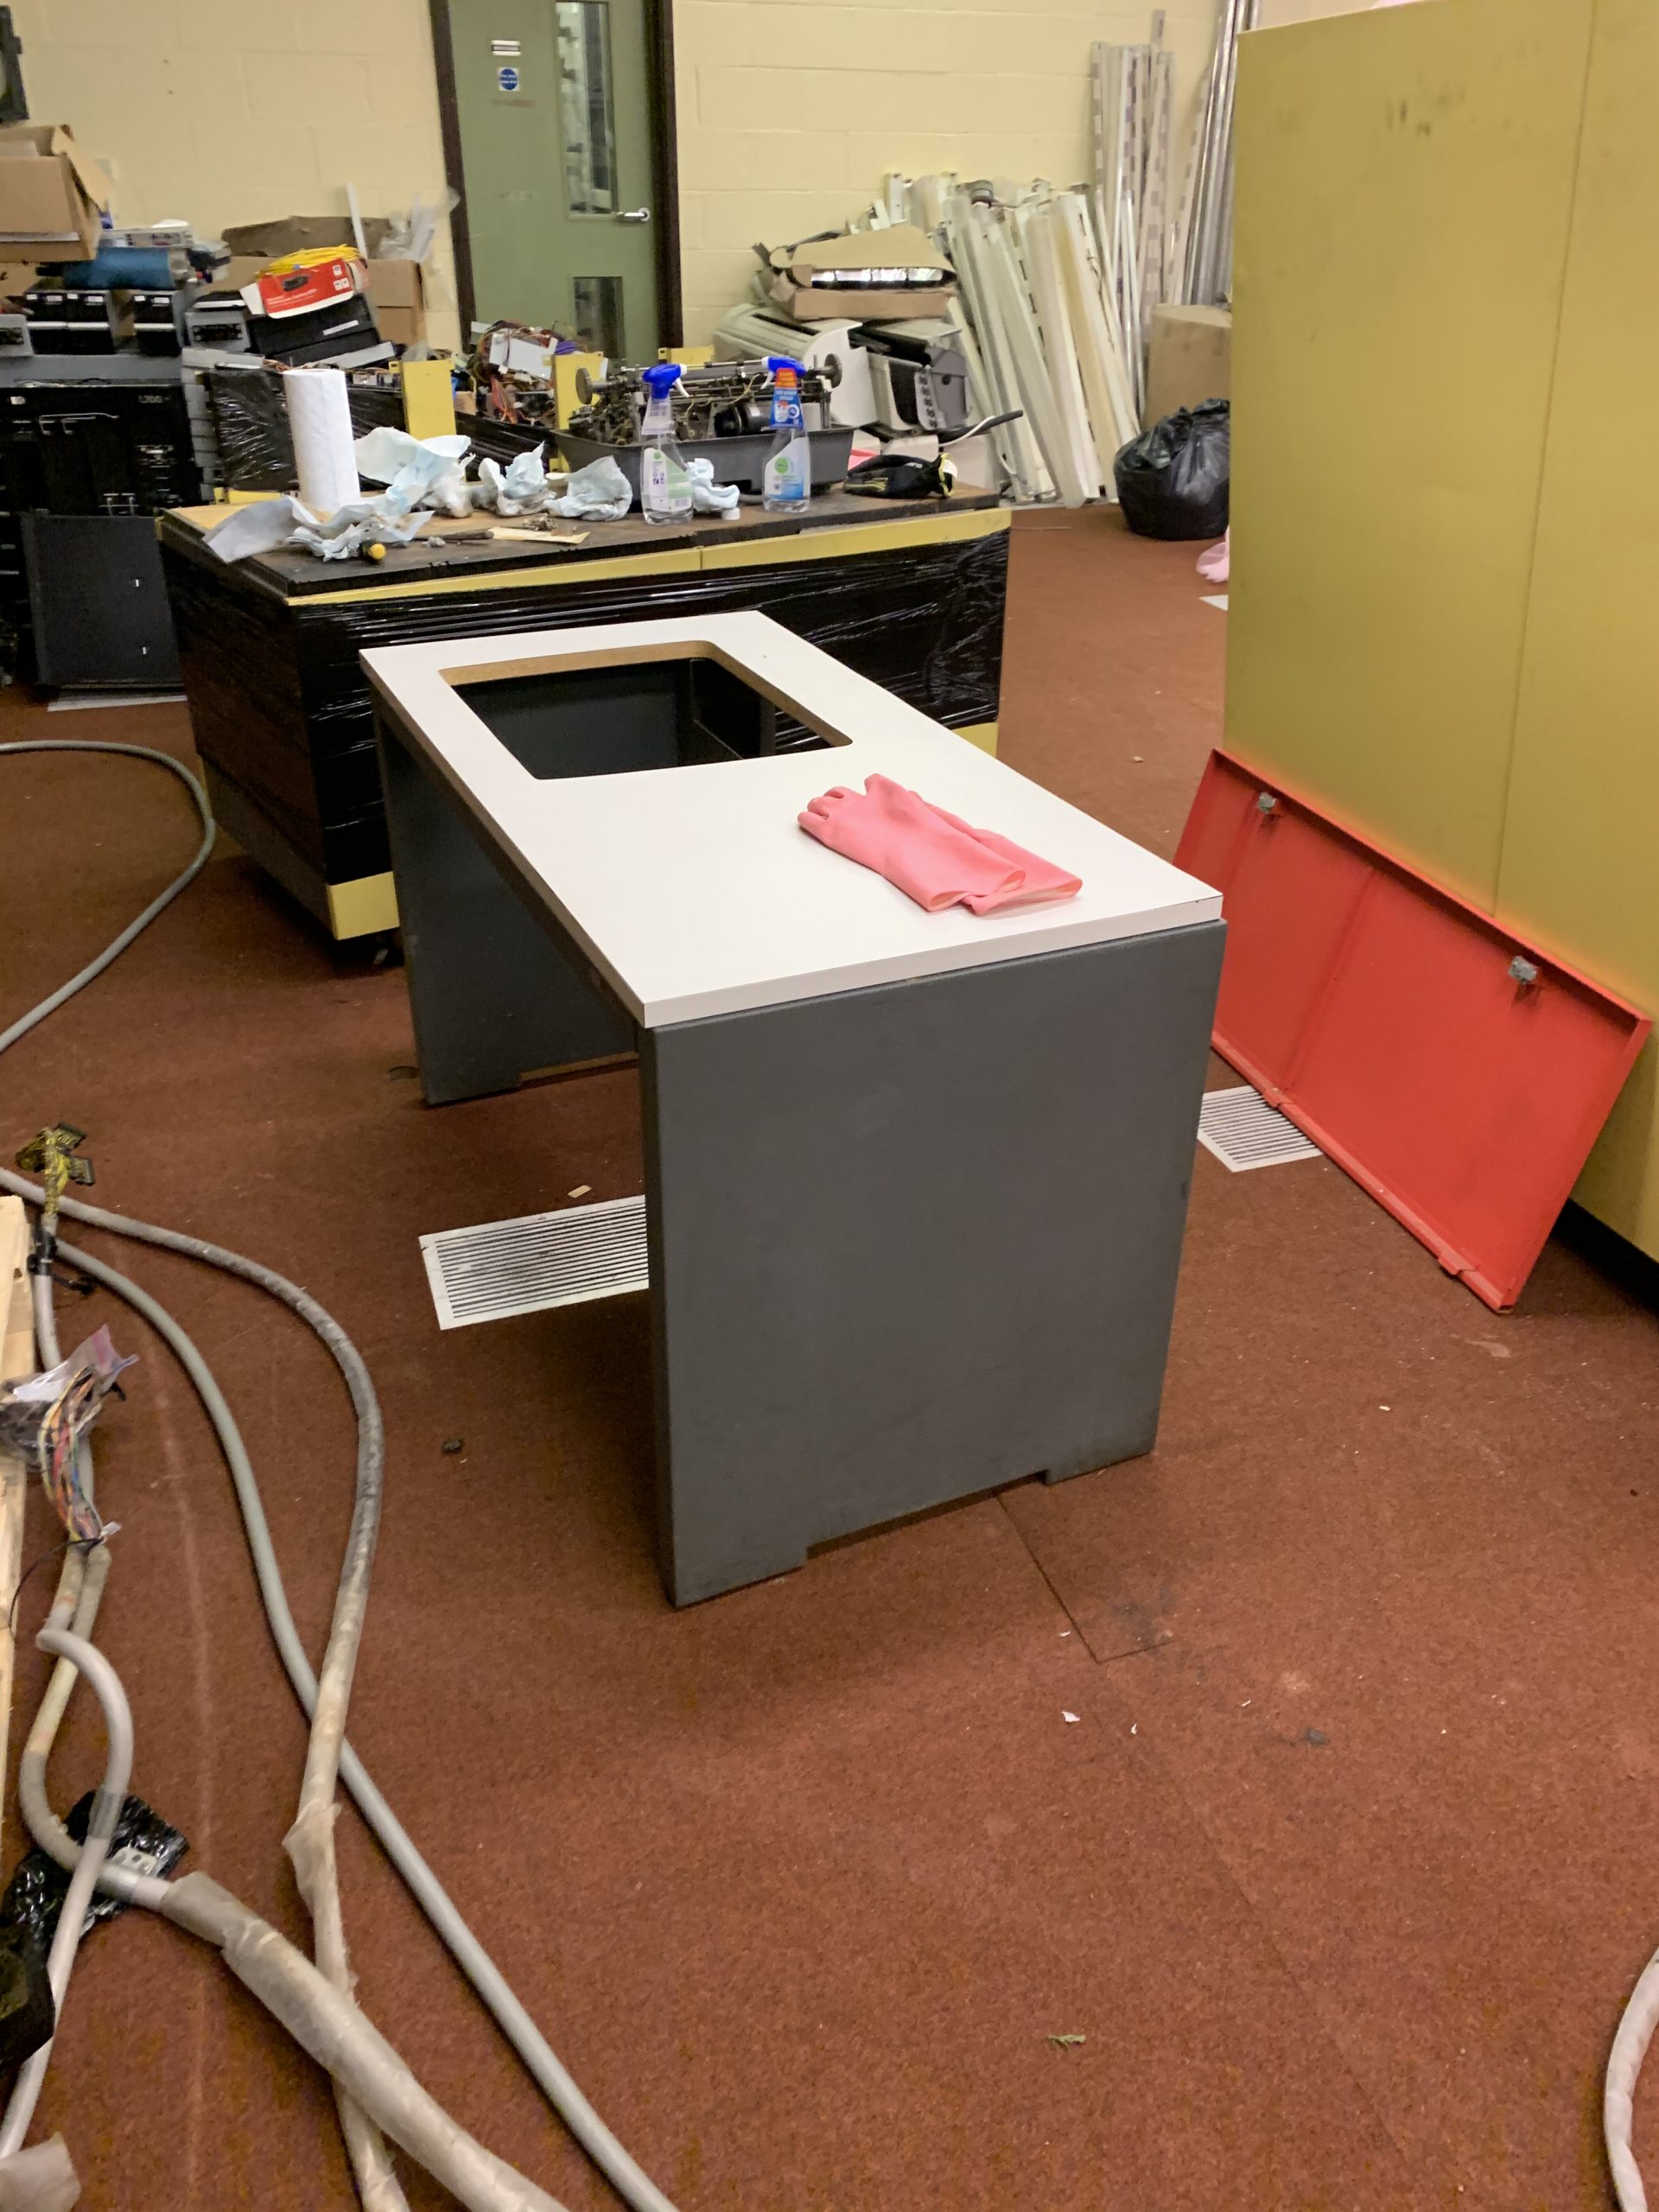
I gave it a good clean up and removed the oily residue on the underside of the top panel as pictured. The frame is quite rusty so I’m going to have to treat that and decide a more permanent way forward to preserve the sheet metal. This will inevitably form part of the restoration and conservation policy. The Power Supply will require re-capping, and I’ll also be replacing the cowboy cabling install that’s left about 5 feet of unused cable shoved in the side, but this is all subject to us having a working Selectric teletype to use on the desk!
The only other news is mainly to do with organisation rather than restoration, but we’re having some 3-phase sockets installed to run the heaters from, and we’ve also ordered some Shelving from BigDug for all of the accessory items. With Christmas coming up we may not have very many updates for a while, but we’ll keep you updated with anything we do manage to get done. If you enjoy reading the blog and you fancy helping us out, we do have an Amazon Wishlist located here, and a Paypal donations link here. We really appreciate any help you can give us. Until next time!